The Live dashboard offers a real-time snapshot of the activities occurring in your eDesk account. It's a dynamic dashboard that refreshes frequently, providing key metrics relevant to your operations.
This guide will walk you through the different sections of the Live dashboard and explain how to manage permissions to view it.
Before you start
- The Live dashboard is only available on certain plans. To see our pricing page, click here.
- You need an Owner, Admin, or Team Leader role to access the Live dashboard. If you don’t have one of these roles, you can request access from an Admin user within your account.
- The time displayed in the Live dashboard is based on your browser’s settings. To ensure that the time in the dashboard is accurate, make sure your browser’s time settings are correct.
01 Sections of the Live dashboard
1. VoiceThe Voice section displays the number of calls handled in the last 24 hours via eDesk Talk or AirCall. The metrics include:
- Total calls handled
- Inbound calls
- Outbound calls
- Voicemails left
- Missed calls
- Total calls (handled + missed)
Note: If your account doesn’t have voice services integrated, the Voice section will not appear.

2. Mailbox
The Mailbox section gives an overview of all your Open tickets, including those in the New, To do, and Waiting statuses.

3. Chat
The Chat section displays:
- Unassigned Chats: Chats that have not been claimed by an agent.
- In Progress: Chats where an agent is currently interacting with a customer.
- Unreplied: Shows the number of messages that have not received a reply, even though the chat has been claimed by an Agent.
Note: This data only reflects Live chats with Agents NOT Chatbot data.

4. Agents
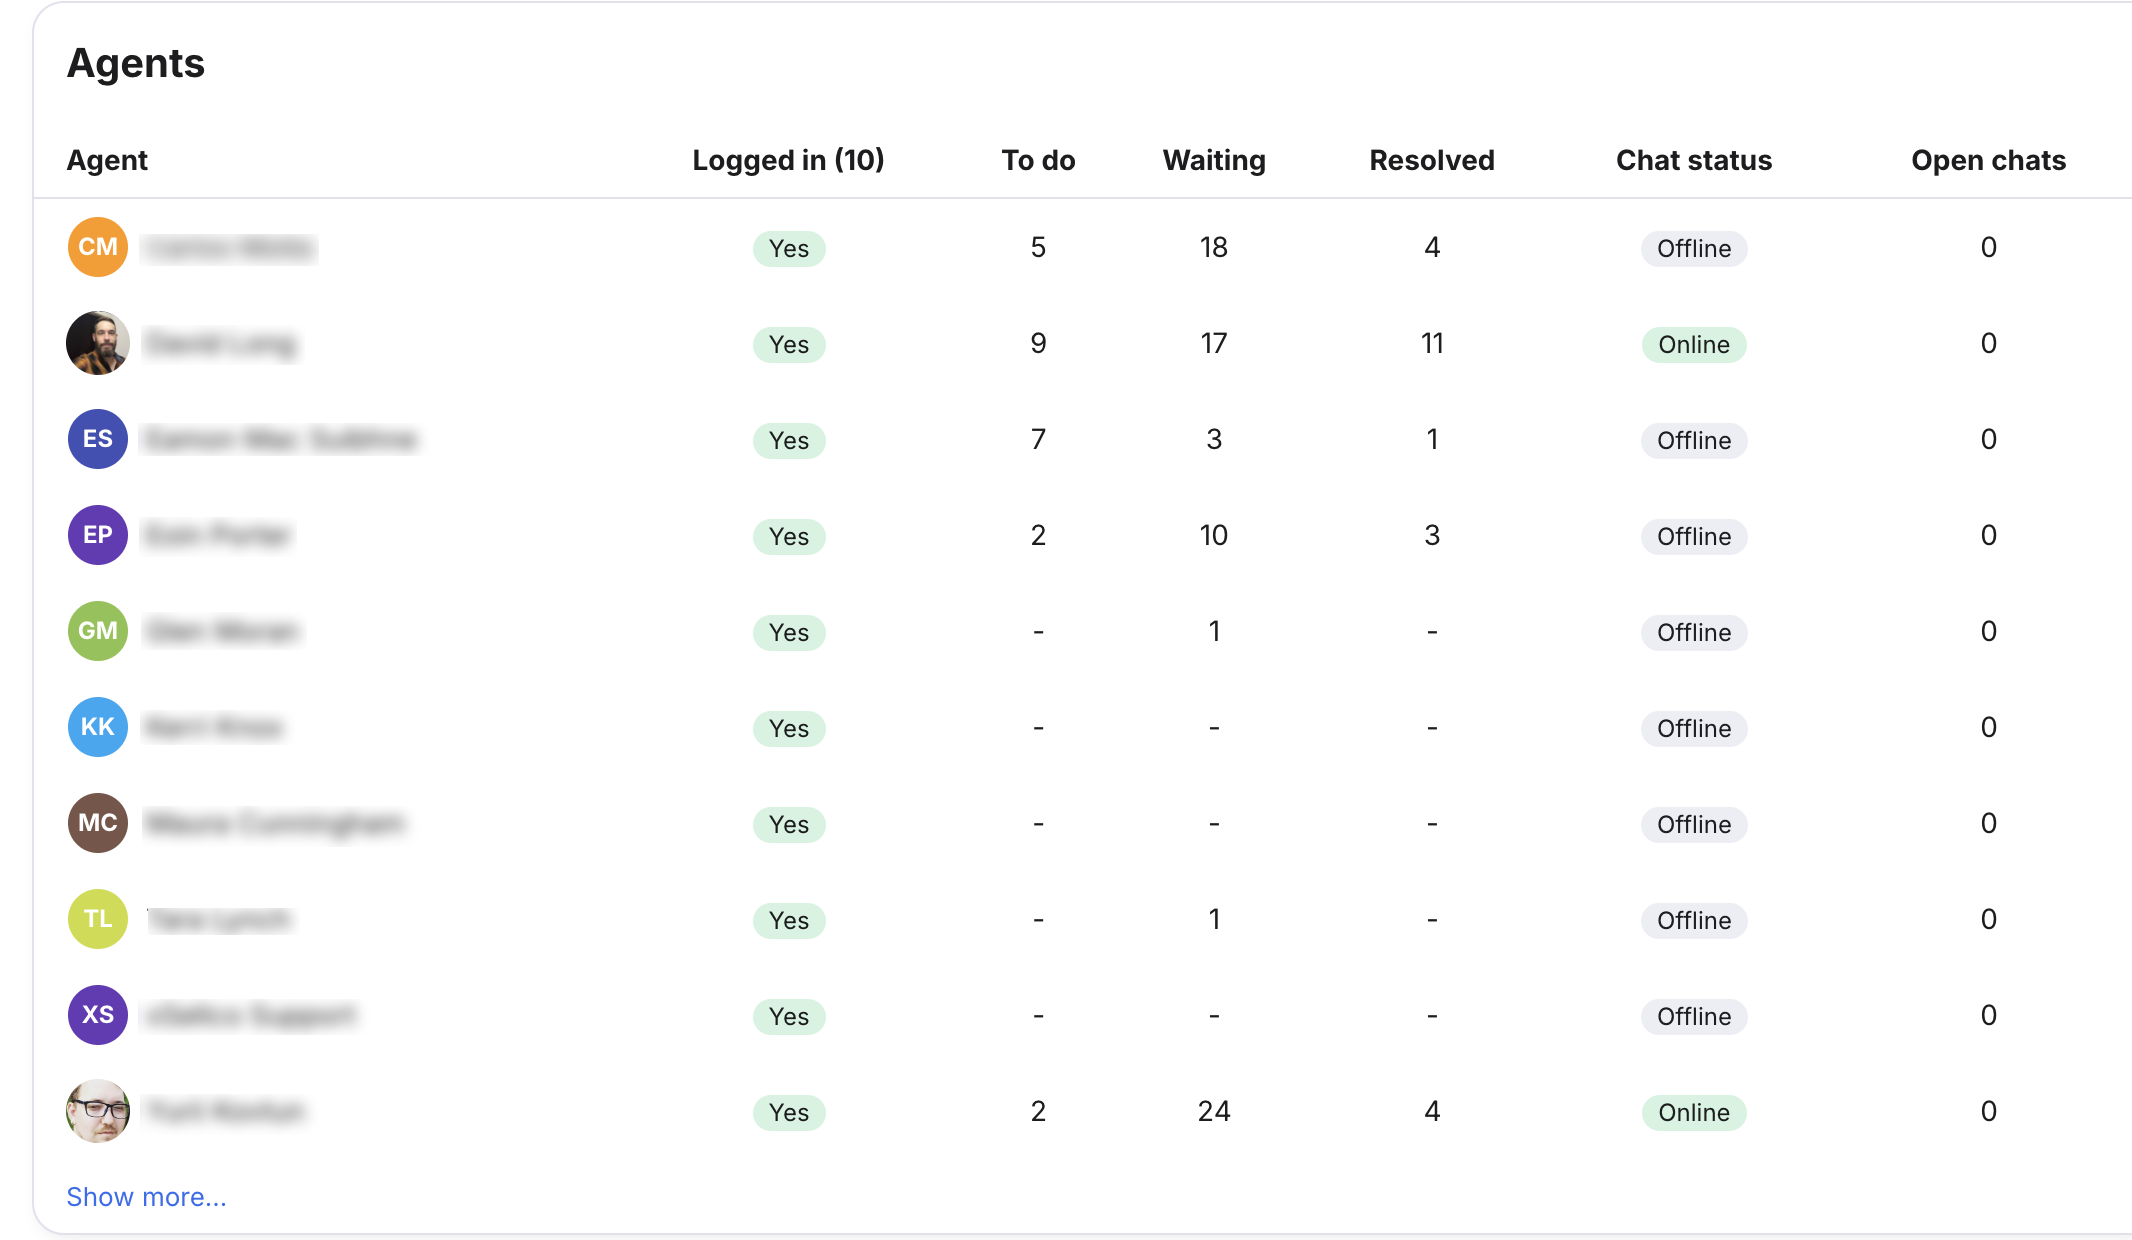
The Agents section provides a list of all agents in your eDesk account and their login status. Here’s what’s displayed:
- Logged in: The number of users currently logged into eDesk is displayed next to the column header. 'Yes' or 'No' identifies which Agents are logged in. Hover over the status to view the last login date and time.
- To do: The number of tickets assigned to each agent which are in To do
- Waiting: The number of tickets assigned to each agent which are in Waiting
- Resolved: The number of tickets which have been resolved by each agent and remain in Resolved (in the
last 24 hours).
- Chat Status: Whether the agent is online or offline for chats.
- Open Chats: The number of active chats an agent is participating in.
Note: If Live chat is not enabled, the chat columns in this section will be hidden.
5. Tags
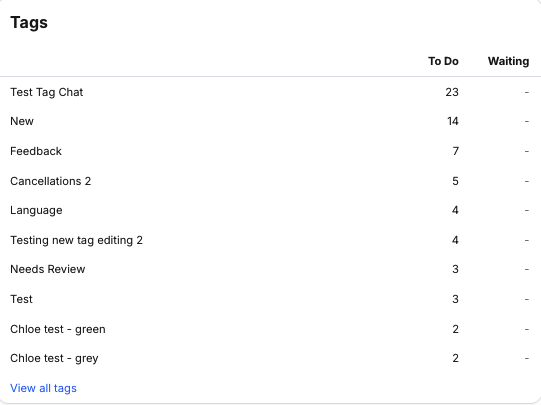
The Tags section shows the top 10 tags with the most tickets in To do, along with the number of Waiting tickets for those tags. Clicking ‘View all tags’ takes you to the Insights page, where you can view To do, Waiting, and Snoozed tickets by tag.
6. Reaching SLA
This section lists tickets that have 3 hours or less remaining before their SLA expires. The ‘SLA Expiring’ column shows how much time is left, and the ‘Ticket ID’ column provides a link to each ticket for quick access.
Note: If no tickets are approaching their SLA, you’ll see a message stating ‘We couldn’t find anything to show for date [XXX].’

7. Missed SLA All Time
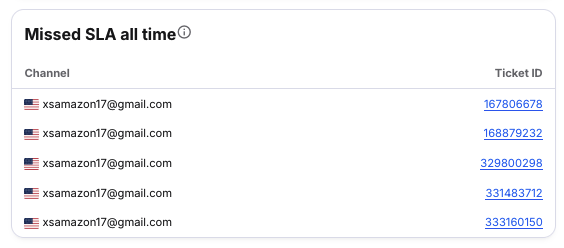
This section displays all tickets that are older than 48 hours and still in To do. The ‘Ticket ID’ column provides a link for easy resolution.
8. Missed SLA Today
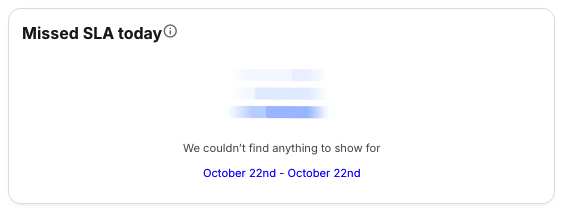
This section highlights tickets that have missed their SLA today.
Note: If there are no tickets over SLA, you’ll see a message stating ‘We couldn’t find anything to show for date [XXX].’
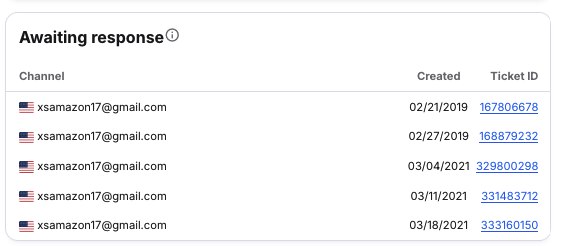
9. Awaiting Response
This section shows tickets that have not yet received a response and are older than 24 hours.
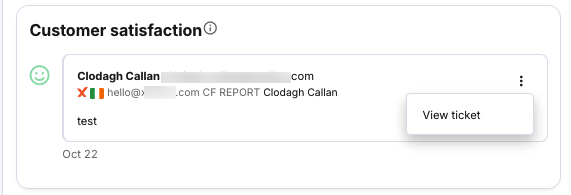
10. Customer Satisfaction
Displays the 10 most recent customer satisfaction responses within the last 24 hours. You can click on the ellipsis to view the ticket.
02 Granting Permissions for the Live Dashboard
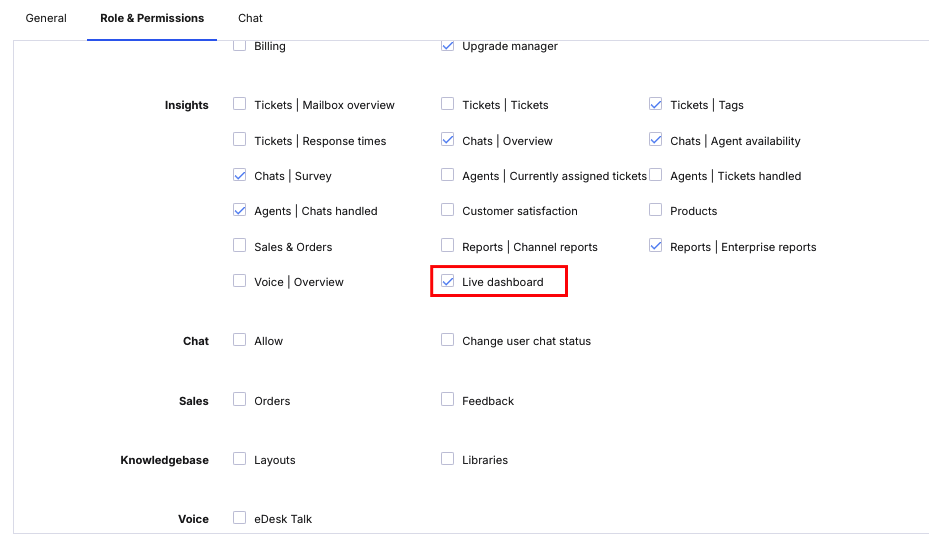
By default, only Owner, Admin and Team Leader roles have access to the Live dashboard. To grant access to a user without one of these roles, you have two options:1. Create a Custom role: Navigate to the Settings > Company > Roles section to create a custom role with Live Dashboard access. Learn more about this here.
2. Assign Permissions manually: Go to Settings > Company > Users> select the user’s name > Role & Permissions tab. You can either assign a new/custom role or choose ‘No role’ and manually assign permissions - including the ‘Live dashboard’ permission under the Insights section.
Further Readings
For more on Custom user roles, click here.To find out more about Agent Insights, click here.
For more on detailed Report extracts, click here.


