This help file explains how eDesk’s Live Chat works for your team and your customers.
Before you start
- You’ll need to have a Live Chat widget, created in eDesk, on your website or webstore. To find out how to do this, click here.
- An Admin user in your business needs to give Chat permissions to the Support Agents that will be supporting customers through Live Chat. To find out how, click here.
01 eDesk Live Chat
With eDesk’s Live Chat:Your team will oversee and participate in customer conversations via the Chat section in eDesk.
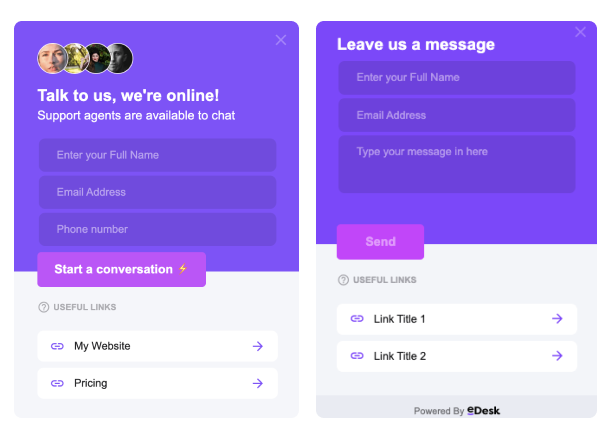
Your customers will see a Chat icon on your website or webstore. You can customize its colour to suit your own branding. The button is displayed only if the Chat widget has been installed on your website or webstore. For instructions, see here.
.png)
02 Using Live Chat
So how does it work? Read on to learn more.
Step 1: Customer initiates the chat
When a customer wants to chat, they’ll select the Chat icon, which will open a chat box. If you have a Chatbot active, the customer will encounter the Chatbot first. If there is no Chatbot active and there are Agents online, the customer will come through to the Agent. If there are no Agents online, and the chat widget is enabled, a contact form will open instead. See below:
.png)
Again, the colour and messaging of the chat is customizable.
When the customer first comes in on the Live Chat, they need to complete the following before being passed to an Agent:
- Name
- Email address
- Additional Custom fields can be added which the customer must complete to start the chat.
- To find out how to add these Custom fields, click here.
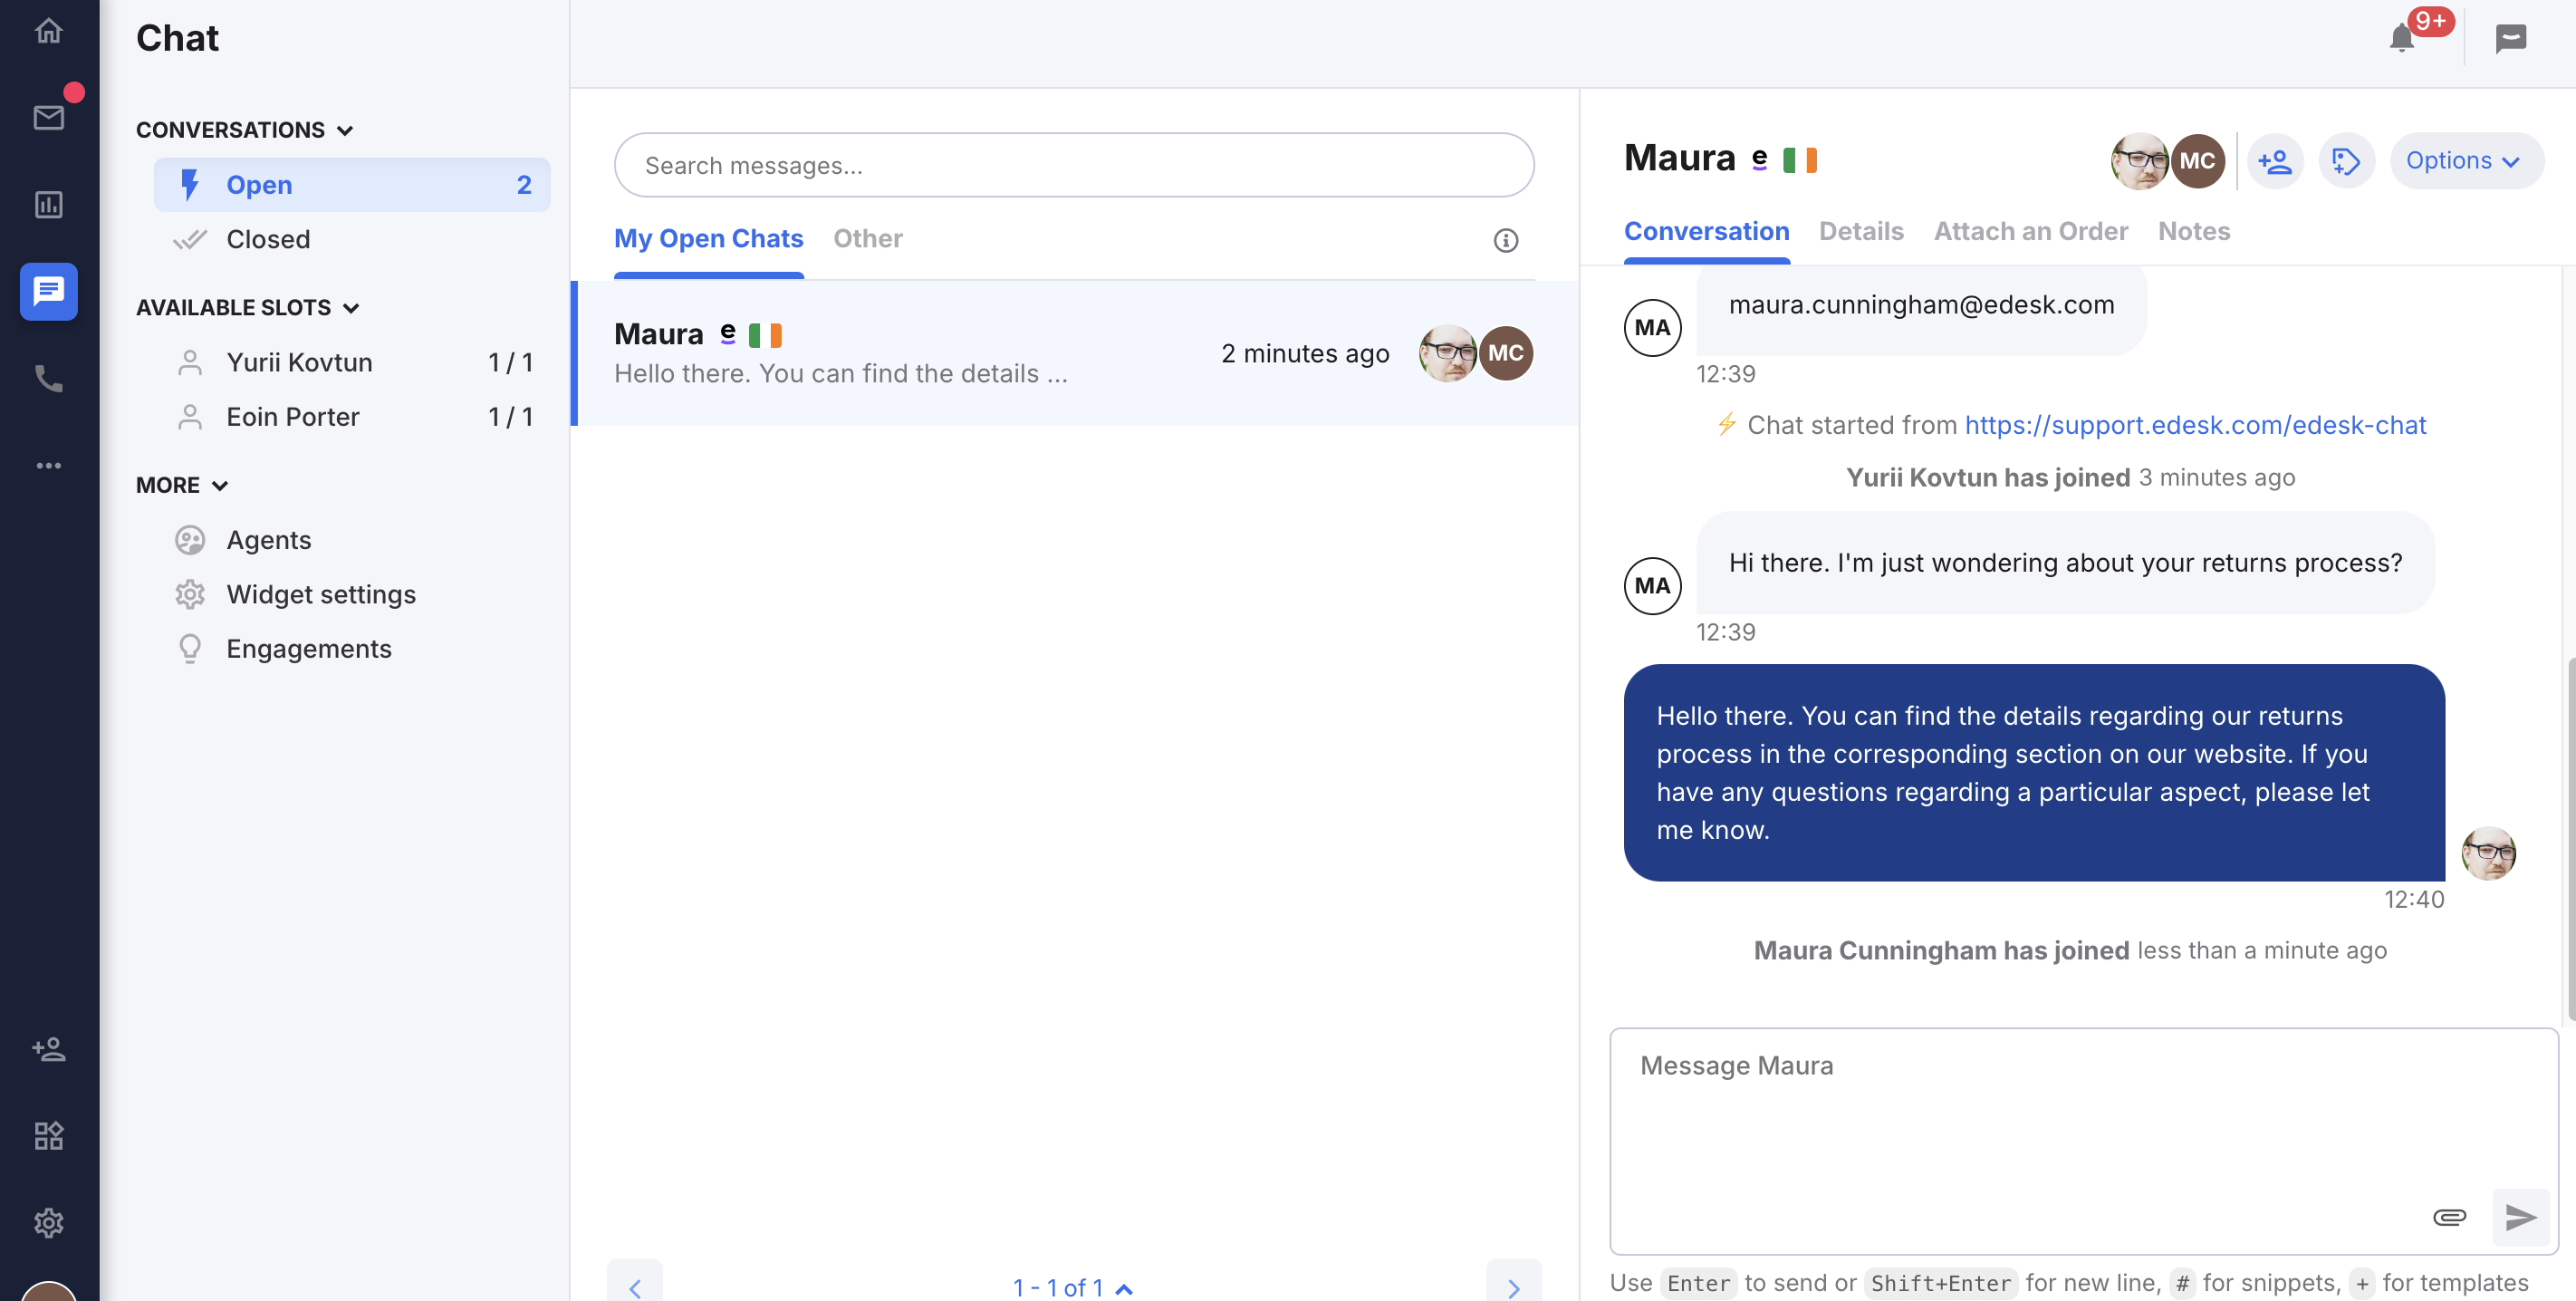
Step 2: The chat appears in eDesk
At this point, the chat conversation is added to a list of Unassigned conversations in your team’s eDesk. An unassigned conversation is one that hasn’t been claimed by a Support Agent. To alert the online Agents to the new chat, a red circle icon is displayed by the Chat icon in the left-hand pane, and a sound alert occurs.
Inside the Chat window, you will see the Unaassigned section with a number representing the unassigned conversations.

When the Agent clicks the Unassigned link in the Conversations section, they’ll see a list of unassigned conversations displayed in the middle pane. Each conversation in the list shows how long the customer has been waiting for a response. When the customer name is selected in the middle pane, the chat messages for this conversation are displayed in the Conversation tab in the right-hand pane.
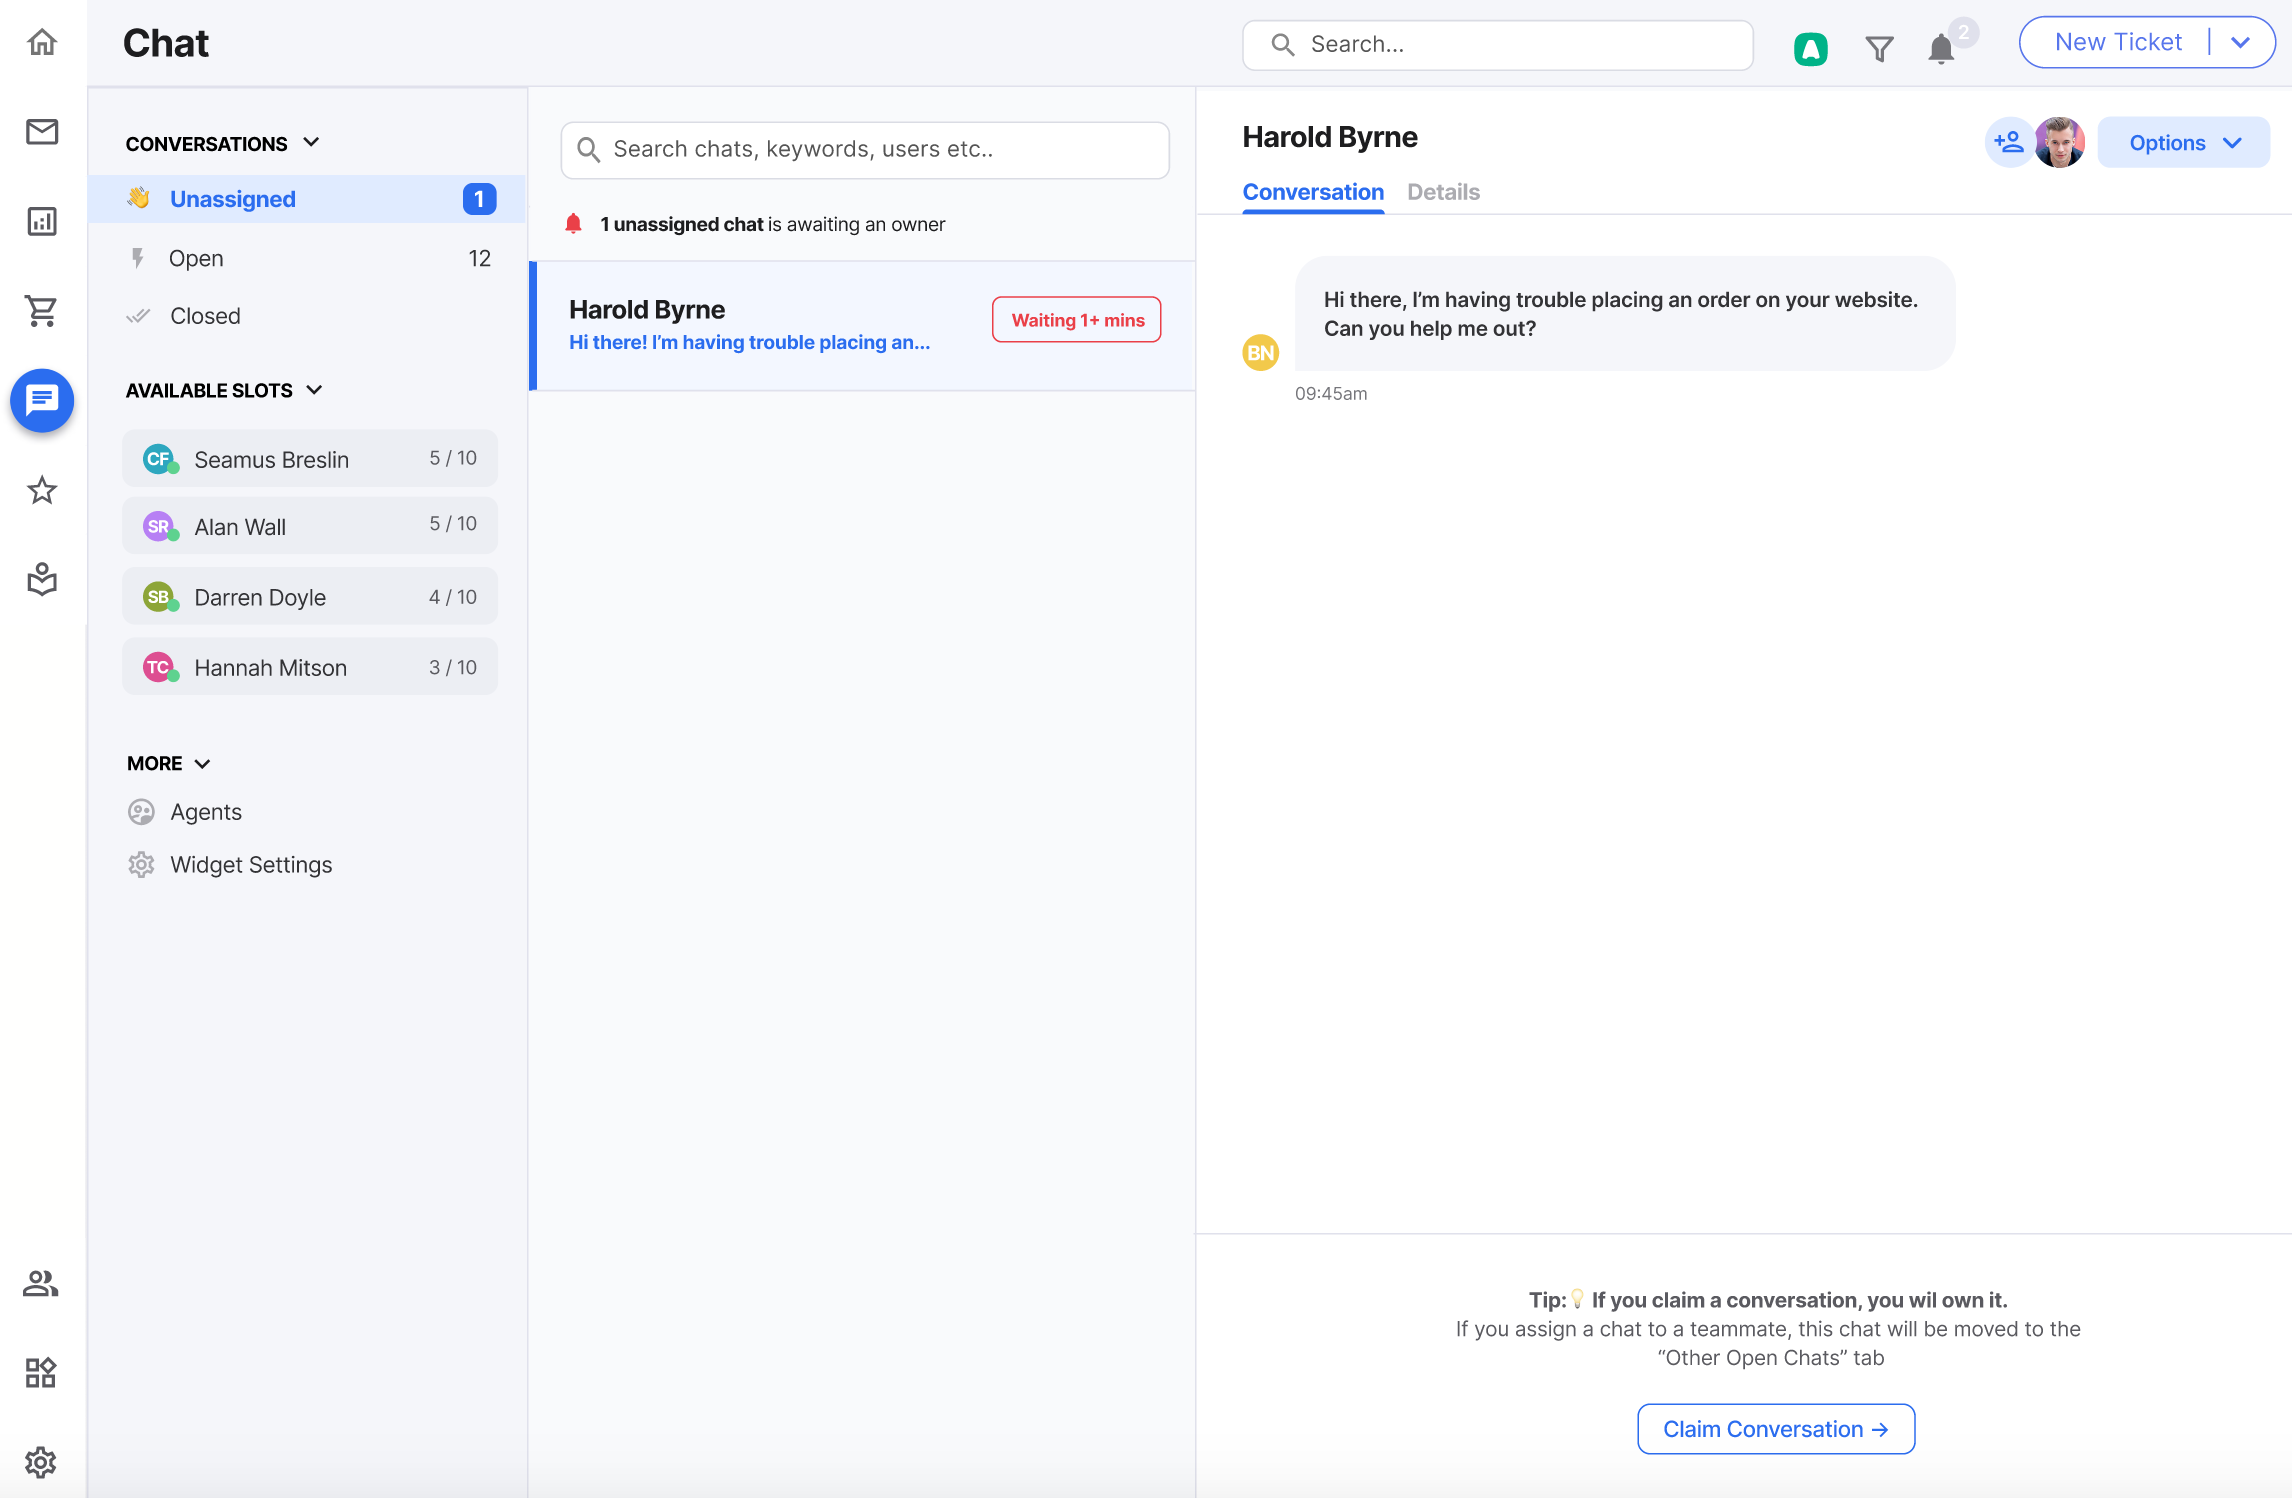
Step 3: Now the chat conversation needs an Agent to claim it.
To claim the conversation, click Claim conversation at the bottom of the right-hand pane. As soon as you claim a conversation, the chat box that’s displayed to the customer updates to say “[Agent name] has joined this session”. In eDesk, the chat conversation is moved to the Open list of chats.
Step 4: Start chatting!
Enter your responses into the Reply field in the right-hand pane. As you type, the customer’s chat box indicates that you are typing. When you hit [return] on the keyboard, your message is displayed in the customer’s chat box. eDesk will also indicate when the customer is typing and you’ll see their messages displayed as the chat progresses .
You can also:
- Use snippets in your replies, by typing # into the message and then selecting the snippet. To learn more about snippets, click here.
- If you have templates set up to use for a 'Chat Consumer' you can use these in your replies by typing _ into the message and then selecting the template. To learn more about templates, click here.
- Upload files to the conversation by clicking the paperclip icon. The permitted file types are CSV, DOC, DOCX, GIF, JPEG, JPG, PDF, PNG, TXT, XLS, and XLSX.
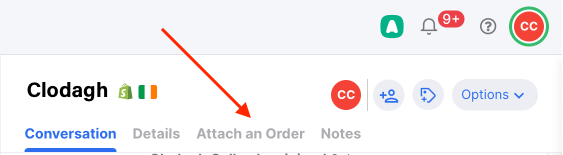
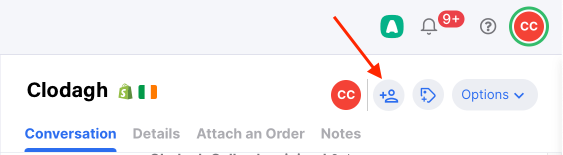
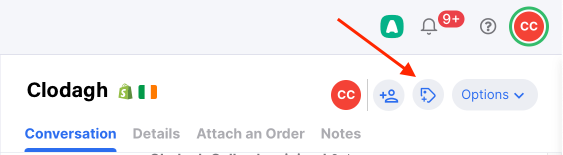
- Attach orders to the conversation (seen only by Agents):
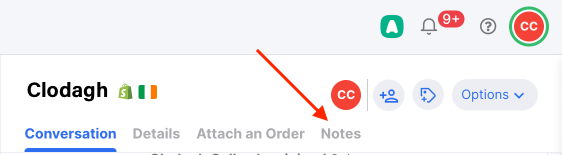
- Add internal notes to the conversation (seen only by Agents). To learn more about internal notes, click here.
- Mention another Agent (seen only by Agents). To learn more about mentions, click here.
- Add tags to the chat conversation (seen only by Agents). To learn about Tags, click here.
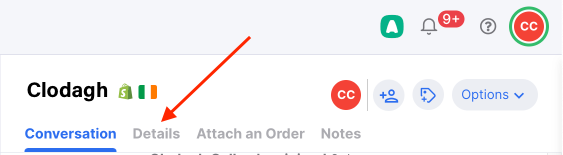
- View the details of the customer, such as email address:
- Hide or show the URL that the customer is chatting from, by selecting Options > Show/Hide chat source.
- Join another open chat conversation. Select the chat from the Open list and start chatting. You can own multiple chats if configured to do so. See below.
- Claim another Unassigned chat conversation. You can own multiple chats if configured to do so. See below.
- If another Agent has joined the chat, you can leave the chat conversation by selecting Options > Remove me from the chat.
- Close the chat after the customer has closed the chat from their end.
Customers can also:
- Upload files by clicking the paperclip icon in their chat box. The permitted file types are CSV, DOC, DOCX, GIF, JPEG, JPG, PDF, PNG, TXT, XLS, and XLSX.
- Close the chat.
Step 5: Closing the chat
The chat conversation is closed either by the customer, who clicks the Close button, or by the Agent, who selects Options > Turn chat into a closed ticket or Options > Open a ticket from chat. The chat conversation will also close automatically after 30 minutes of inactivity. When the chat is closed, a new ticket is created in eDesk - either in the Resolved or To Do state, depending on the options you have chosen. If the chat closes because of inactivity, the ticket created will be a To Do.
The ticket contains a transcript of the chat conversation, any uploaded files, and any orders that were linked to the chat by the Support Agent. The ticket has a Closed or To Do status. See here to learn more about ticket status. A transcript is emailed automatically to the customer’s email address. The chat conversation is moved to the Closed list in the Chat section.
Step 6: Feedback
If Enable Follow-up Chat Rating is configured under the Behaviour tab of your Chat Widget, a message is displayed in the customer’s chat box that asks the customer to rate their chat experience.
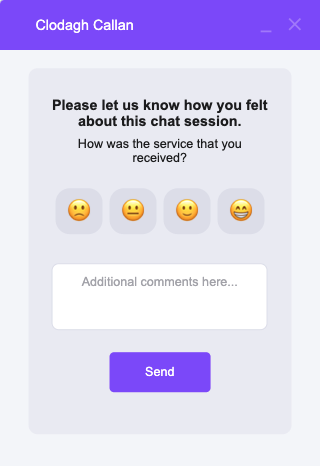
Once the customer selects a rating icon, completes the text field (optional), and clicks Send, they see a thank you message. They are then expected to close the chatbox. The customer’s rating is added to the ticket in eDesk.
03 How do Support Agents access Live Chat in eDesk?
If your account has permission to access Live Chat, you’ll see a Chat icon in the left-hand menu in eDesk.

Click this to open the Chat section. This is where you will manage all of your Live Chats.
If you don’t see the Chat icon, contact your Admin user who will need to assign a role to your account that includes the chat permission. To find out more about this, click here.
04 Your Live Chat status
If you’re a Support Agent, your chat status can affect what the customer sees when they click the Live Chat button on your website.
- If at least one Agent has a chat status of Online, the Live Chat box will display for the customers.
- If all Agents have a chat status of Offline or Away, then a Contact form will open for the customers, unless you’ve selected the option to hide widget in Settings → Smart Tools → select a Widget → toggle off Widget Enabled
Note: If you have a Chatbot enabled on your Widget, your customer will reach this first and will only be passed to an Agent if necessary. If there are no Agents available, the Chatbot should be directed to 'Create a ticket' for your customer instead. To find out how to create a Chatbot using our Chatbot template, click here.
05 Automatic updates to your Live Chat status
In eDesk, you can set up Chat Hours, which are a daily cutoff time for your live chat. When the cutoff time occurs each day, your chat status is set to Offline or Away automatically. To set your own Chat Hours, go to Settings → Account → Profile preferences → Chat tab. If you don’t want to set Chat Hours for yourself, that’s fine too!Note: eDesk will never set your chat status to Online automatically. This is a safety measure to make sure your chat status is not set to Online when you are away from your desk, which could leave customers with unanswered chats.
Once your Chat Hours are set, your chat status will be updated automatically as follows:
- If your chat status is Online but you have no activity in eDesk for 15 minutes, your status is changed to Away automatically.
- If your chat status is Away, the current time is inside your Chat Hours, and you perform an action in eDesk, your status is changed to Online automatically.
- If your chat status is Online and your Chat Hours End time occurs, then your status is set to Away automatically.
- If your chat status is Away and your Chat Hours End time occurs, then your status is set to Offline automatically.
06 Changing your Live Chat status yourself
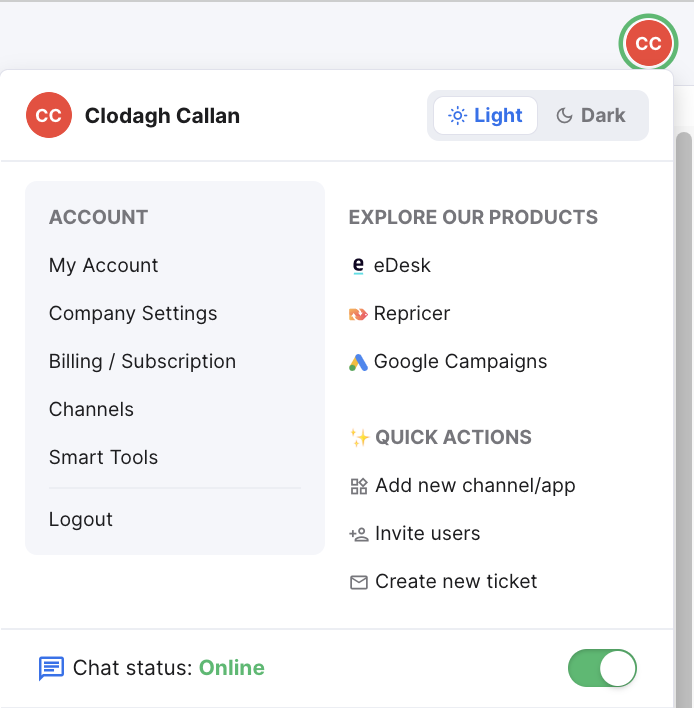
Change your own status manually:- To set your status, click your avatar and select Online or Offline from the menu. Your avatar is in a green circle if you’re currently online, or a red circle if you’re offline.
Change another teammate's status:
- To set a teammate's status to Online, Offline, or Away, select Agents in the Chat section. In the list of Agents, select the ellipsis (three dot menu) for the agent and select the new status.

Note: In order to change your teammate's status, you need to have the Change user chat status permission enabled on your profile. Contact your admin user to give you access. To find out more, click here.
07 Setting the maximum number of chats
If you want to be able to handle more than one chat at a time, set a maximum number of chats for your account.- Go to Settings → Account → Profile preferences → Chat.
- In the Max concurrent chats field, enter the maximum number of live chats that you want to be able to join at the same time.
- Save your changes.
08 Other useful Live Chat information
The left-hand menu in the Chat page in eDesk offers a number of useful views:
- Select Agents to see a list of all the Support Agents that can access live chat, together with their recent activity and whether they are currently offline, away, or online.
- Select Open to see a list of the chats in progress. Click on a chat in the list if you want to spectate the chat. The customer will not be aware that any other Agents are on the chat.
- Select Closed to see a list of the completed chats. From here, you can view the ticket created after the chat has finished.
Further Readings
If you want to find out more about Website Contact Forms, click here.
If you want to find out more about our Chatbot template, click here.
Interested in learning more about helping your customers to self-serve? Click here.