Custom fields are a very powerful tool in eDesk, allowing you to link additional information to a customer query.
In this help file, we'll show you all the steps to add custom fields into your eDesk account from within the ticket and in the Chat settings.
Before you start
- You’ll need to have Permissions to access Custom fields in eDesk. If you don't have permissions, you can request them from an Admin in your account.
01 How to create a Custom field?
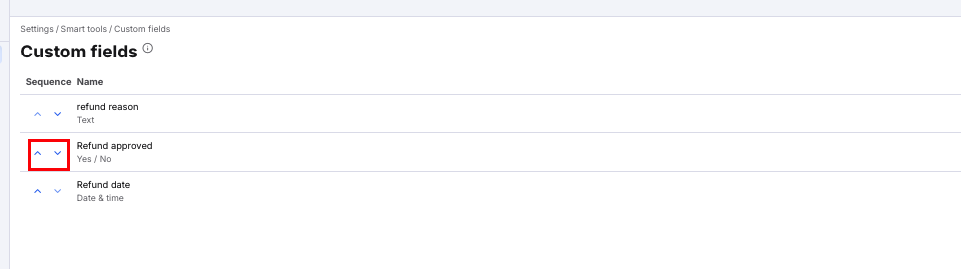
It's very simple to set up custom fields in your account, simply follow the instructions below:- Click on the Settings > Smart Tools > Custom fields.

2. Click the Create a Custom field button and enter the following fields:

- Name: the title of the field you create.
- Type: the format you wish to enter your data in. The Type you choose here will affect the options that are shown underneath - some require further information to be entered. Types you can choose from in the dropdown are: Text; Date, Date & time; Selectable options; Multiple selectable options; Number; Yes/No; URL; Email address. As Text is the most common Type selected, we will run through the further options for that below:
- Multiple lines allowed: decide if you wish your custom field to be displayed in one line or not.
- Minimum length: choose your custom field's minimum character length.
- Maximum length: choose your custom field's maximum character length.
3. Once you're done, simply click Create Custom Field.
Once you have a number of Custom fields created, you can also change the sequence of them by using the arrows in the list to display them in the order of your choice.
02 How to use a Custom field in the ticket?
Once created in Smart Tools, the Custom Field option will be available on the right-hand side of each ticket in the Mailbox.
You can click on the Custom Fields + icon to input the data of your choice.

03 How to use a Custom field in Chat Settings?
Once Text Custom Fields are created in Smart Tools, they will automatically appear in the Behaviour section of the Chat Settings.
Note: Other Custom field Types will not show in the Chat settings.
To use the Text Custom fields in your Chat:
- Go to Settings > Widgets > click on the name of your Widget > Behaviour tab.
- Click on the Custom Fields input field.
- Select the Custom Field you want to apply.

This allows businesses to collect specific information during Live chats, improving customer interactions and data organisation.
04 How to delete a Custom field?
It's very easy to delete custom fields in your account, simply follow the instructions below:- Click on Settings > Smart Tools > Custom fields.
- Click the ellipsis button (three dots) next to your chosen Custom Field and hit Delete.

Note: this will delete all data entered on tickets for this custom field.
05 Reporting for Custom fields
To see a detailed report of your Custom fields:- Go to Insights > Reports > Report extracts
- Then select Create report > choose Custom Fields from the Report type and choose any other required filters.
- Click Create report.

A CSV file will become available containing ticket information of any tickets where data has been entered in the selected Custom Fields
Columns in the Custom field report are: Ticket ID; Ticket Type; Created date; Ticket status; Channel; Ticket Owner; Ticket link; Custom Field(s) columns.

Further Reading
If you would like to find out more about Report Extracts click here.If you would like to learn how to set up a Live Chat widget, click here.