This help file will guide you through how to set up and use Live Chat as a Contact Form on your website or webstore.
Before you start
- You’ll need to have access to Smart Tools > Widgets in your Settings. If you don’t have access, you can request it from an Admin user within your business.
01 Setting up a Contact Form through Live Chat
Let’s start by creating a new Widget.Note: keep in mind that to display a Contact Form, we need to disable the Live Chat, which we will do shortly in step 3.
- Go to Settings → Smart Tools → Widgets.
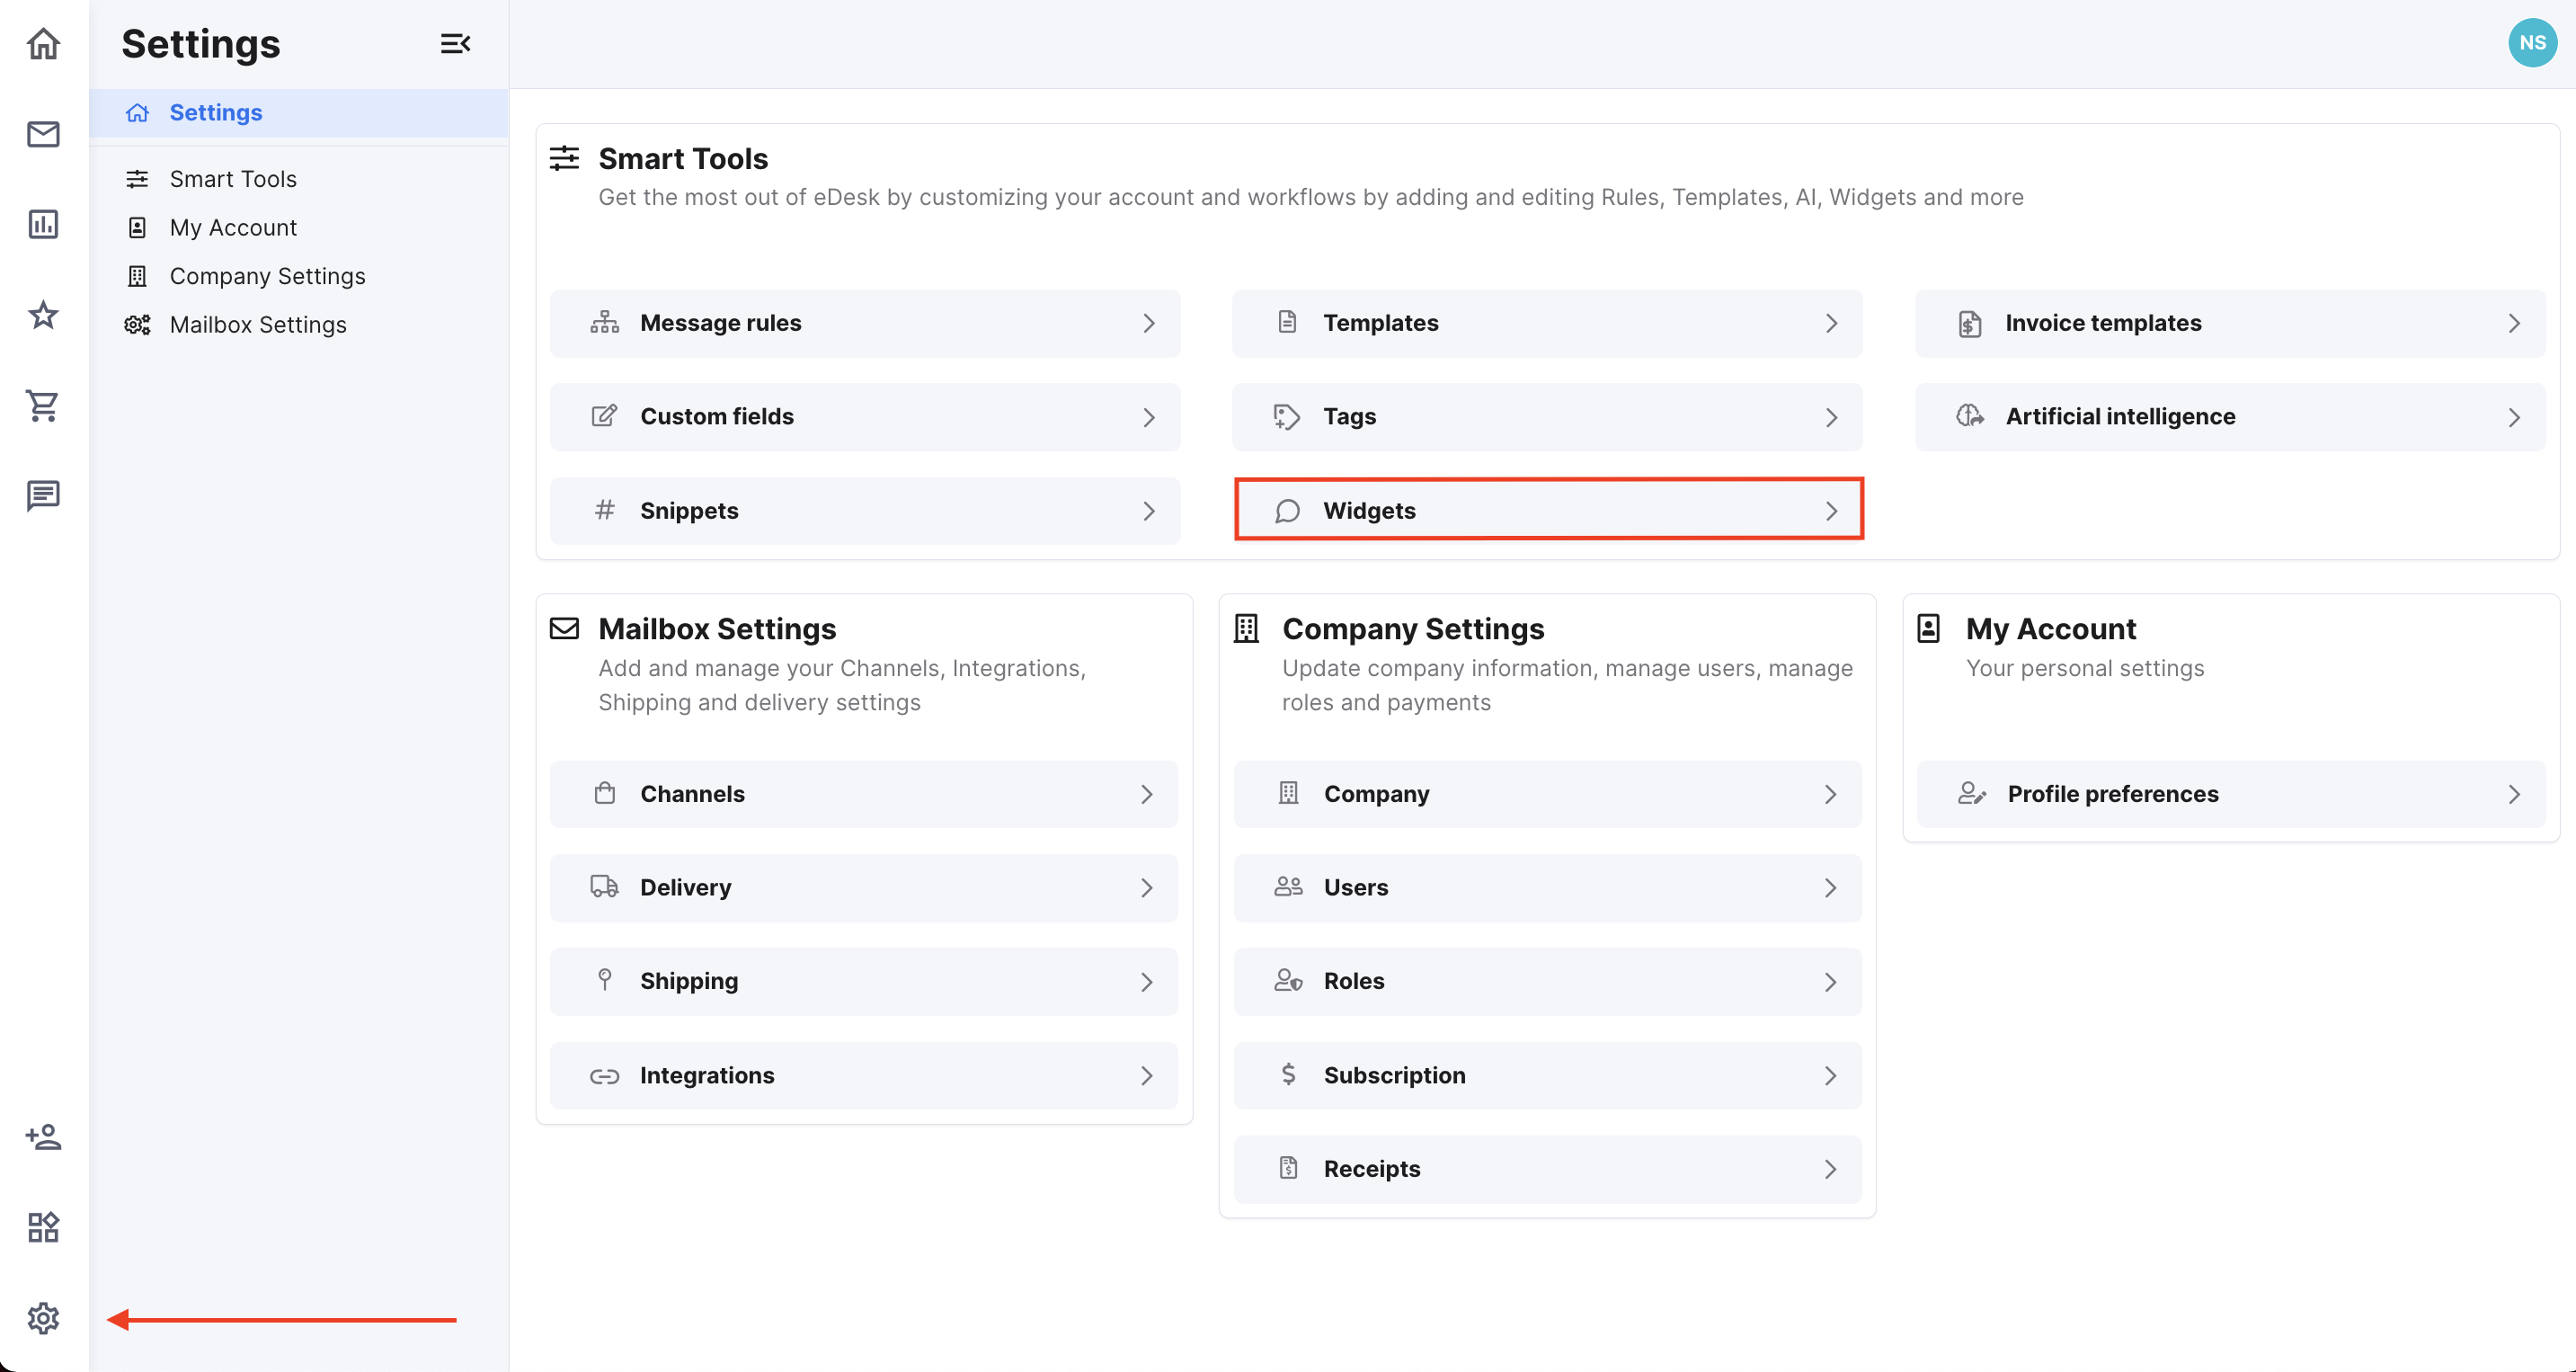
- On this page, click Add a Widget.
-Apr-20-2022-10-07-58-83-AM.png)
- Name your Contact Form and choose the channel (website) you’d like it to appear on. You must already have connected this channel to eDesk. When that’s done, click Finish.
-Apr-20-2022-10-10-15-17-AM.png) Pro-tip: Give the form a descriptive name so that you can identify it easily in the list.
Pro-tip: Give the form a descriptive name so that you can identify it easily in the list.
02 Customize your Contact Form
In the Customization tab, you can customize the colours and buttons that appear in the Contact Form to match your website’s branding.- Add 2 main colours to style it
- Add up to 2 Useful Links
-4.png) Note: When setting up a Contact Form, you don’t need to fill in Tone of Voice or Customize the follow-up Chat transcript as this is made only for Live Chat.
Note: When setting up a Contact Form, you don’t need to fill in Tone of Voice or Customize the follow-up Chat transcript as this is made only for Live Chat.
03 Tell eDesk how you want the Contact Form to work.
Chat OfflineNext, at the bottom of the Behaviour tab, you can see the option to Disable Chat Window and display a Contact Form to your customers instead when your Agents are offline.
-2.png)
- Toggle the Disable Chat Window if no agents are online switch to enable/disable Live Chat.
.png)
- The header and message field placeholder option allows you to customise the text displayed.
Tags
Tags allow you to classify or highlight a ticket within eDesk.
.png) You can also assign Tags by default to tickets that are created when a query is submitted through the contact form.
You can also assign Tags by default to tickets that are created when a query is submitted through the contact form.- To do this you’ll need to have already created a Tag group containing a number of tags in it.
- You can also set Custom Fields, which allow customers to choose what their query type is. To do this, you must create the Custom Field in Smart Tools first.
To find out more about the above Chat Settings, click here.
04 Add the Contact Form to your website
In the Installation tab, we will give you the code snippet to add to your website code and give you a few more options to customize and position the Button on your website.
- In the Delay option, you can choose the number of seconds the customer must be on the page before the Chat button appears.
.png)
- Select a Button Position from the menu to choose whether the Contact Form window goes on the right or left side of the page.
- Offset X axis: Set the distance in pixels from the side of the screen.
- Offset Y axis: Set the distance in pixels from the side of the screen.
.png)
- The snippet of code is located on the right-hand side of the page which you can copy and paste below the closing body tag in the code for the web page that will display the Live Chat button.
.png)
Note: if the Widget Enabled toggle is switched off, the Chat widget won't show on your website (also you don't have to remove the HTML from the page).
- And finally, click Save Changes.
The Contact Form has been created, customized, and added to your website. Well done!
Further Readings
If you want to find out more about using Custom Fields in eDesk, click here.
If you would be interested in learning more about Chat Settings, click here.