This help file will walk you through all the different ways you can assign tickets in eDesk.
Before you start
-
If you want to set up Message rules to assign tickets automatically, you may need permissions to do so. If you don't have these permissions, ask an Admin in your account to grant them to you.
01 Assigning a ticket owner from within a ticket
In eDesk, each ticket can only have 1 assigned owner at any time.When you’re working on a ticket in eDesk it’s easy to assign an owner. Just select the Assign Owner icon and select the person whom you want to assign.

If your teammate is already the ticket owner you’ll see their initials on it. In this case, you can change the owner by clicking on the initials and selecting the teammate whom you’d like to make the new owner.

02 Assigning an owner without opening the ticket
You can also assign an owner from the List view in the Mailbox. To do this click on the icon in the Owner column and select the agent you want to assign the ticket to.

03 Bulk assign an owner
You can bulk assign an owner to multiple tickets by selecting the desired tickets in List view and choosing Assign owner from the bulk action options.
 From the pop-up, you then choose to Assign (or Remove) from the Action dropdown and select the user to assign the tickets to from the User dropdown. Remember, you can only ever assign 1 user to tickets.
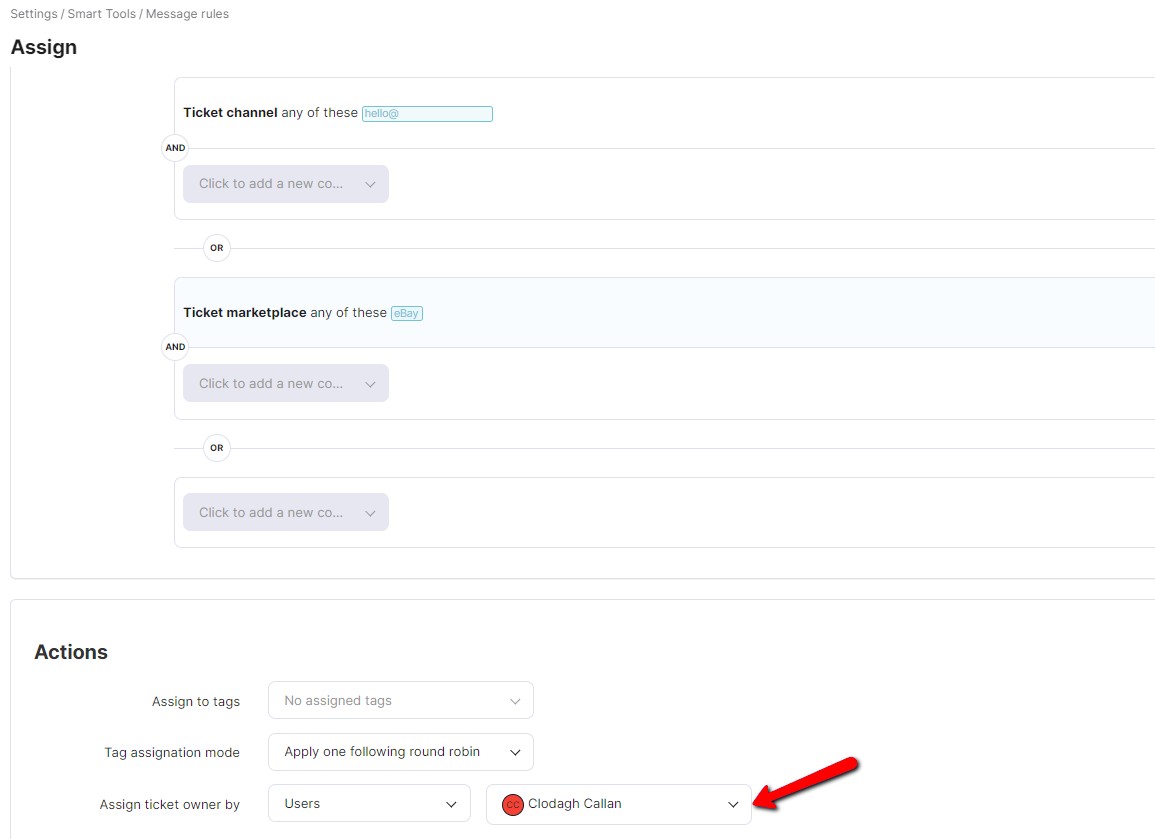
04 Automatically assign owners by using Message rules
You can use Message rules to tell eDesk to automatically assign certain tickets to team members based on the conditions you decide.
The easiest way to think about this in words is as if, then statements...If [condition] then [assign to teammate x].

Here are a few of the ways that you can use Rules:
-
If someone on the team deals with particular ticket types:
-
If [ticket type is return] then [assign to agent x]
-
-
If someone on the team deals with tickets related to particular products:
-
If [product SKU is x] then [assign to agent x]
-
-
If someone on the team deals with tickets related to certain order statuses:
-
If [order status is Payment Rejected] then [assign to agent x]
-
There are endless ways to uplevel your inbox efficiency with rules once you get the hang of it!
Further Reading
If you would like to find out more about Mentioning teammates on tickets, click here.
If you would like to find out more about responding faster with snippets, click here.
If you would be interested in learning more about using Message rules in eDesk, click here.
