We understand that you may want to change the ticket status manually because you know further action will be required to solve the ticket later or it may require a follow up later. If this is the case, you can easily choose the status yourself every time.
You can also schedule when you would like this message to send, with the new status you've chosen.
In this help file, we’ll show you how to manually select the status of the ticket after sending your reply, how to set the default status and how to schedule it.
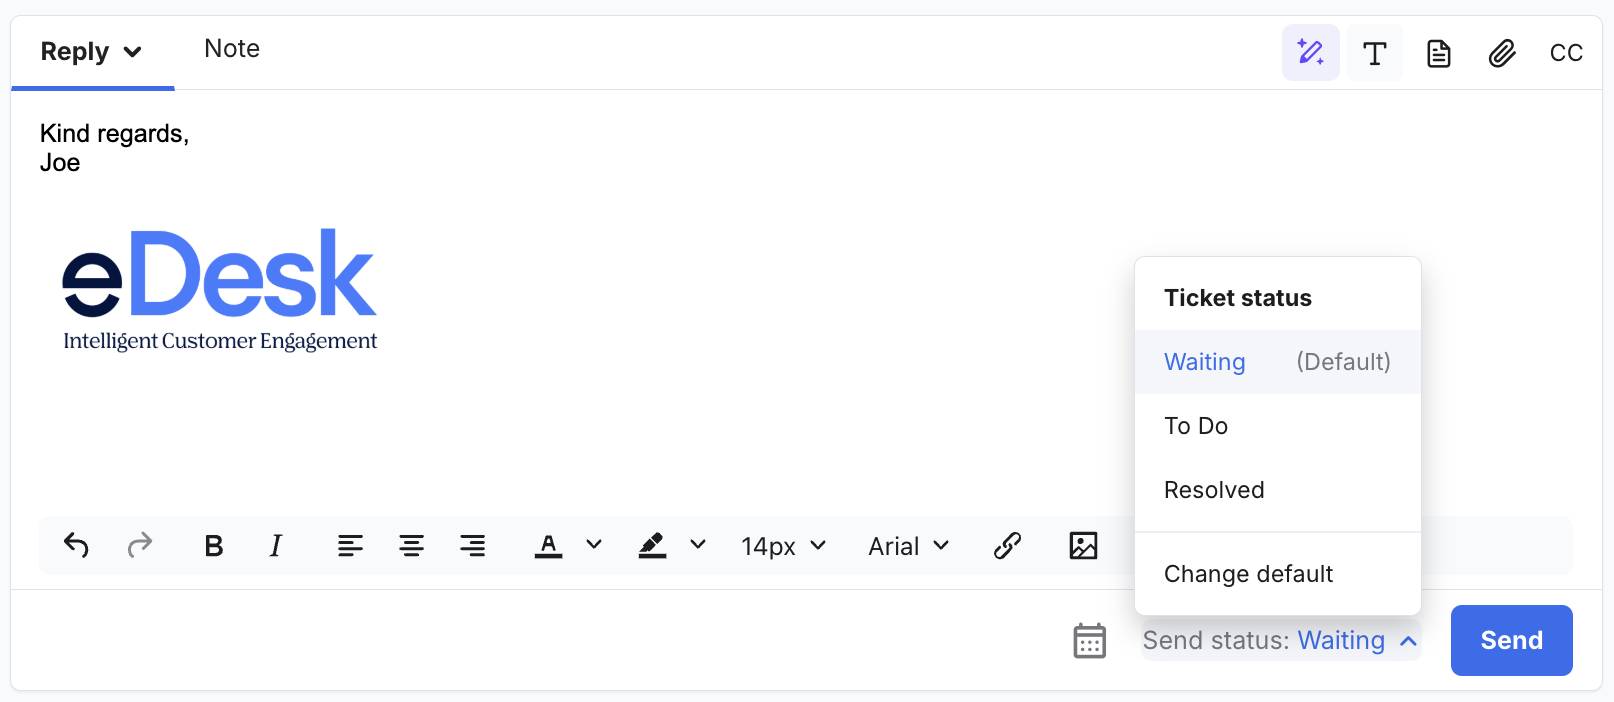
01 What is the Send status option?
This option allows you to select the status of the ticket that will be set once you send your reply. Each user can set the default status in their Profile Preferences or you can manually select an option.
Note: The send status is set to 'Resolved' by default in each account. This is user specific, so each user can change their own default option.
When you're ready to respond, click on the Send button. This will send the message and set the status of the ticket to the default option or the one one manually selected by clicking on the ^ arrow next to Send. The selected option will always be displayed next to the Send button.
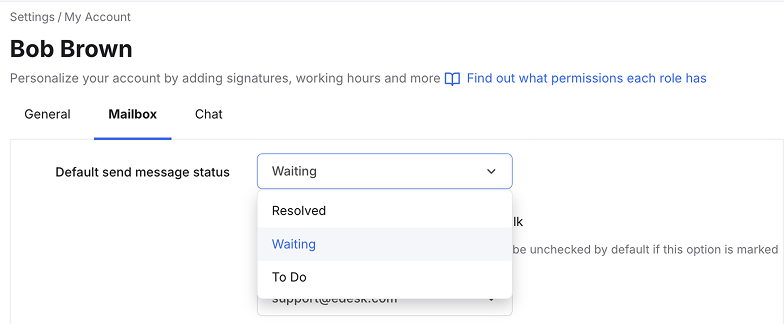
02 How do I change the default Send status?
It's very simple to change the default if you wish to do so, simply follow the instructions below:
- Go to Settings → My Account → Profile preferences
- Select the Mailbox tab
- Go Default send message status
- Select the option and press Save
Note: Each user will need to set this option within their own account settings.
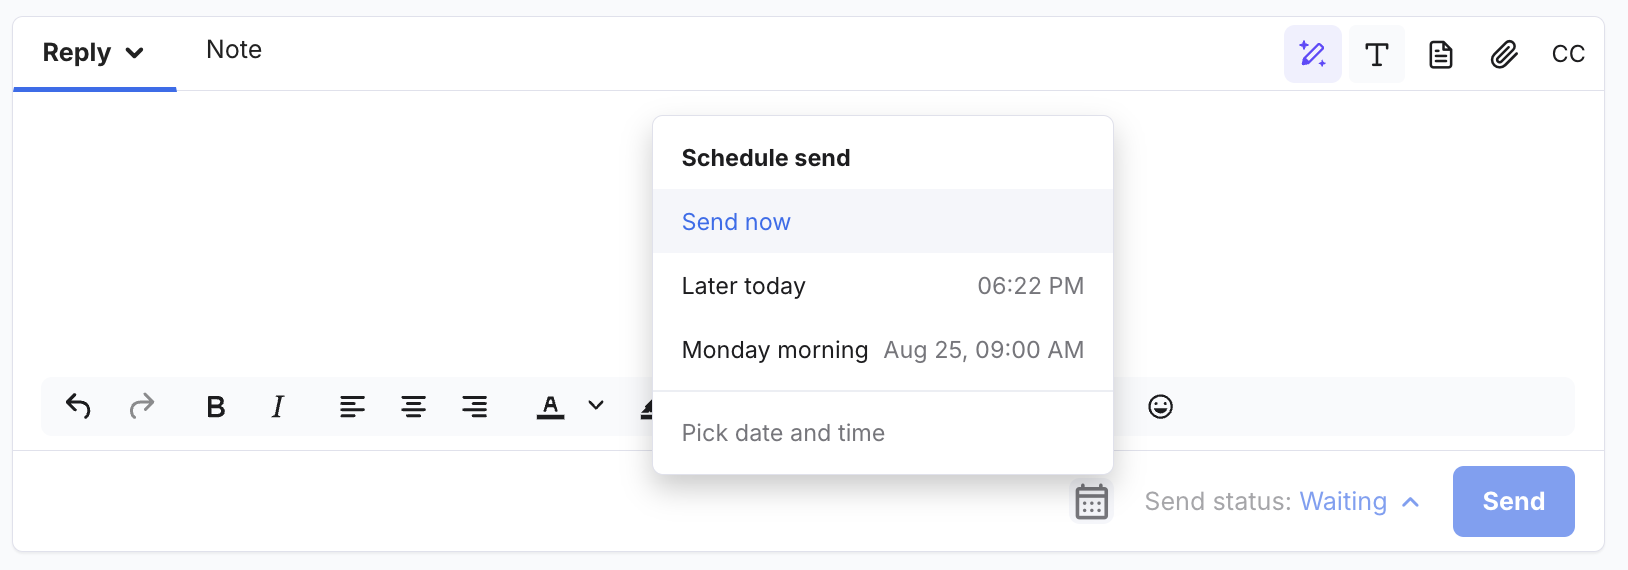
03 How do I use the scheduling option?
You can schedule your response to be sent at a time of your choosing from the calendar option next to the Send button.
There are pre-set options:
- Send now - default
- Send later (3 hours from now)
- Monday morning at 9am
 Once a time is set and the message sent, it will appear in the ticket thread with a countdown timer and an option to cancel sending.Once cancelled any time before the send time, the scheduled message will not be sent.
Further Readings
If you wanted to find out more about what ticket statuses like To-Do, Resolved, and Waiting mean, click here.
Interested in learning more about creating folders in your eDesk Mailbox to categorize your tickets, click here.