This help file will guide you through what actions to take if you are having issues with the Live Chat or Widgets in eDesk.
Before you start
- You need to have an eDesk account. To find out how to create one, click here.
- Some troubleshooting might require an Admin login to eDesk. If you don’t have an Admin login, you can request one from an Admin user within your business.
-
Chat created is not displayed in the Widgets list
If you've just created a Chat widget but it's not showing in the Active tab after saving the changes, it's probably because it's not enabled yet.
To enable the Chat, follow the instructions below:
-
Go to Settings → Smart Tools → Widgets.
-
Click on the Inactive tab (this is where all your previous attempts at creating a Chat Widget will be).
-
Select the Chat Widget you'd like to enable.
-
Select the Widget Enabled slider so that it is blue.
-
Scroll down and Save Changes.

-
Widget not showing on website/webstore
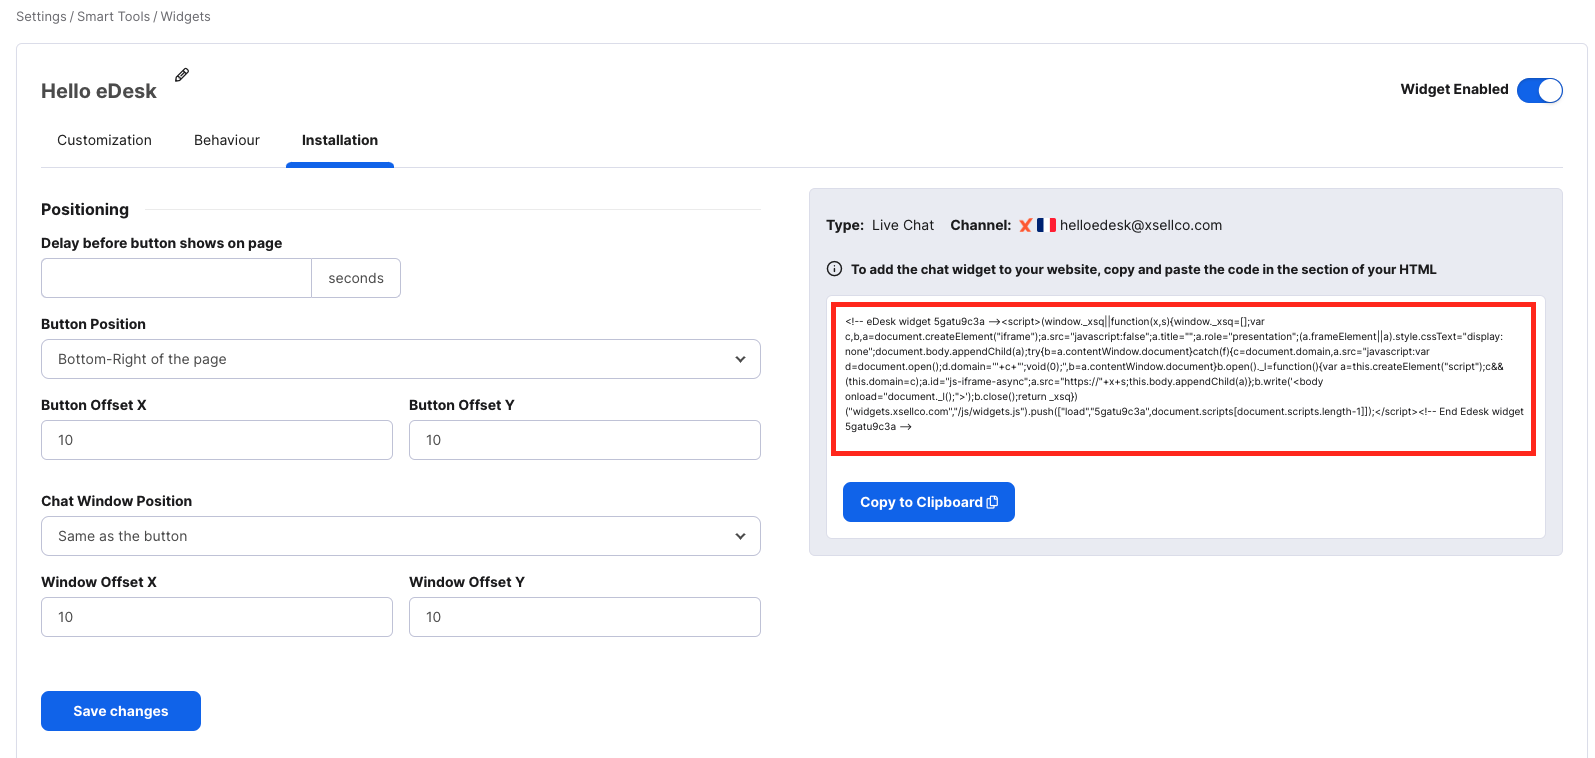
Once you create a widget in eDesk, we will display a widget code that you can copy and paste directly into your website or webstore HTML page. Select Copy to Clipboard to copy the code.

It is essential that the widget code is copied into the < body > section of the website HTML page. If it is copied into the < head > section, the widget won't work.
-
Live Chat window not showing on the website/webstore
If you're having trouble with your Live Chat window not showing on your website or webstore, it can be because it's not enabled yet.
To enable the Live Chat, follow the instructions below:
-
Go to Settings → Smart Tools → Widgets.
-
Click on the Inactive tab and select the Chat widget you'd like to enable.
-
Select the Widget Enabled slider so that it is green.
-
Scroll down and Save Changes.

To set your own Chat Hours, go to Settings → My Account → Chat tab → Online Working Hours.
Note: If any agents change their status to Online after Chat Hours, the Live Chat will reopen once again and the Contact Form will be disabled.-
Agents don't have access to the Live Chat
You can easily give users access to the Live Chat via the Permissions screen. This needs to be done by an Admin user in your company.
To give access to the Live Chat, simply follow the instructions below:
-
Go to Settings → Company Settings → Users.
-
Click on the user you wish to give access to.
-
Go to the Permissions section and tick the Allow button for Chat.
-
Scroll down and Save Changes.

After doing that, the user in question will have access to the Live Chat and can set it Online when they're ready to take chats.

-
Live Chat window appearing Offline
If you have agents online but the Live Chat window is appearing offline on your website or webstore, it could be because of inactive chats.
Example: you have one agent on Chat and you have set a limit number of 5 chats.
This means that this user will only be able to take 5 chats at the same time. If you don't close the chats once they're finished, they will still appear In Progress in eDesk and therefore the Live Chat window will appear online (as the agent online already has a maximum of 5 chats).
To troubleshoot this, you will need to close the inactive chats. You can simply follow the instructions below:
-
Click on the Chat icon on the left-hand side.
-
Select the In Progress section where you will see all the chats that haven't been closed.
-
Select the chat you wish to close and select Options → Turn chat into closed ticket.

Once you close the inactive chats, the Live Chat window will re-appear online on your website or webstore.
Related articles
How does the Live Chat work for your customers and your team?
Setting up eDesk's Live Chat
Website Contact Forms
Still experiencing issues?
Don't hesitate to contact our Support Team for help!