This help file will show you how to have the customer information showing again when tickets are created.
Before you start
- You'll need an eDesk account. To find out how to create one, click here.
01 Enabling the Contact Form tickets option
- Go to Settings → Mailbox Settings → select the channel of your choice.
- Then select the Mailbox tab.
- After that, simply scroll down and tick the Contact Form tickets enabled option.
- Click Save Changes.
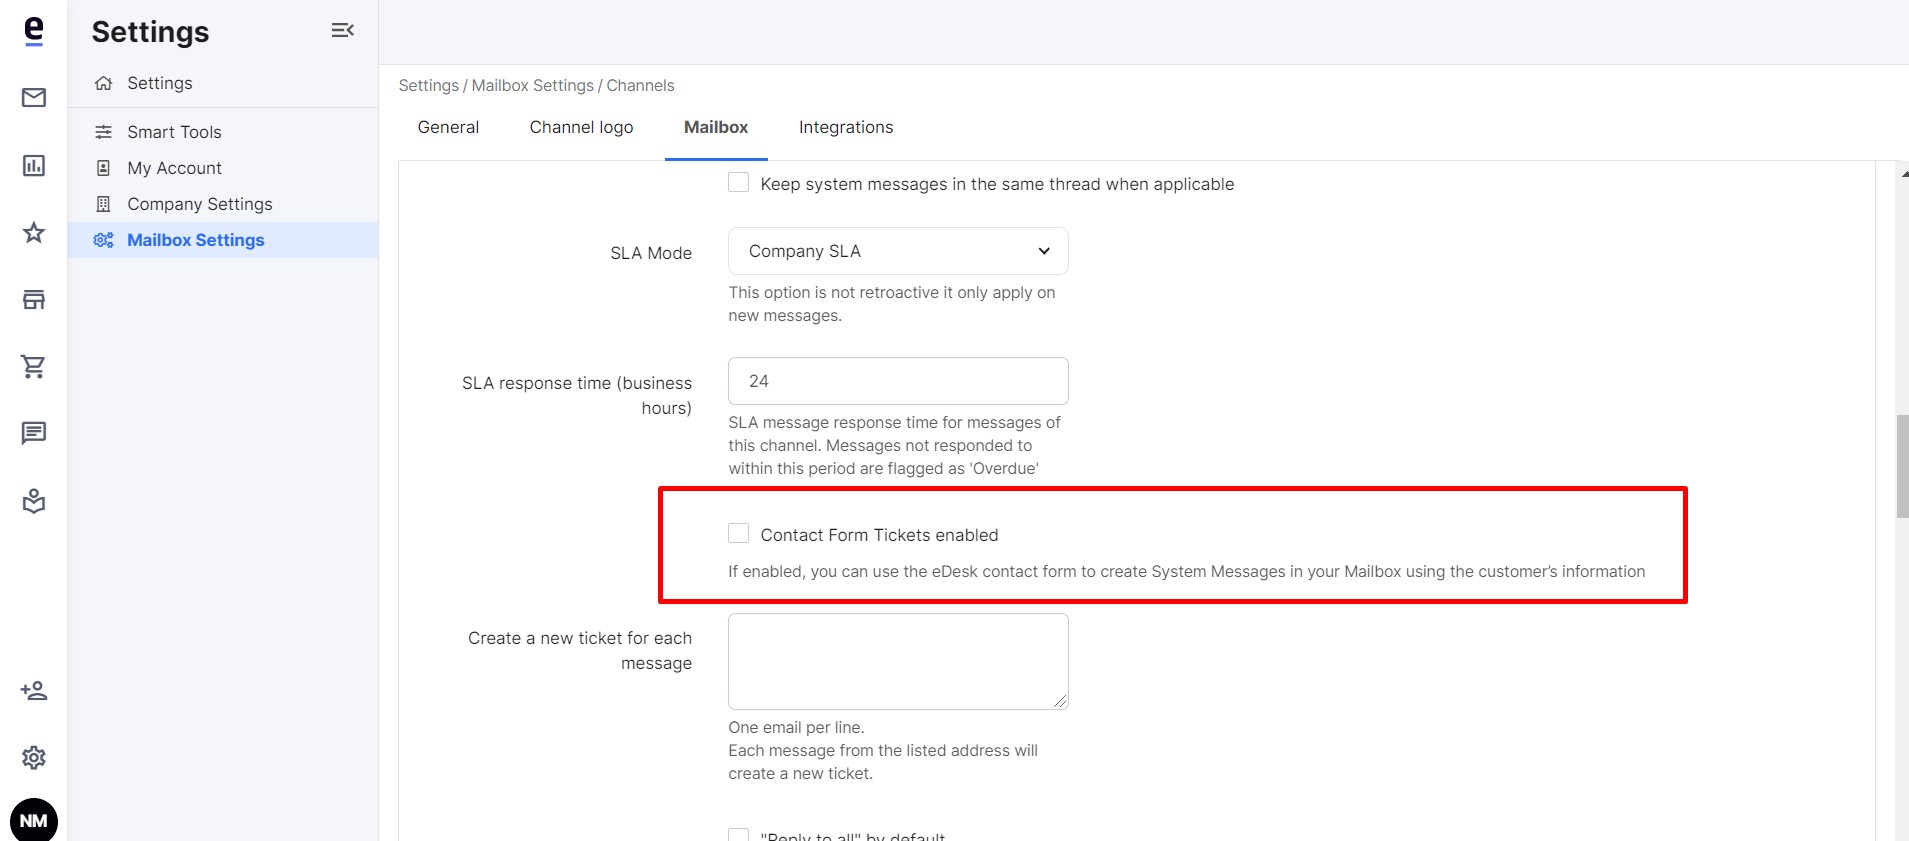 When this option is enabled, it means the customer's details will be automatically added to the System Message created in eDesk when they email you through one of your contact forms.
That way it makes it easier for you to reply to them without using an external message.
Note: if you use contact forms for more than one channel, you would need to repeat the process above for those channels too.
Further Readings
To find out more about contact forms in eDesk, click here.
Interested in learning more about responding to your customers with eDesk? Click here.