Connecting Gmail to eDesk couldn't be easier. Once set up, all emails sent to your Gmail inbox will appear in eDesk, allowing you to manage customer queries seamlessly.
This helpfile will walk you through connecting Gmail to eDesk.
Before you start
- You’ll need an Admin login to eDesk. If you don’t have an Admin login, you can request one from an Admin user within your business.
- You'll need a Gmail account. To find out how to create one, click here.
01 Connecting Gmail
When you connect a Gmail address to eDesk, the eDesk Mailbox will display all the emails that are sent to that Gmail address, or only emails from a specific folder if you choose, so that you can manage your customer emails in eDesk. Here's how to set it up:Step 1. Open the App Store
- In eDesk, select the App Store icon in the left-hand menu.

- Search for Gmail and click on the Gmail tile. An overview of how the channel integrates with eDesk will be displayed. Additionally, an Installed Channels tab will appear if you have already connected Gmail accounts to eDesk.
Step 2. Install & Authorize
- Click Install App

- Click Authorize eDesk

- Select the Gmail account you want to connect. If it’s not listed, click Use another account and log in.
- Grant eDesk the necessary permissions and click Continue.


Step 3. Choose a Folder (Optional)
- If you want eDesk to pull emails from a specific Gmail folder instead of the entire inbox, click Select Folder and choose one.
- If you choose not to select a folder, eDesk will pull all emails from your inbox.

Pro Tip: Need a new folder or haven't already a folder created in Gmail? Open Gmail in another tab, create a folder, apply filters, then refresh eDesk to see and select it.
Step 4. Finish Setup
- Click Finish Setup.
- All emails from your selected Gmail folder (or the Inbox) will now appear in your eDesk Mailbox.
02. Extra Gmail Settings
Once your Gmail is connected, you can fine-tune its settings:
- Go to Settings → Mailbox Settings → Channels.
- Click on your Gmail channel (listed in the Title column).
- Select the Mailbox tab and scroll down to find these options:

Mark Gmail messages as read when:
- Pulled into eDesk: Emails are marked as Read in Gmail as soon as they appear in eDesk (Default).
- Opened in eDesk: Emails are marked as Read in Gmail only when an agent opens them in eDesk.
- Replied to in eDesk: Emails are marked as Read in Gmail after an agent replies from eDesk.
Include subfolders:
- Tick this option if you want eDesk to pull emails from subfolders as well.
Previous messages:
- Choose how many previous messages should be quoted at the bottom of outgoing emails.
- Note: It's recommended to select "Don’t quote any previous messages" for a cleaner eDesk experience.
Do not reopen closed tickets:
- Tick this option if you want new customer emails to create a new ticket instead of reopening an old, closed ticket.
Include spam in all emails pulled from Gmail:
- This option is displayed if you have chosen to pull all mail. Tick the checkbox if you want eDesk to pull all emails from Gmail including emails that have been categorised as Spam by Gmail. If left unticked, only non-Spam emails will be pulled into eDesk.
Click Save Changes to apply your settings.
03. Changing the Gmail Folder in eDesk
You can easily update the Gmail folder that eDesk pulls emails from.
- Go to Settings > Mailbox > Channels.
- Click on the Title of the Gmail channel.
- In the Mailbox tab, scroll down to the Source Folder field.
- Click the dropdown to show the folders in the Gmail account.
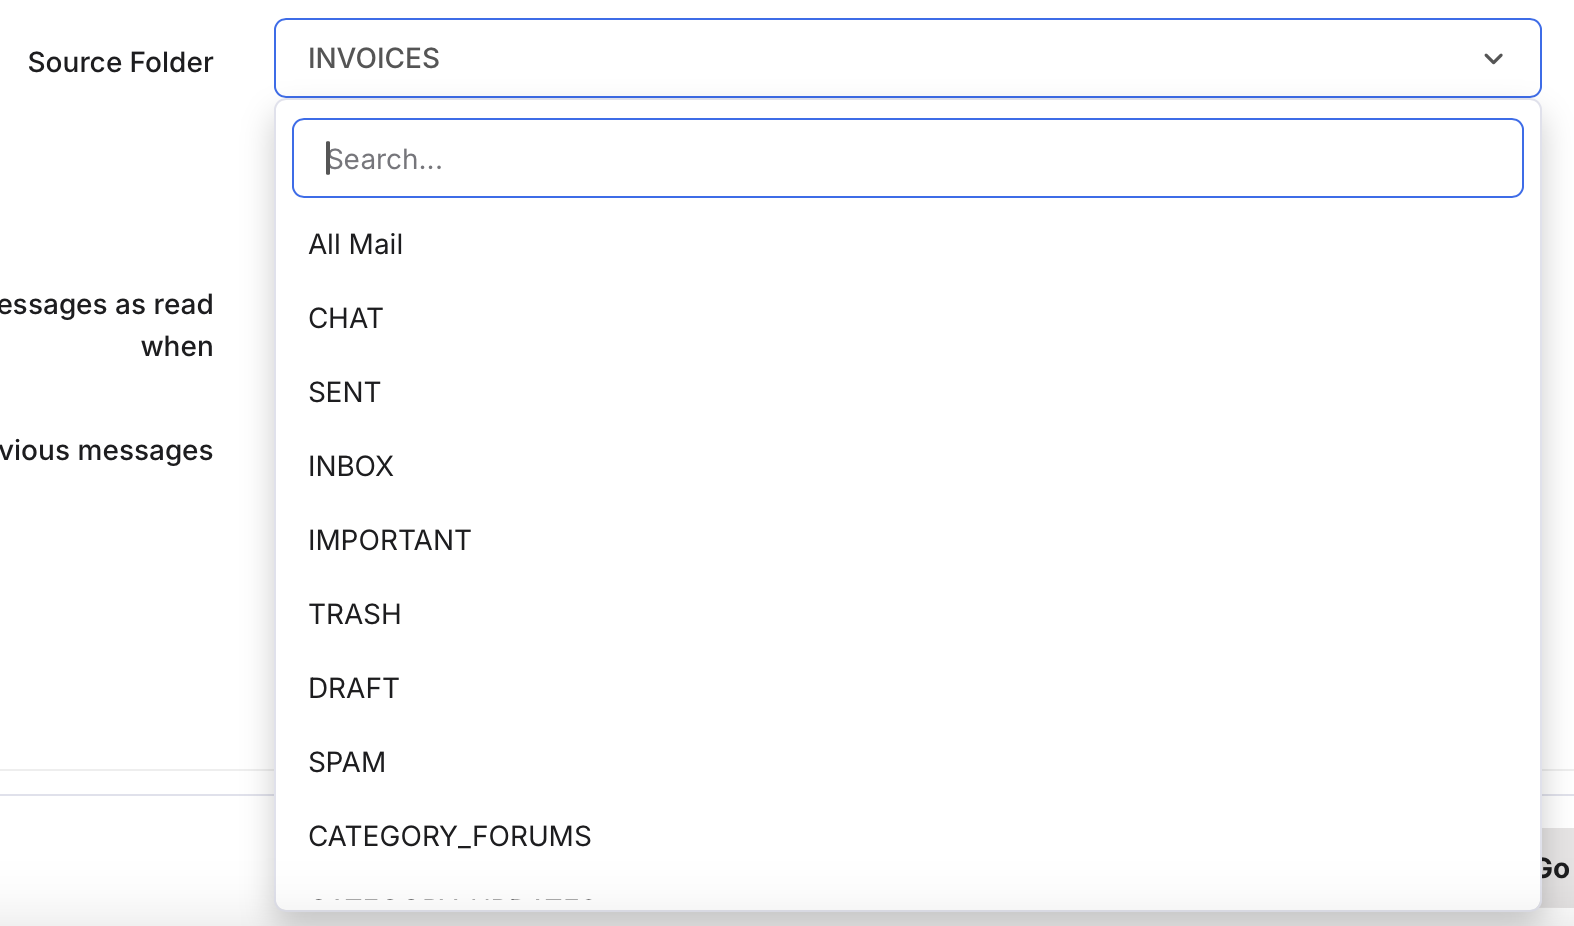
- Select a different Gmail folder.
- Click Save Changes.
Further Reading
If you would like to learn how to connect an Outlook email to eDesk, click here.If you would like to connect a Yahoo account, click here.