Before you start
- You’ll need to have admin log in details in eDesk. If you don’t have an admin login, you can request one from an admin user within your business.
- You’ll need a Seller Central account on Amazon. If you want to find out more about creating, click here.
Each of your Amazon channels has a specific eDesk email address, so if you have multiple Amazon channels be sure to follow these steps for each.
Note: To connect your Amazon channel to eDesk, you need to be logged in as the owner of the Amazon Seller Central account in question otherwise an 'Insufficient user rights' message will pop up.
01 Setting up the Mailbox
To send and receive messages successfully in eDesk, we need to set up the Mailbox by following a few more steps from our Settings --> Channels --> select your Amazon channel --> Mailbox tab.At the top of this page, you'll find your new eDesk email address. You'll need to copy and use it for all of the following steps.
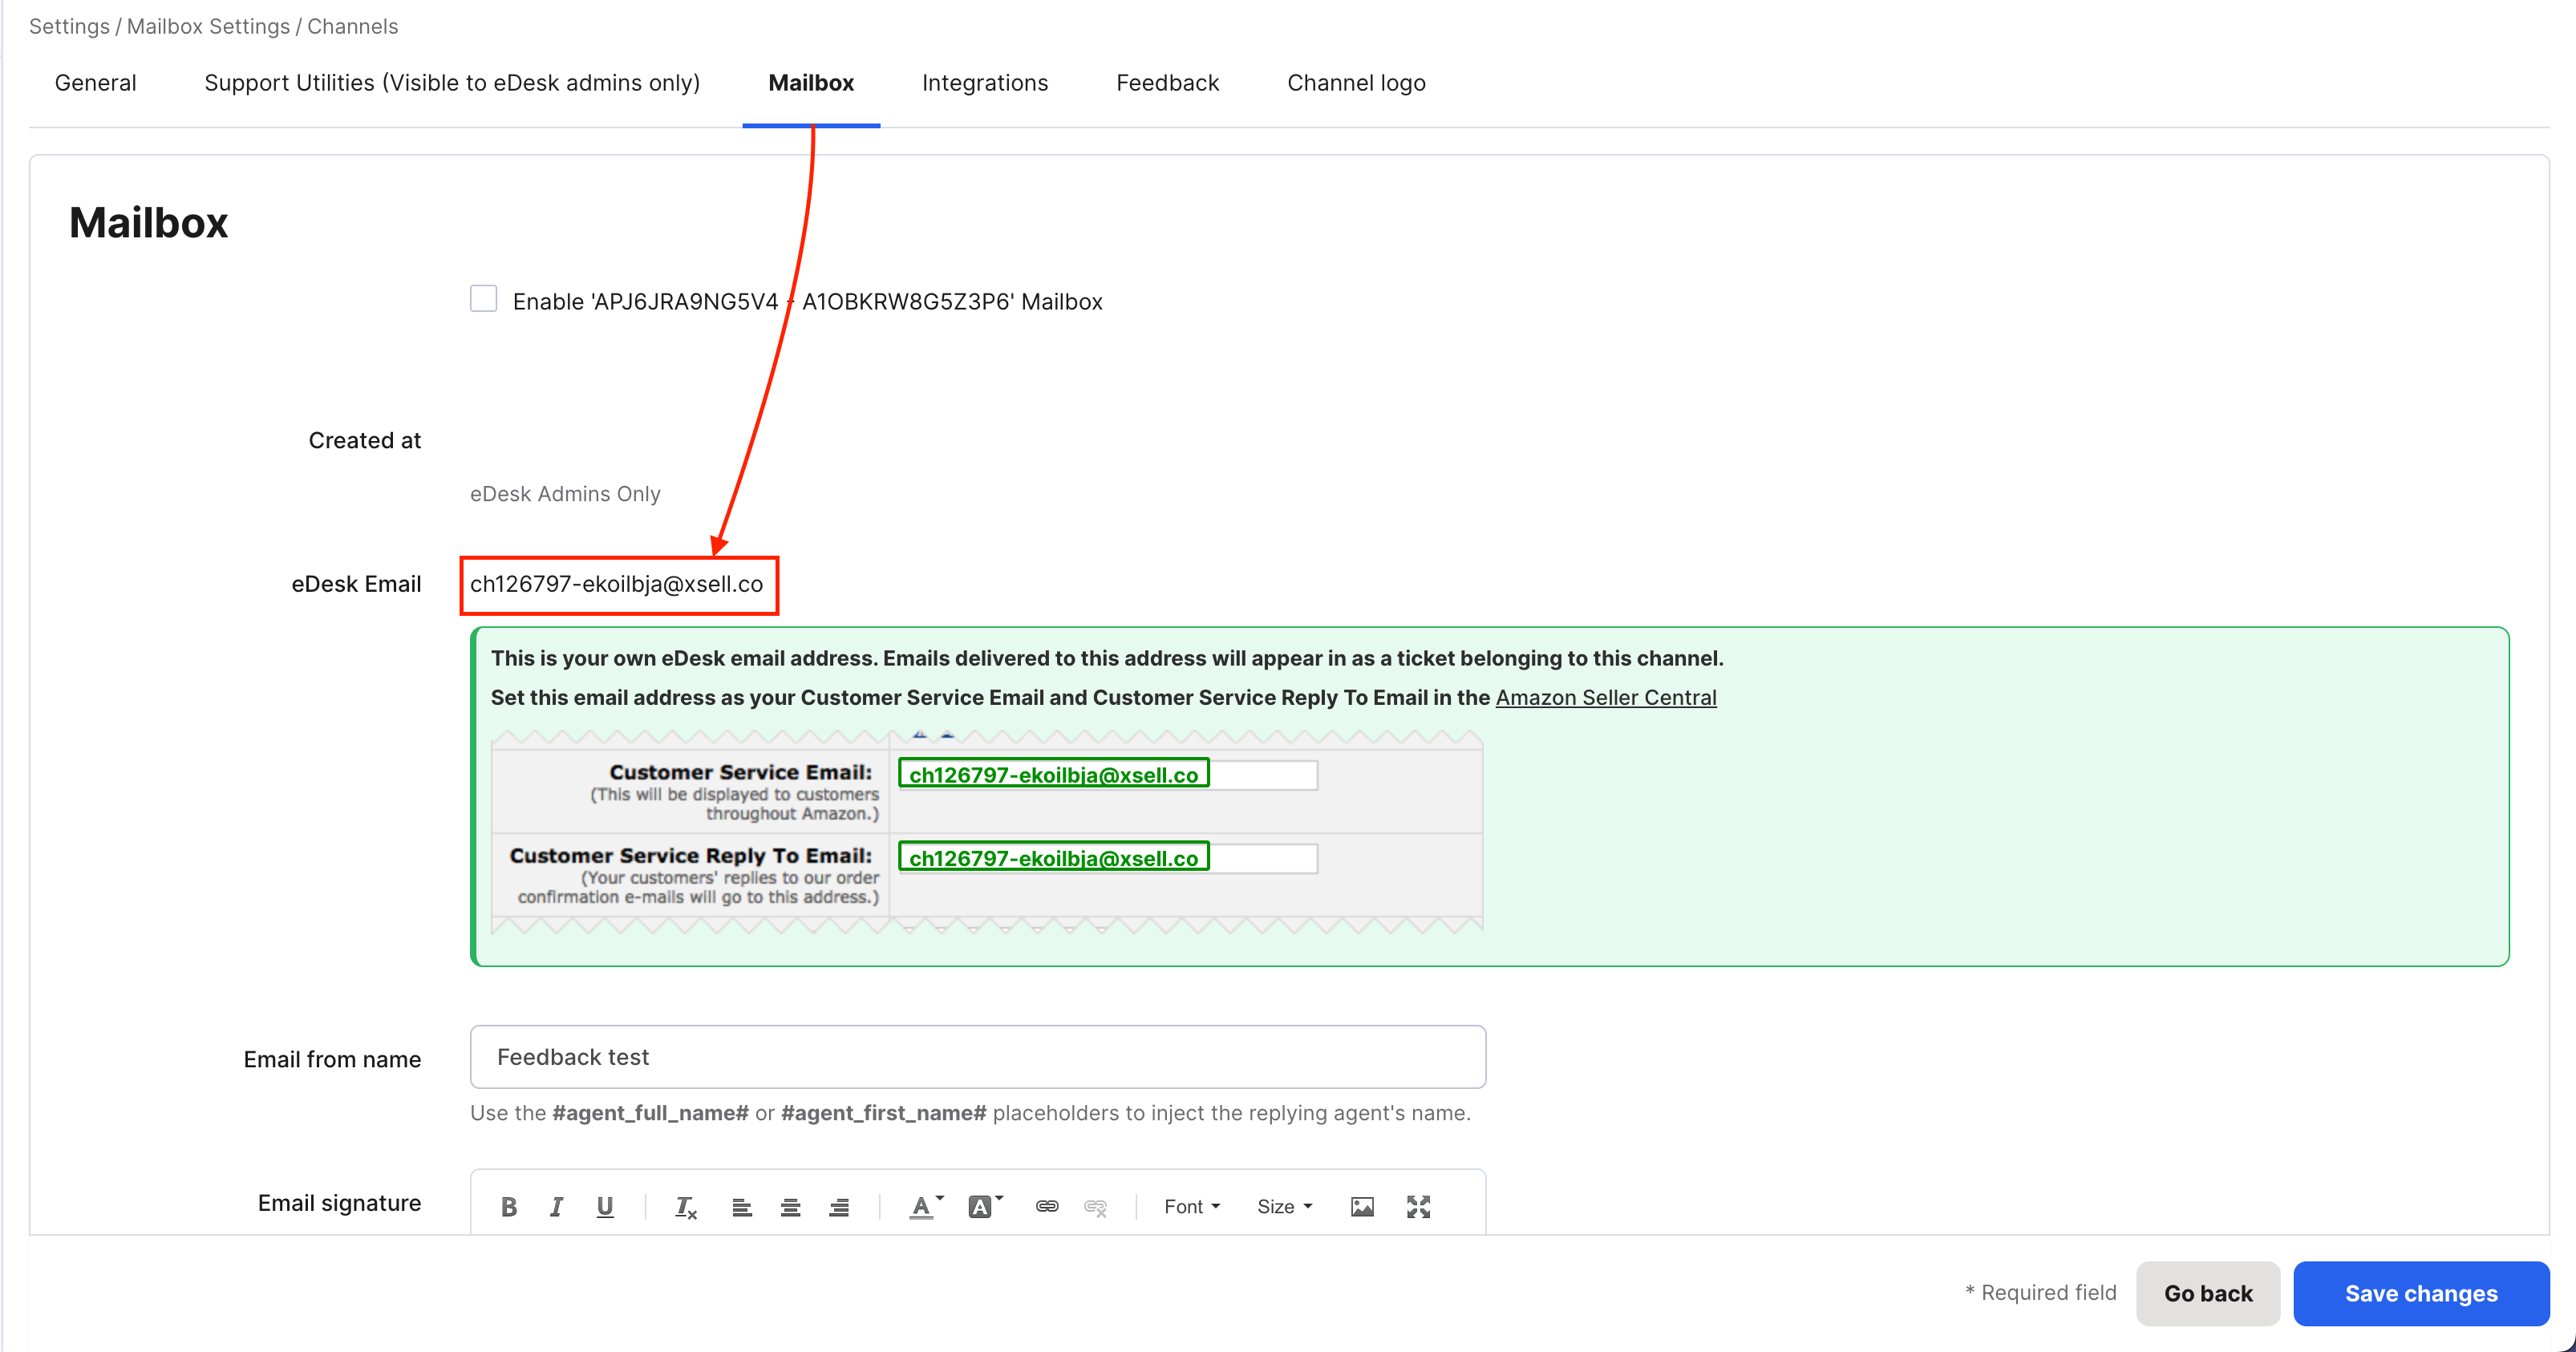
Update Customer Service details in Amazon (Email Forwarding)
Setting up mail forwarding will allow messages to flow into eDesk.
- Navigate to Seller Information in Amazon.
- Go to the marketplace that you’ve connected and click edit beside 'Customer service details'.
- Paste the new eDesk channel address you copied above into the fields 'Customer Service Email' and 'Customer Service Reply to Email'.
- Press 'Submit' to update Amazon and then return here to go on to the next step.
Add Alternative Address to Amazon (add eDesk as a sender)
To ensure messages can be sent from your eDesk mailbox you'll need to add you new eDesk address to Amazon.
- Copy the new eDesk email from above again.
- Navigate to Messaging Permissions in Amazon
- Click '+Add an email address' and add your new eDesk channel address.
- Press 'Save' to update Amazon and then return here to go on to the next step.
Notifications Step 1 (Update Returns and Claim Notifications)
This step will ensure you get all relevant Amazon notifications in eDesk. It's vital to complete this step for your messaging to work.
- Finally, navigate to Notification Options.
- Scroll down to 'Return and Claim Notifications' and click on 'Edit'.
- Click the 'Add another' under 'Pending Returns' email address, and paste your new eDesk channel address.
- Repeat for 'Claims Notifications' and 'Refund Notifications'.
- Press 'Save' to update Amazon and then return here to go on to the next step.
Notifications Step 2 (Update Amazon Messaging Preferences)
This step will ensure you get all relevant Amazon notifications in eDesk. It's vital to complete this step for your messaging to work.
- Return to Notification Options.
- Scroll down to 'Messaging' and click on 'Edit'.
- Click the 'Add another' under 'Buyer Messages' email address, and paste your new eDesk channel address.
- Repeat for 'Confirmation Notifications', 'Delivery Failures', 'Buyer Opt-out'.
- Press 'Save' to update Amazon.
02 Where do I see data from Amazon in eDesk?
Now that you successfully connected your Amazon account, we will import data directly into your eDesk account.
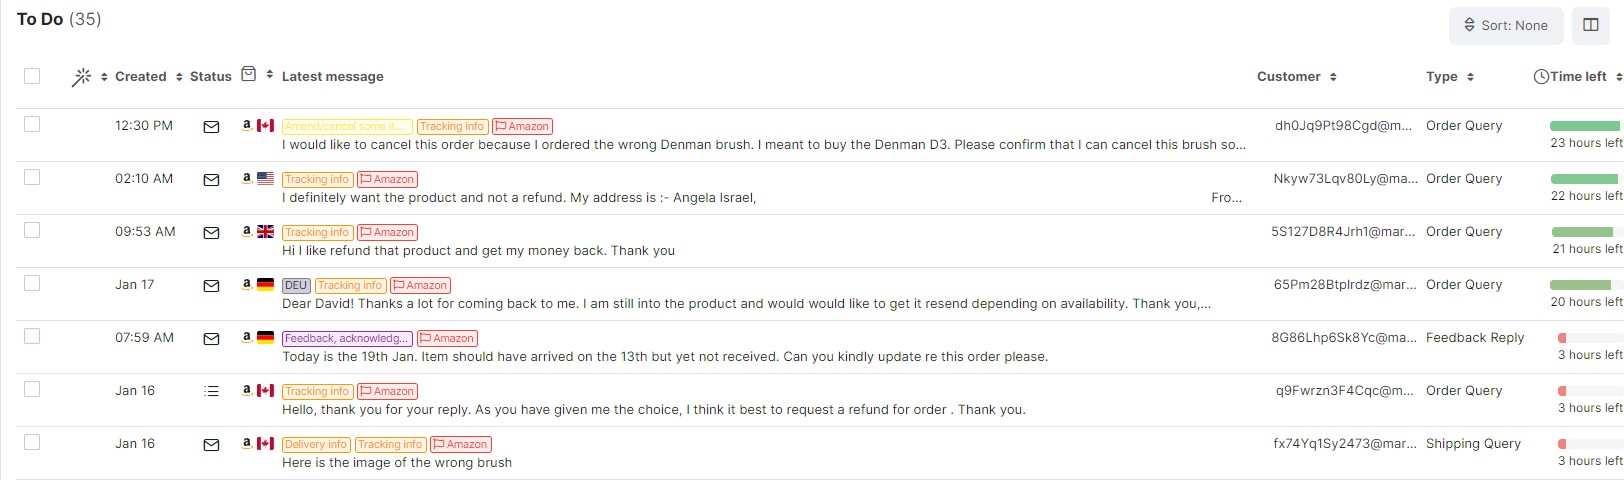
You will be able to see all your buyer messages on the Mailbox screen:
You will see the Amazon data related to each ticket on the right-hand side of every single ticket:

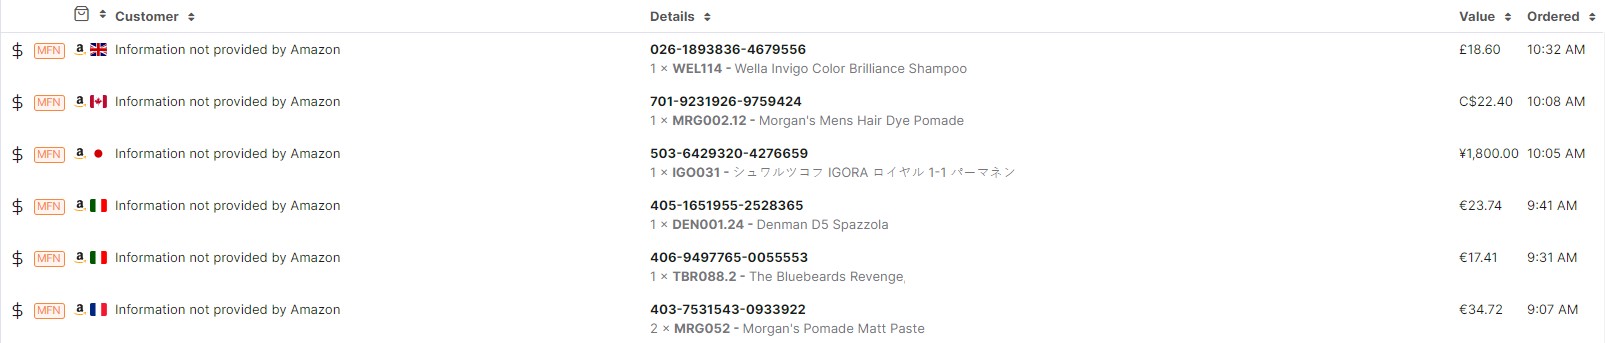
And you also will be able to consult all your Amazon orders directly on the Orders screen in eDesk:
Further Readings
If you would like to find out more about eDesk Mailbox, click here.
If you would be interested in learning more about the Orders tab, click here.