In this guide, we'll explain how to set up Profiles and assign them to Chatbots and Smart reply.
Before you start
- AI assist is an eDesk add-on.
- Automations is added to your subscription once you set up HandsFree or add a Chatbot.
- To learn more, click here.
- You’ll need to have permissions to view Profiles which is available to Admins and Team leads.
01 What's a Profile?
Profiles enable you to create different AI personalities, which you can then assign to the Chatbot and Smart reply features in eDesk. Inside each profile, you can set the following:- Name
This is the name of the profile, which is displayed in the Profiles list and also in the Profile field in the Chatbot settings. - Tone of voice
Defines the personality, style, and emotional quality of the language that the Chatbot and/or Smart reply will use. eDesk provides a list of out-of-the-box options; choose one from the list. - Level of detail
Relates to the amount of text that the Chatbot and/or Smart reply will use in customer interactions. eDesk provides a list of out-of-the-box options; choose one from the list. - Training content
Select or create a library, which will be used by Smart reply and/or Chatbots to answer customers. - Smart reply
Select which channels you want Smart reply to use the tone of voice, level of detail, and content library in this profile. - Chatbot
Assign this profile to a chatbot to instruct the chatbot to use the tone of voice, level of detail, and Training content in this profile.
02 How do I create a Profile?
1. Go to Settings > AI > Profiles: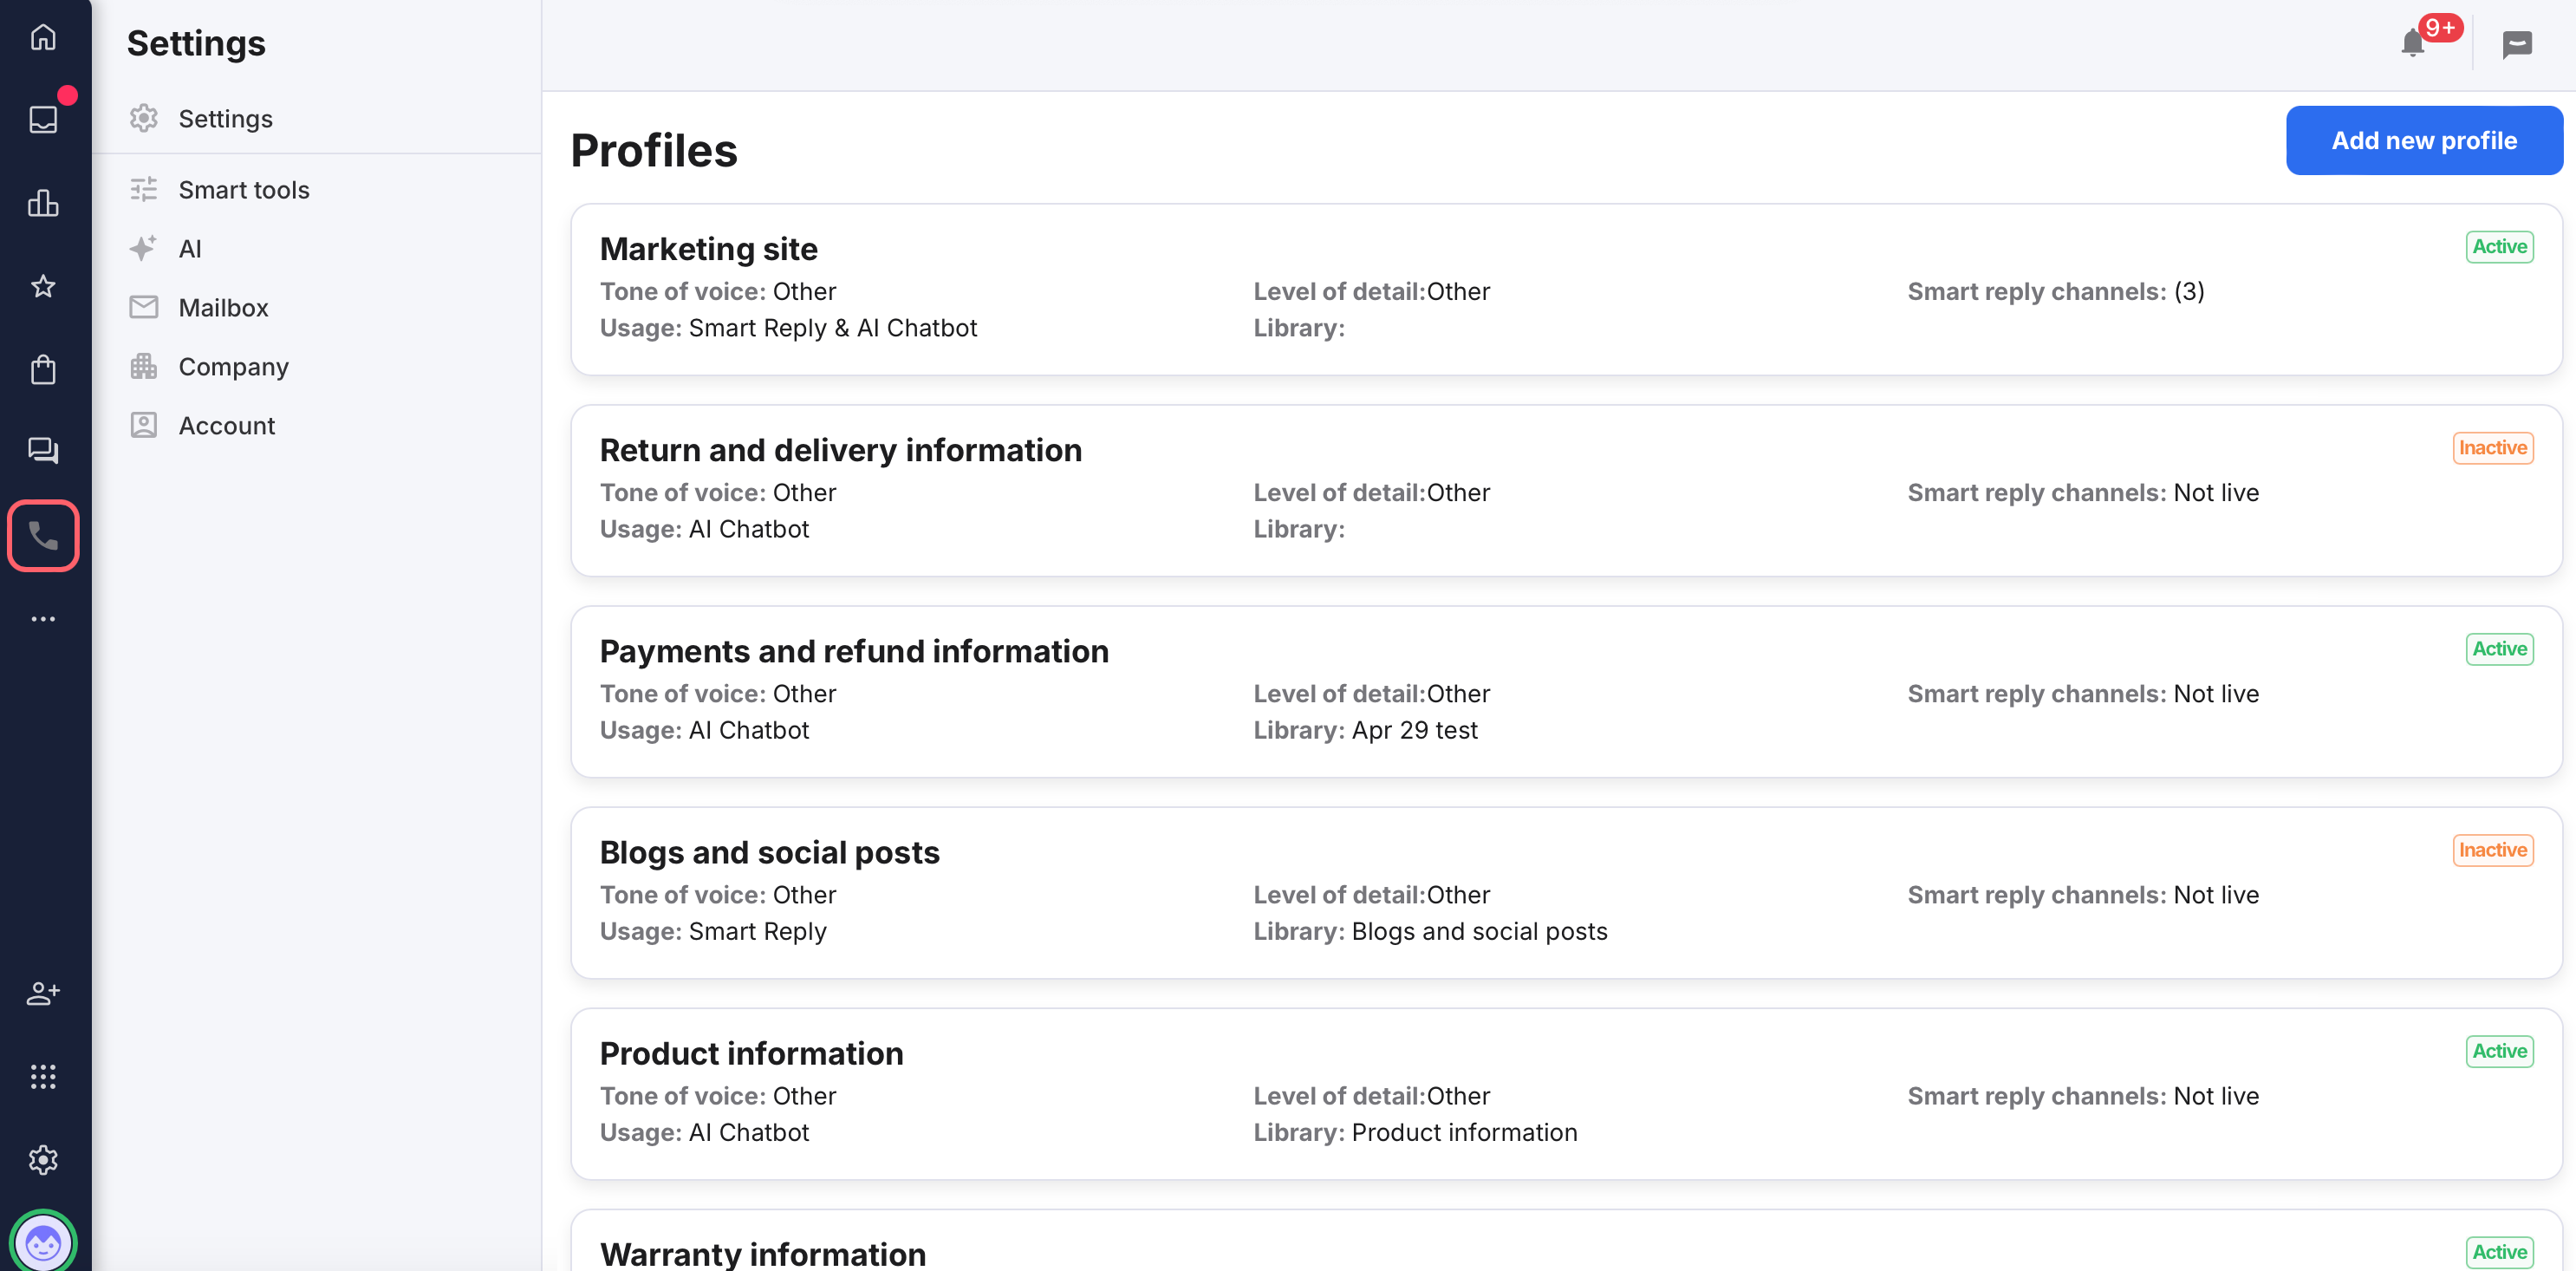
2. Select Add profile to open the Profile - Setup page:
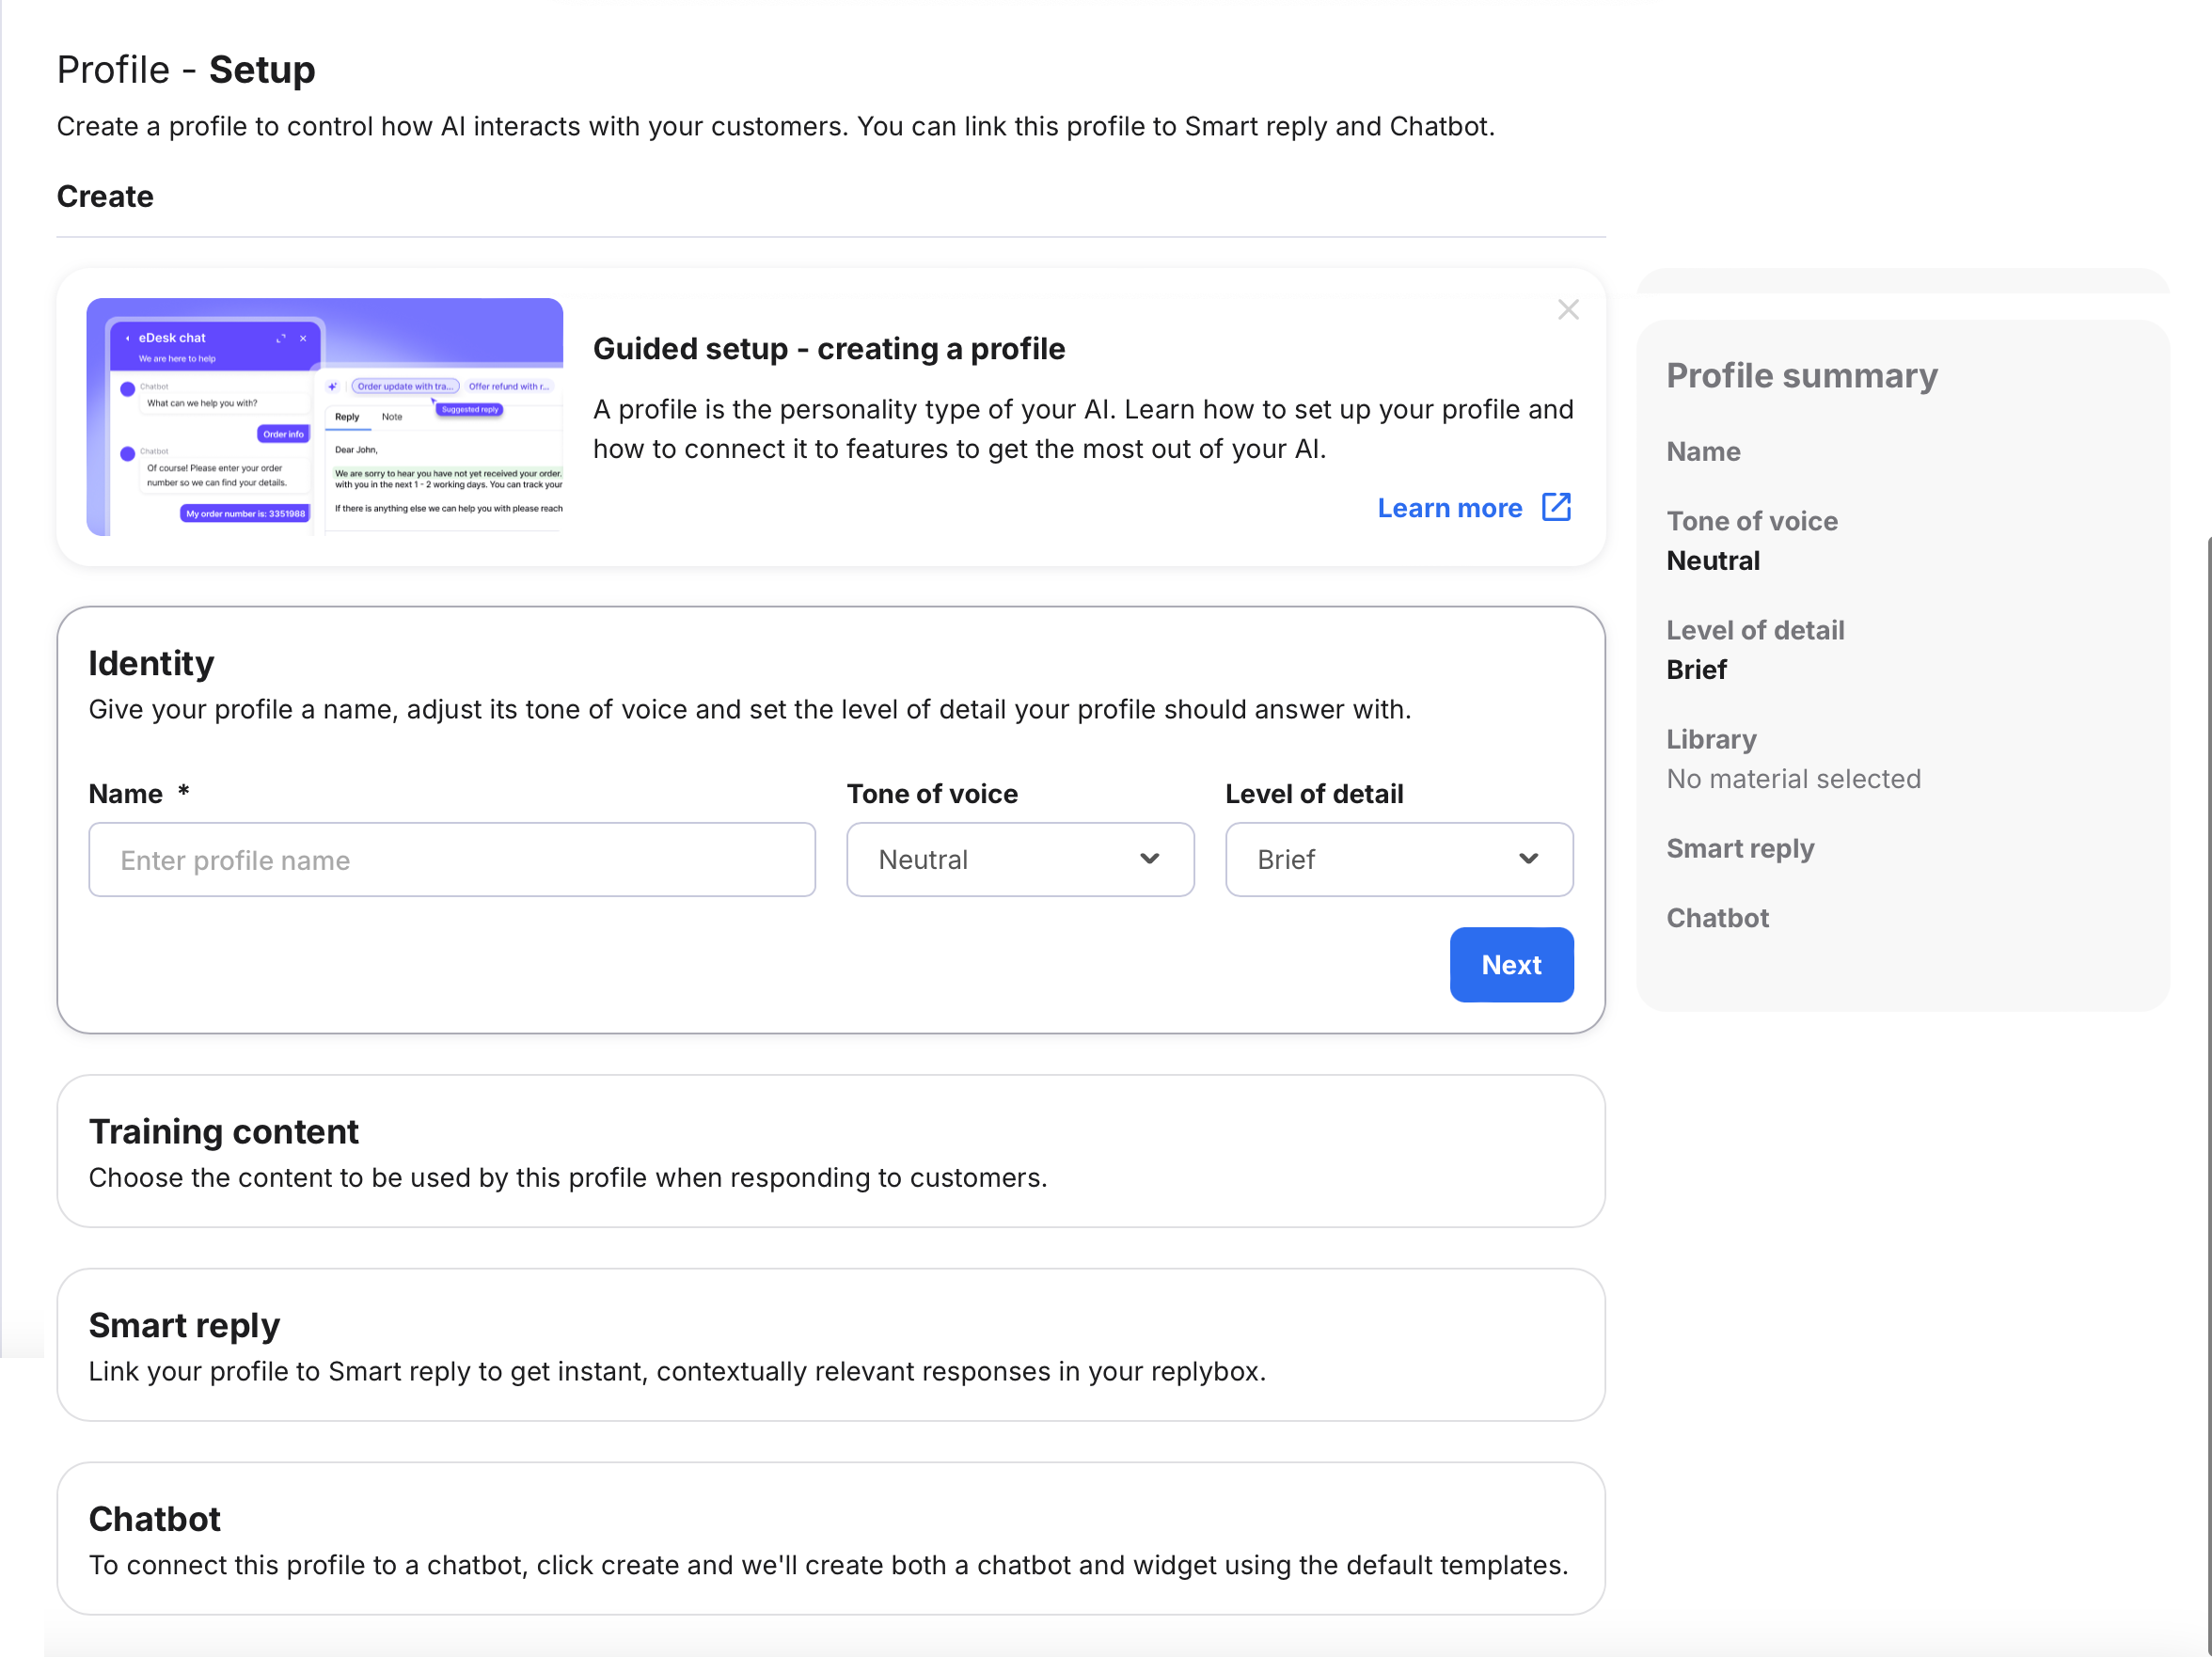
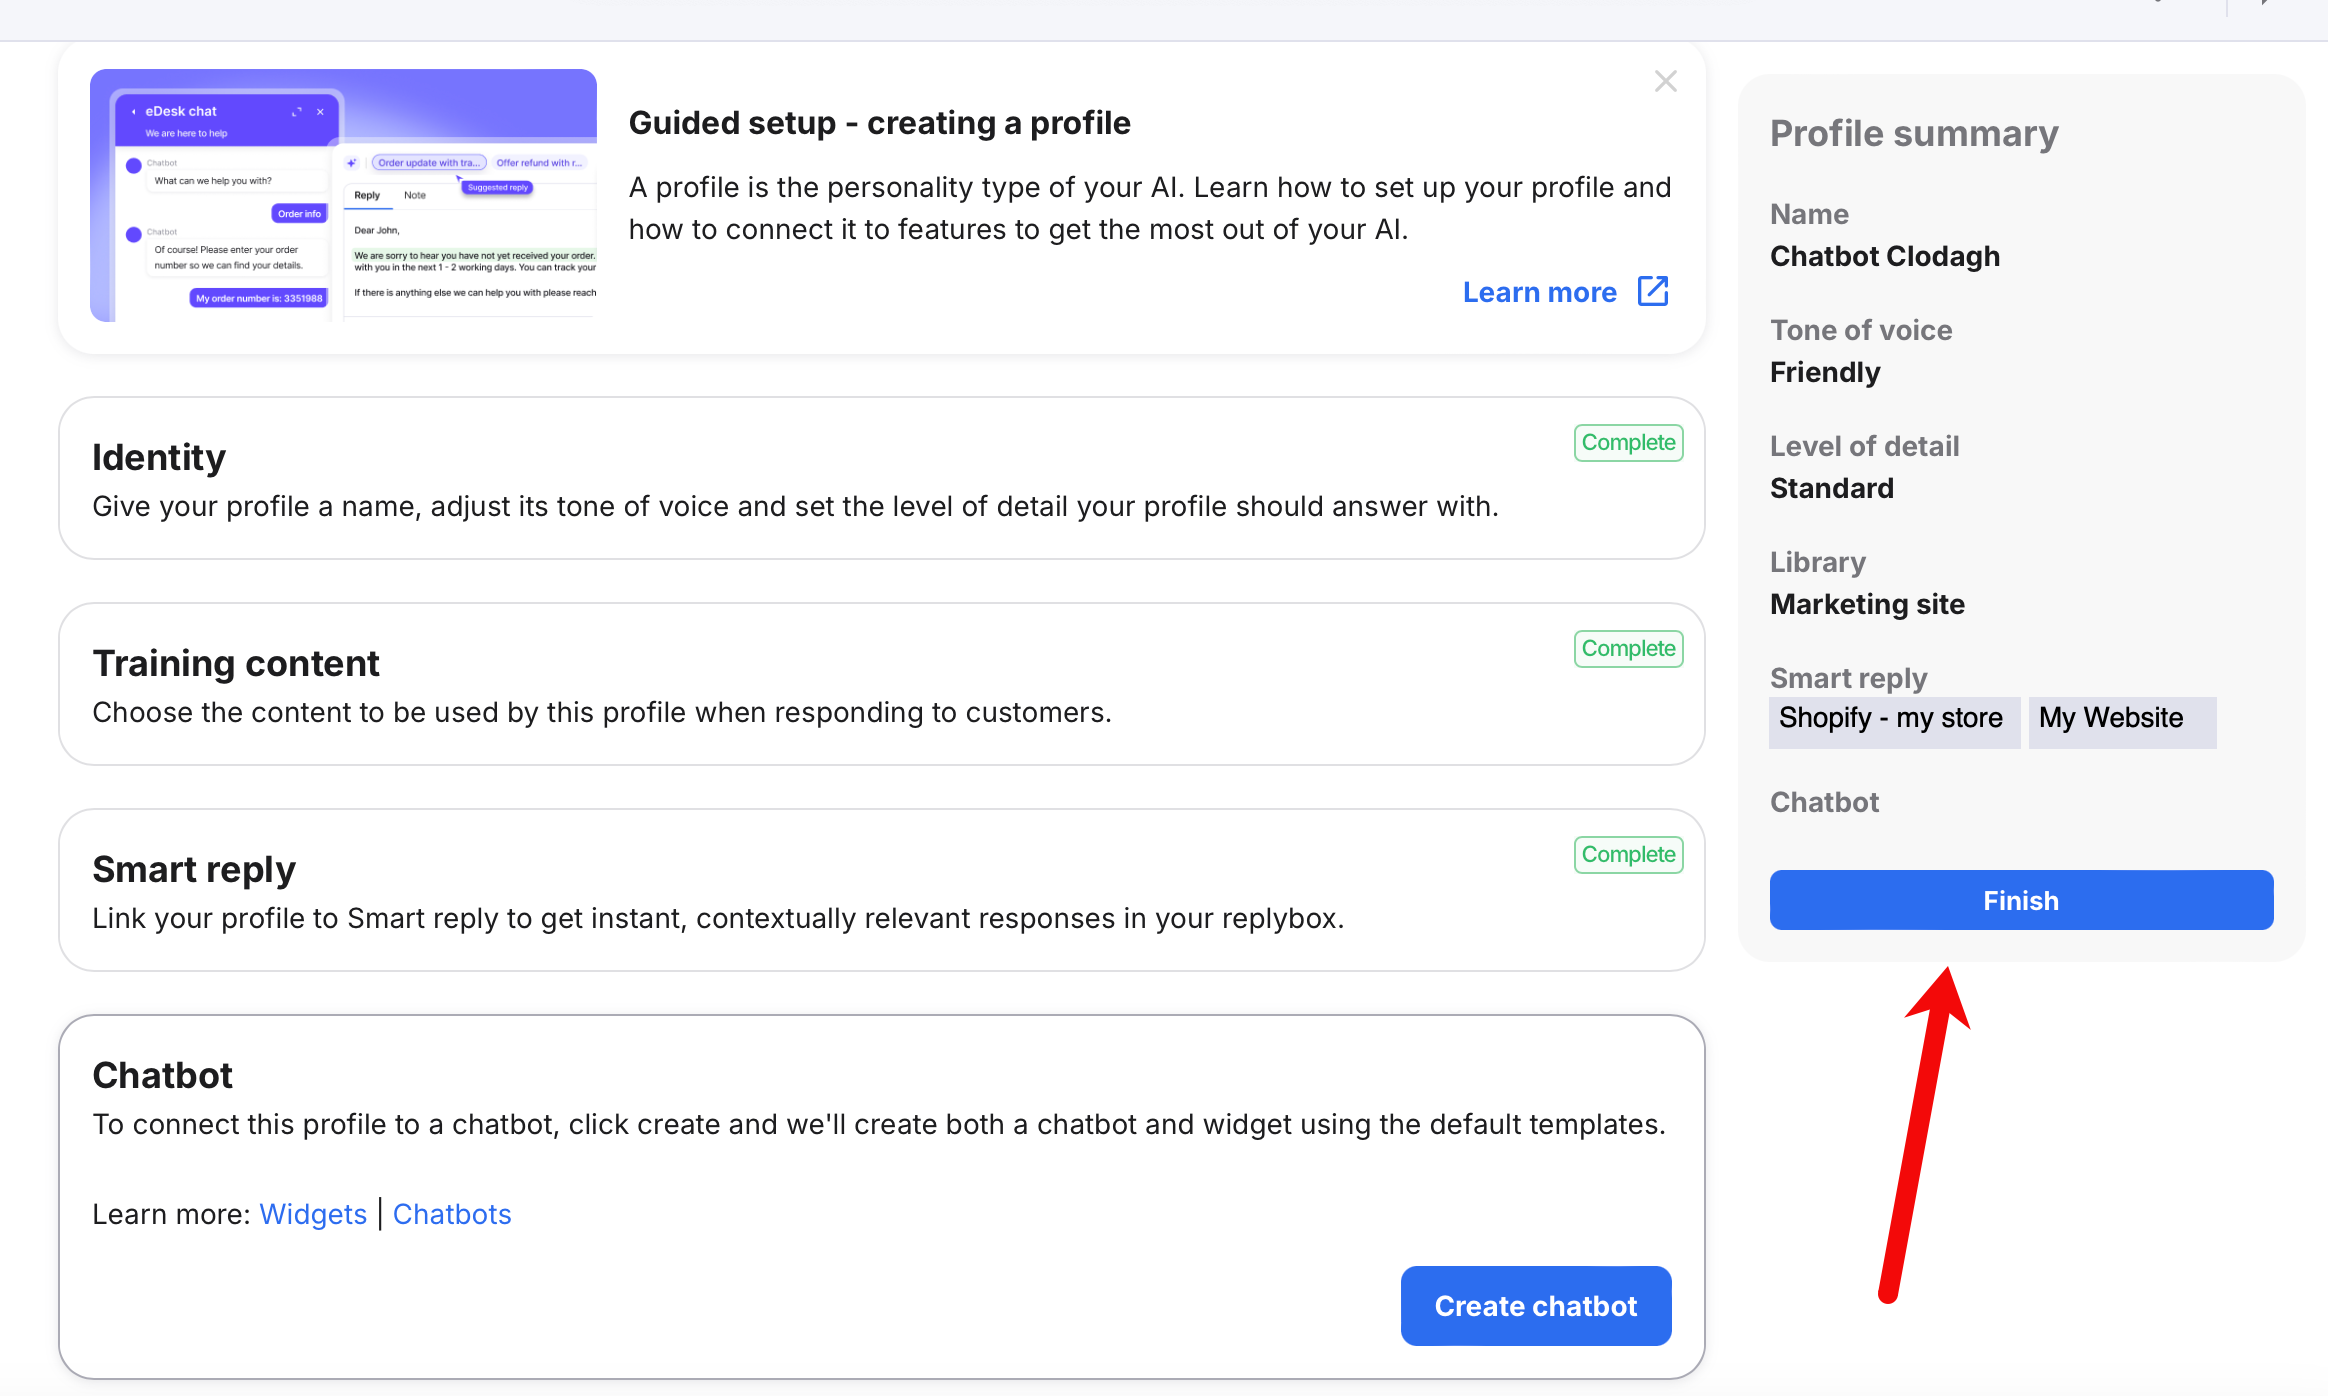
3. Complete the fields in the following sections. As you save each section, the summary on the right-hand side will update to show the Profile settings you've chosen.
Identity
Name: Enter a descriptive name.Tone of voice: Select from the following:
- Friendly
Uses a friendly and approachable tone. Warm, welcoming language (e.g., “Hi there! How can I help you today?”). Casual, upbeat, and respectful, ensuring every response makes the customer feel comfortable. - Neutral
A polite and professional tone, using courteous language like “please” and “thank you.” Shows empathy by acknowledging the customer’s concerns and stay focused on their needs, providing clear and concise responses. Keeps the conversation on-topic, using positive, solution-oriented language. Always ensures every interaction reflects professionalism and respect. - Professional
A professional and efficient tone with clear, concise, and respectful language (e.g., “Hello, how may I assist you?”). Provides thorough solutions without unnecessary elaboration, and keeps the conversation polite and businesslike. - Playful
Uses a fun and playful tone, with energetic, upbeat language (e.g., “Hey there! Great to see you!”). May include light humor or friendly exclamations but will always remain courteous and clear in its advice. - Sophisticated
A refined tone that uses polished, sophisticated language (e.g., “Welcome. I’d be delighted to assist you.”). Conveys elegance and exclusivity, remaining polite and attentive at all times. - Empathetic
A reassuring and empathetic tone with supportive, understanding language (e.g., “I understand how important this is. Let’s figure it out together.”). Acknowledges customer concerns gently, offering patient guidance.
- Brief
Responses are short and concise, providing essential information in as few words as possible while remaining clear and helpful. Avoids extraneous details or lengthy explanations. - Standard
Responses are moderate and balanced in length. Offers enough context to answer questions thoroughly without overwhelming the customer. Ensures clarity and helpfulness, but keeps it succinct and to the point. - Detailed
Detailed and comprehensive responses. Provides thorough explanations, relevant context, and helpful examples wherever necessary. Stays coherent and organized, and avoids unnecessary verbosity.
Training content
The Training content section is automatically updated to show a menu of libraries and the option to create a new library: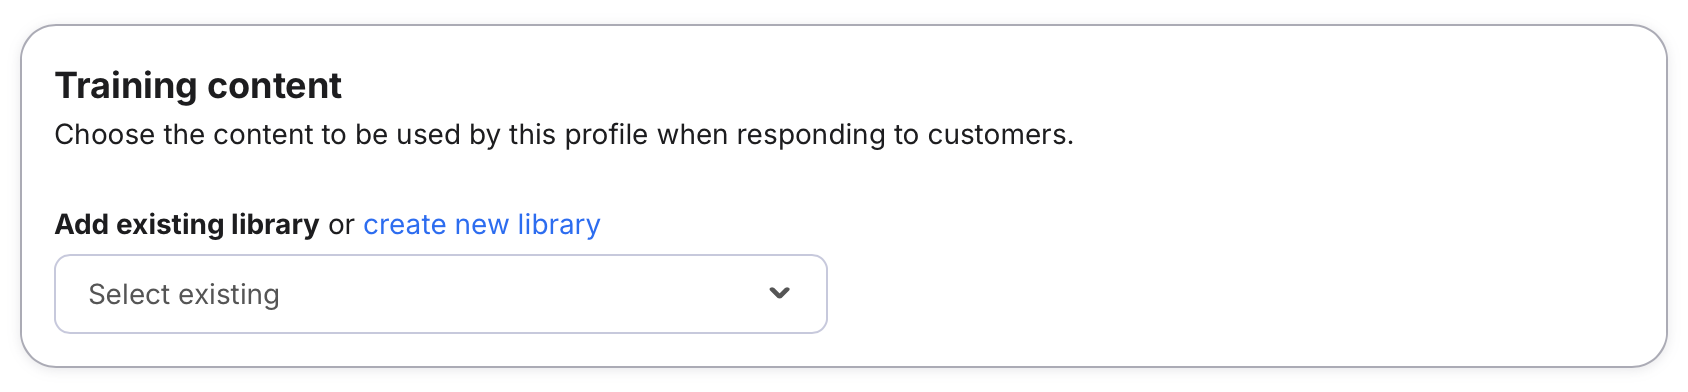
Select the field to choose from a list of previously created libraries. A library may be used by one Profile only/ If you select one that is already in use, you will need to confirm that you want to remove it and add it to the new Profile. If you want to create a new library, select create new library. You must select or create a new library to move to the next step.
Once you select a library in this section, the fields automatically update again to summarise the content in the selected library. In the example below, you can see that the Marketing site library has 3 external content sources and 2 custom answer sources:
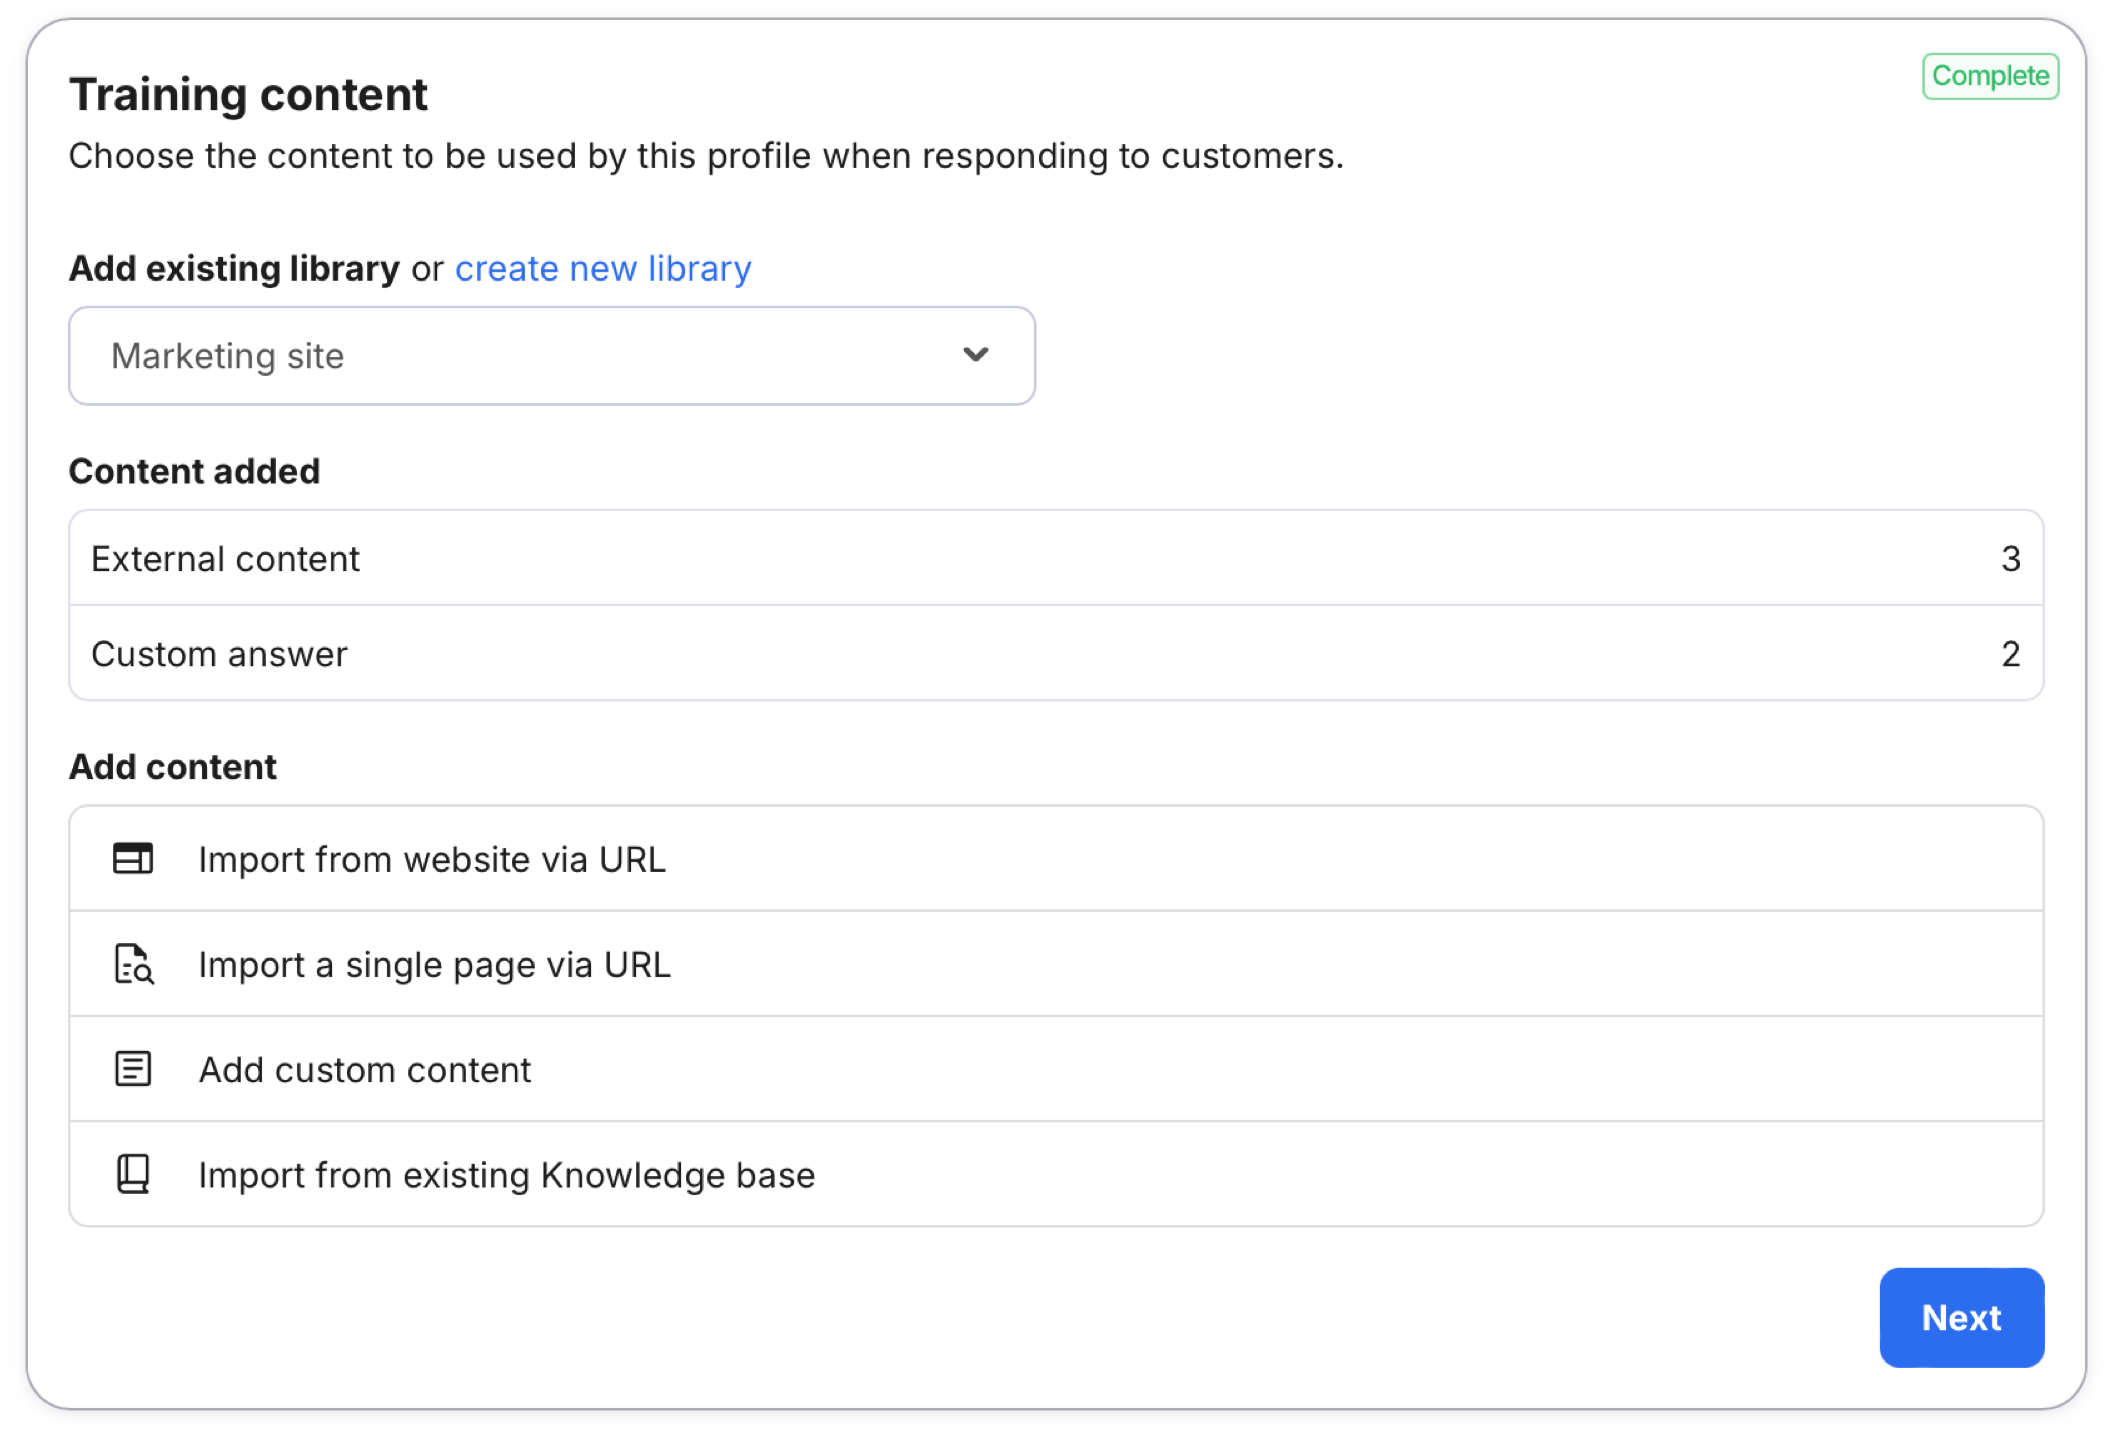
If you want to add more to the selected library, select the options below Add content to import content from a website via URL, import a single page via URL, add custom content, or import from existing Knowledge Base. Click here for further information on these options.
Once your library has all the content you need (you can always add more later), select Next to save the Training content section.
Smart reply
You will need to assign the Profile to a Smart reply for a channel and/or a Chatbot. If you don't, then the Profile won't be used. However, if you prefer to do this later, you can now select Finish in the summary to save the Profile.Alternatively, complete the Profile setup now by populating the fields in the Smart reply and/or Chatbot sections in the Profile - Setup page by following the instructions below.
The Smart reply section shows a list of channels that are not connected to a Profile already. You will need to remove it from the other Profile in order to select it for a new one.

This is where you will select the channels that will use this Profile for Smart reply.
This is optional; if you don't want to assign the Profile to Smart reply for any channels yet, then select Skip for now.
If a channel doesn't have a Profile assigned for Smart reply, then its Smart reply will provide generic answers only that don't adhere to a given tone of voice or level of detail.
Select the channel/s in the Add channels field. You can select as many channels as you like. Once you've selected all the channels that should use this Profile, select Link channels to save this section.
Each channel can only be selected in one profile. If it’s already used, it will not appear on the list and will need to be de-selected from the other Profile first.
Chatbot
CreateProfile_ChatbotSection_300425.png)
This is where you will create the Chatbot and widget that will use this Profile when responding to customers. Only one Chatbot can use a Profile.
This is optional; if you don't want to assign the Profile to any Chatbot or you want to add the Profile to an existing Chatbot rather than a new one, select Finish in the summary to save the Profile without assigning it to a Chatbot:
To add the Profile to an existing Chatbot, go to Settings > AI > Chatbots > [Chatbot Name] and select this profile in the Profiles field.
If you want to assign this Profile to a new Chatbot, select Create chatbot. This will automatically create a new Chatbot that has the same name as the Profile. The Chatbot section is updated to show the new Chatbot name, which is a hyperlink and a Create widget button.
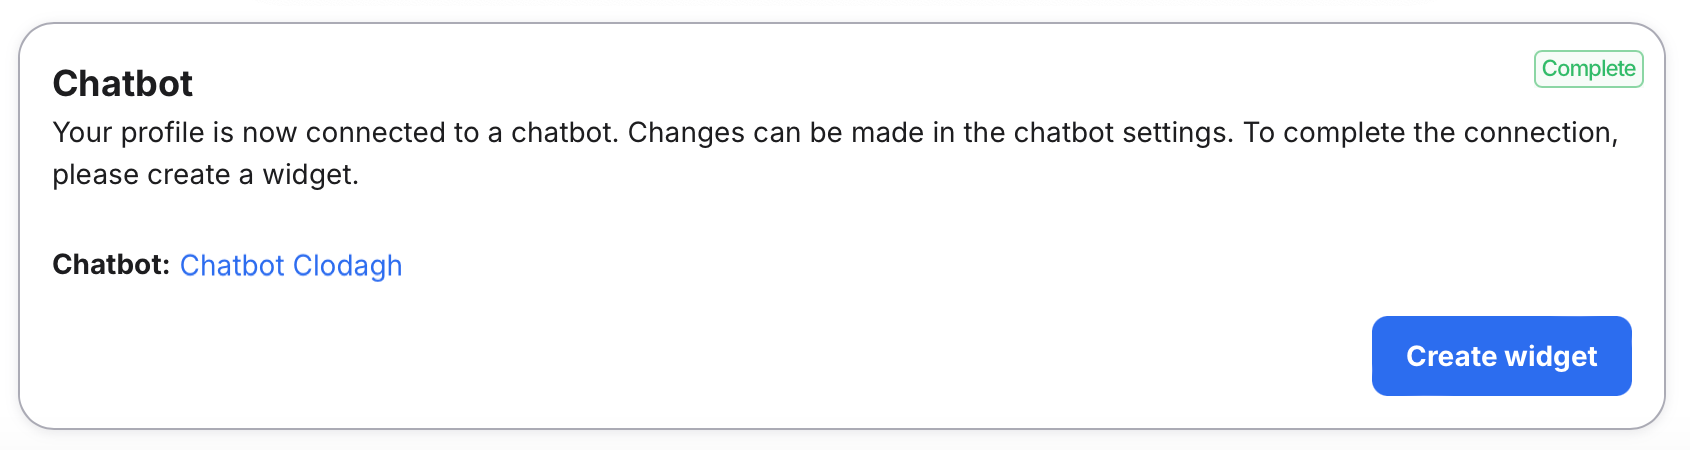
Select the Chatbot name to open the Settings where you can further edit the new Chatbot. Alternatively, you can edit the Chatbot later by navigating to Settings > AI > Chatbots > [Chatbot name].
Every chatbot needs to be added to a widget, which is the container that you'll embed in the webpage to allow your customers to interact with the Chatbot. Select Create widget to open the Create new chat widget modal window (or, if you prefer to do this later, then select Finish in the summary to close the new Profile and go back to the Profile list.).
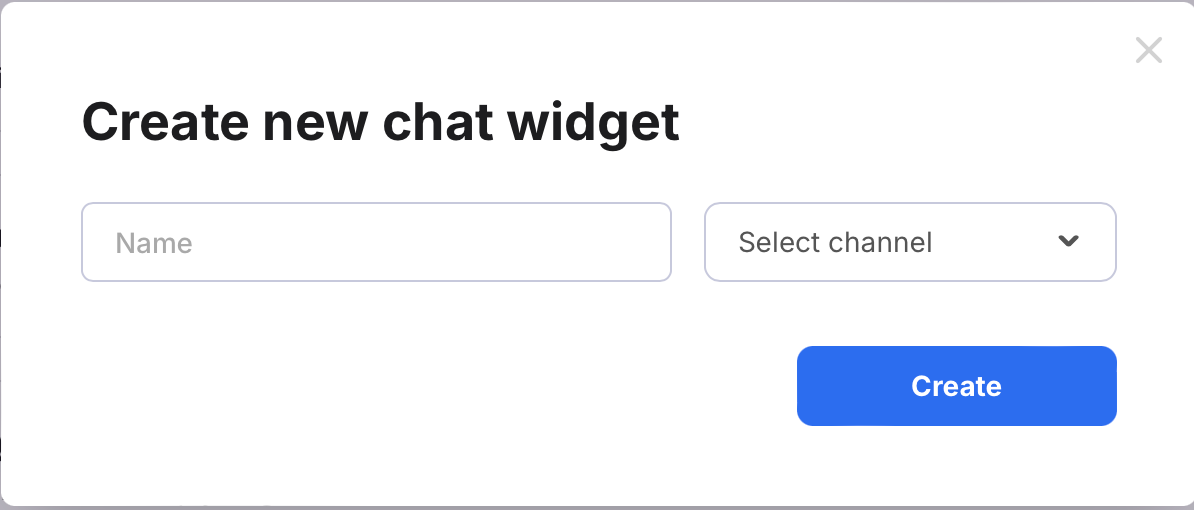
Complete the fields as follows:
Name: Enter a descriptive name for the widget
Select channel: Choose which channel the widget will use - ticket created after a conversation will be linked to the selected channel and email transcripts will be sent to the customer from the channel
Select Create.
The Create new chat widget modal window closes and the Chatbot section in the Profile is updated with the new widget name:

4. Select Finish in the summary to close the new Profile and gp back to the list. The new Profile will be added at the bottom of the list.
02 Editing or viewing Profiles
To edit (or view) the settings in an existing Profile:1. Select the profile to open the Edit page:
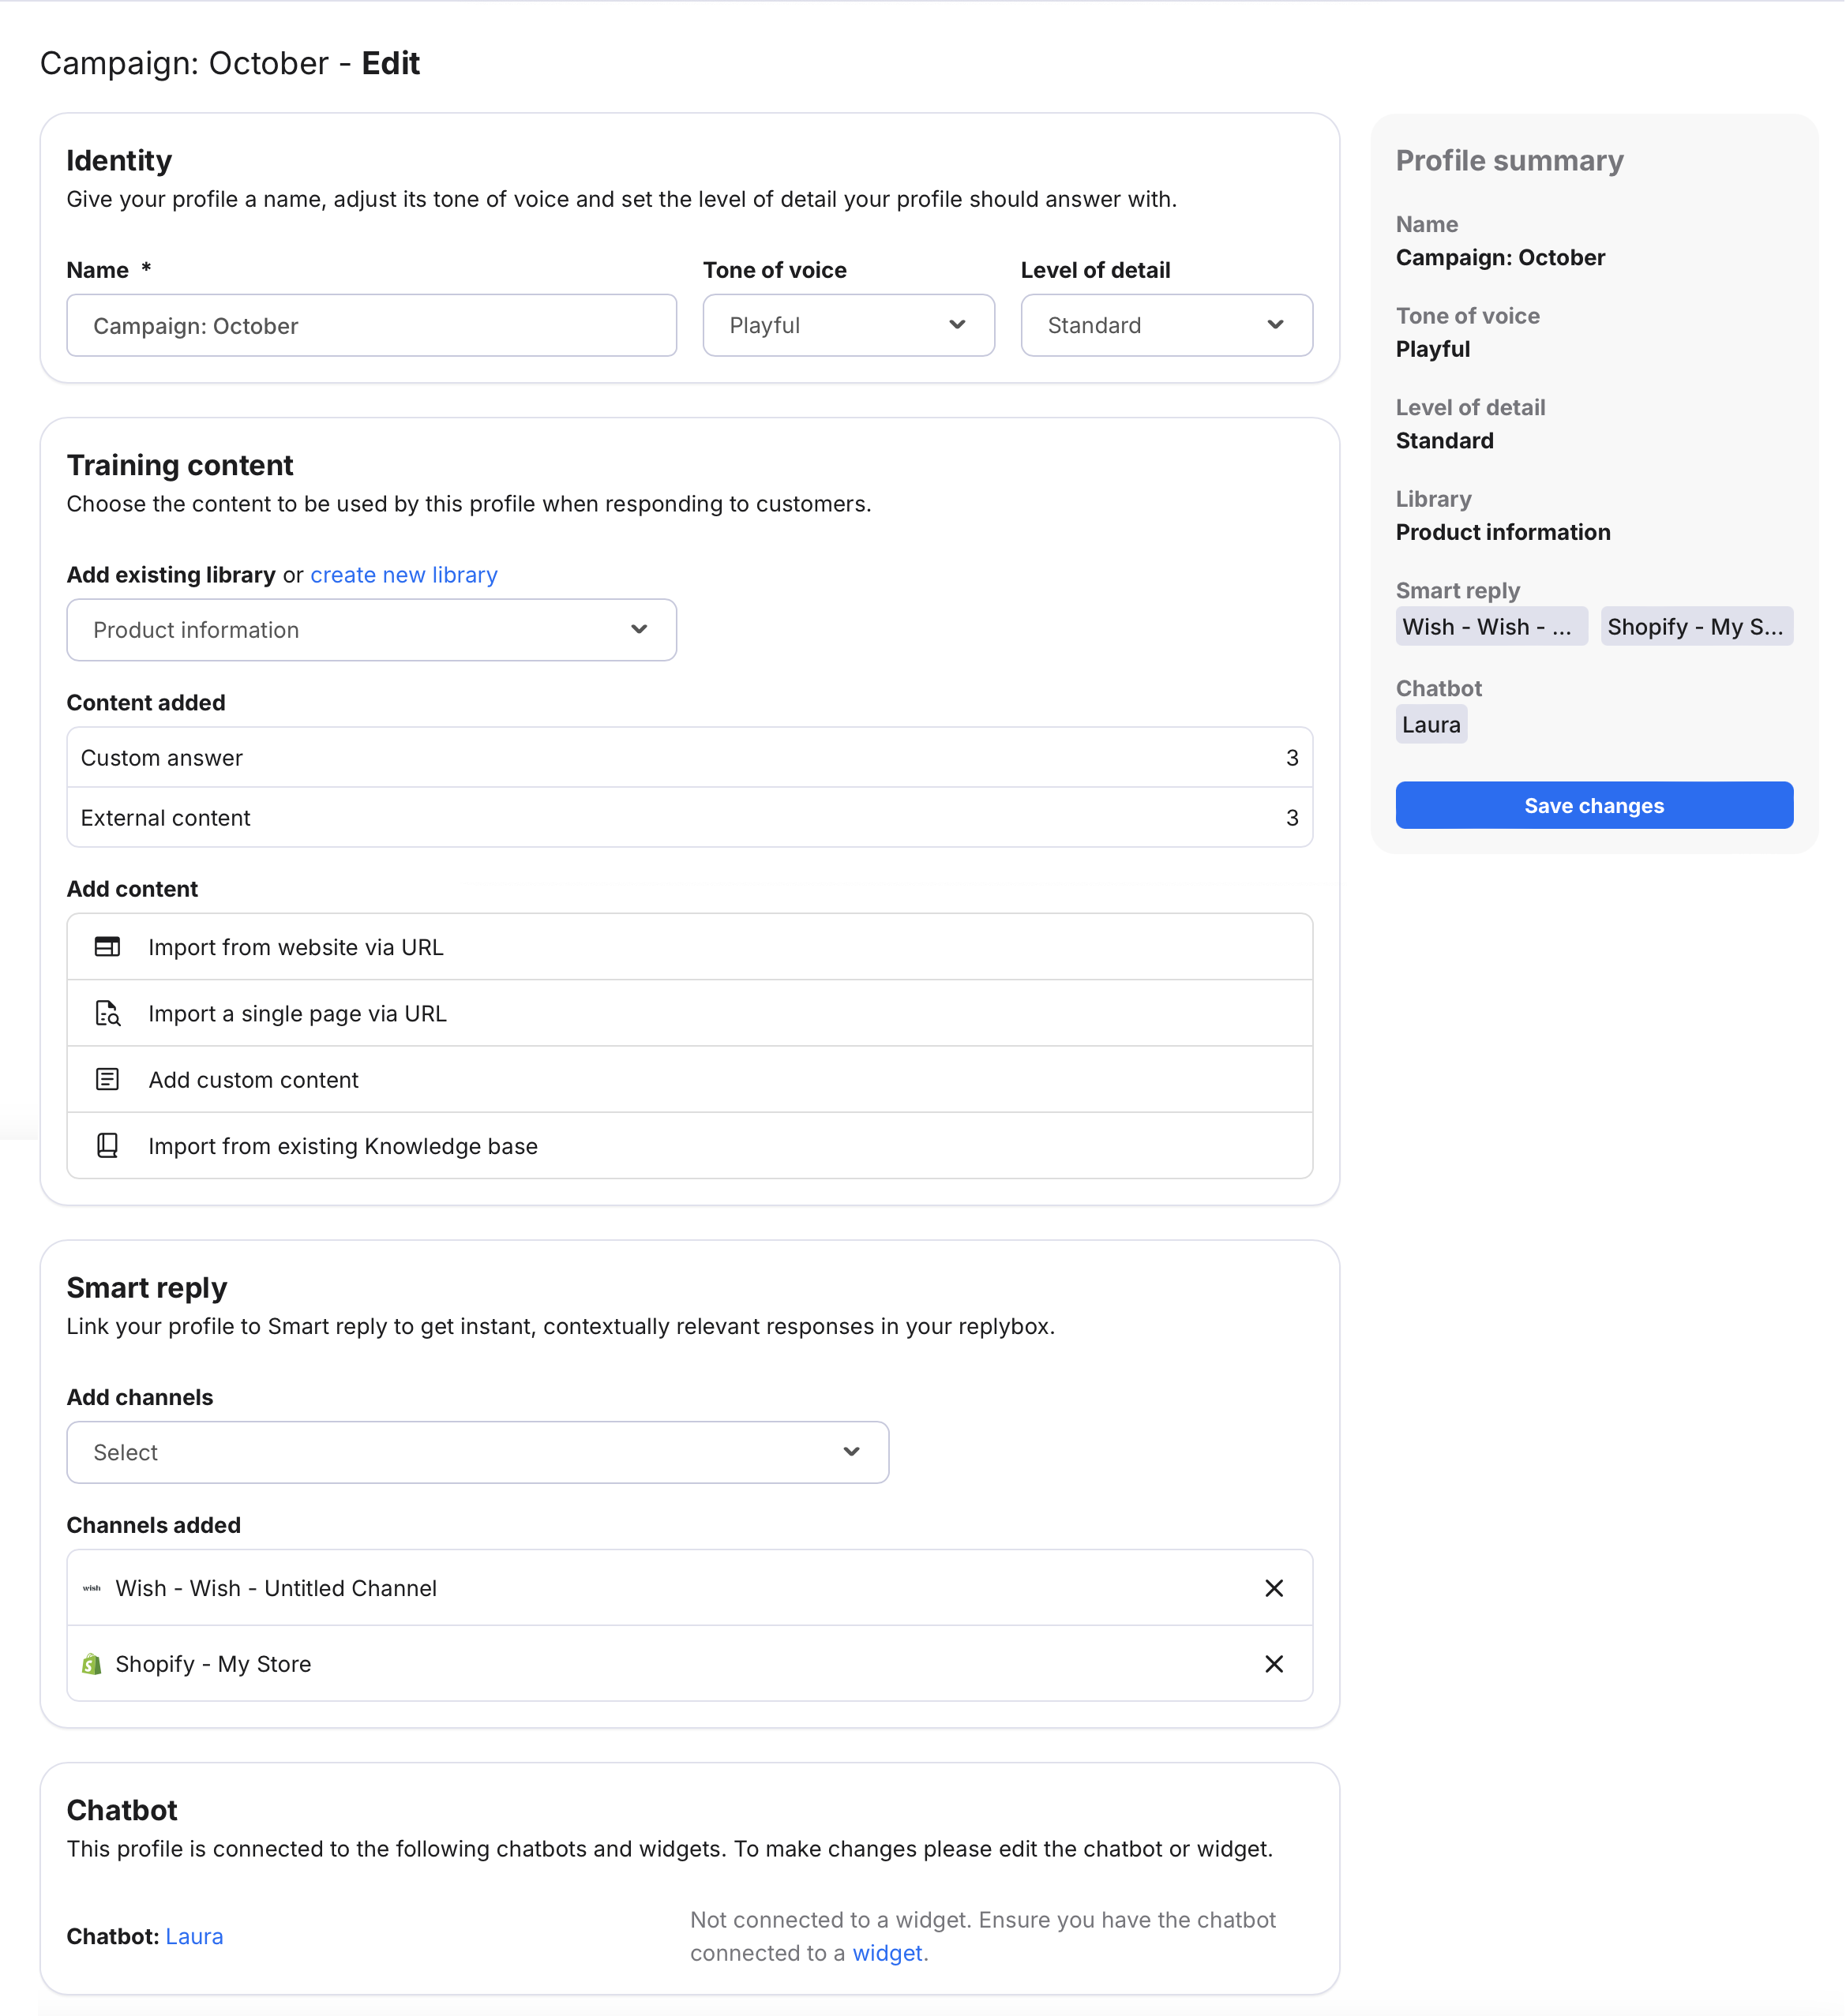
2. Make your changes and select Save profile.
Further reading:
For more on Smart reply, see here.For more on Chatbots, see here.