This help file provides an overview on Training Content and explains how you can add and manage content that your AI will use.
Before you start
- Training content is used for all AI Automations (chatbot and agent) and AI Assist features
- You'll need an Admin or Team lead account or the Training content permission
- Automations are charged per resolution, see here for information on pricing
01 Creating a library
1. Go to Settings > Chatbots > Training Content.
2. Select Add a library.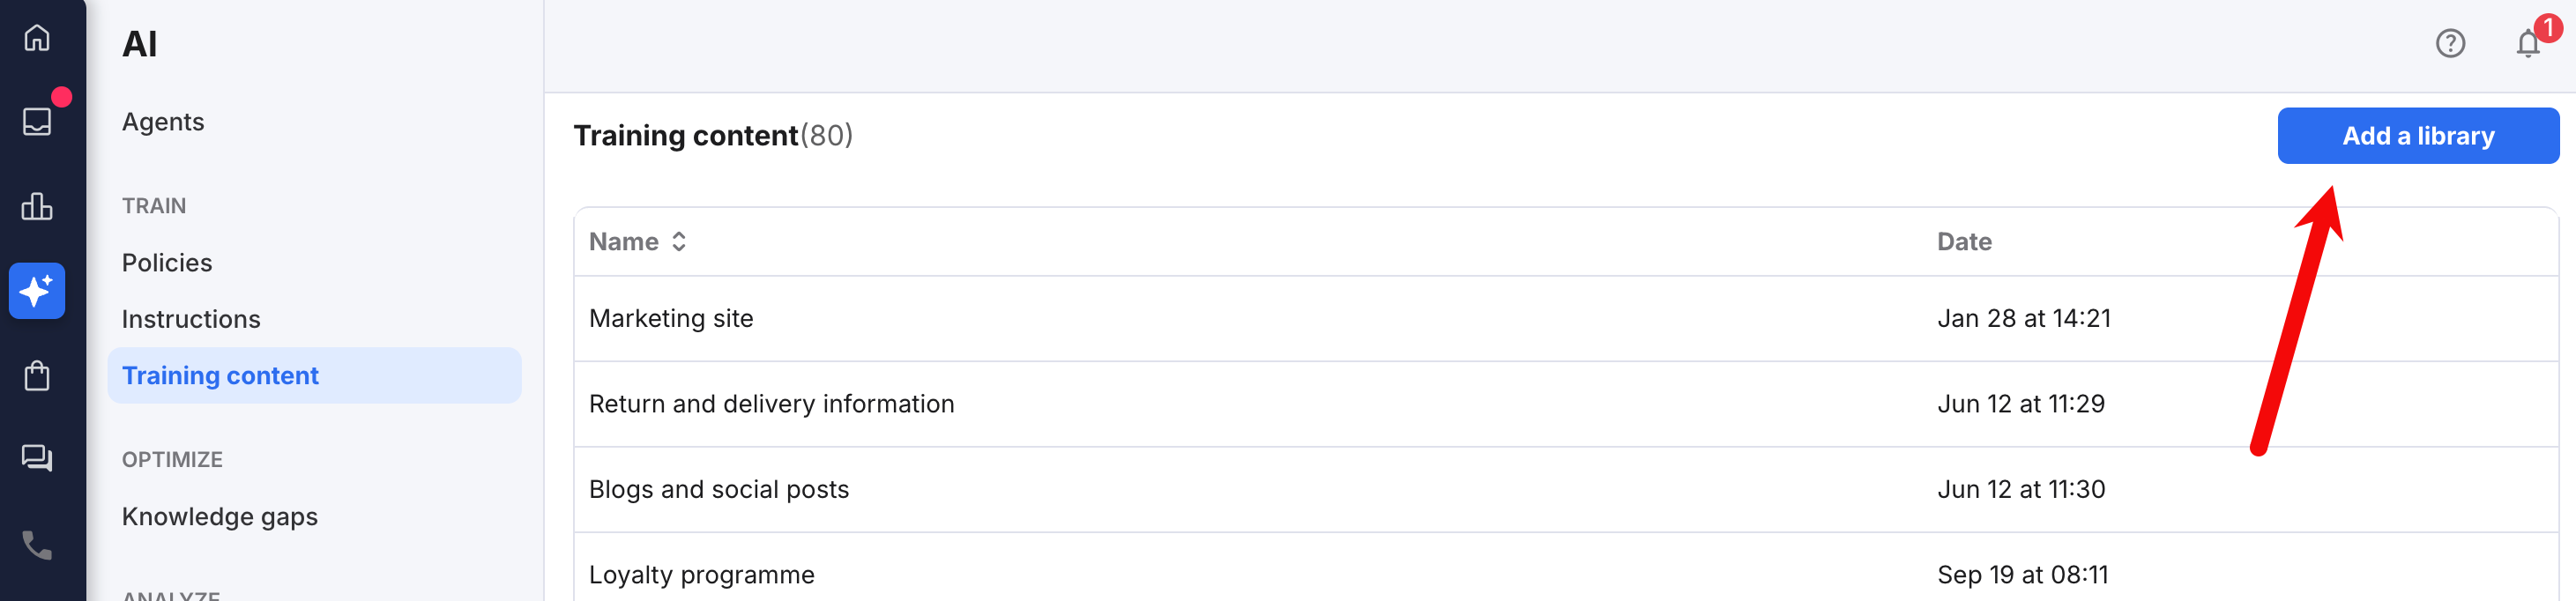
3. The Add a library modal window opens.
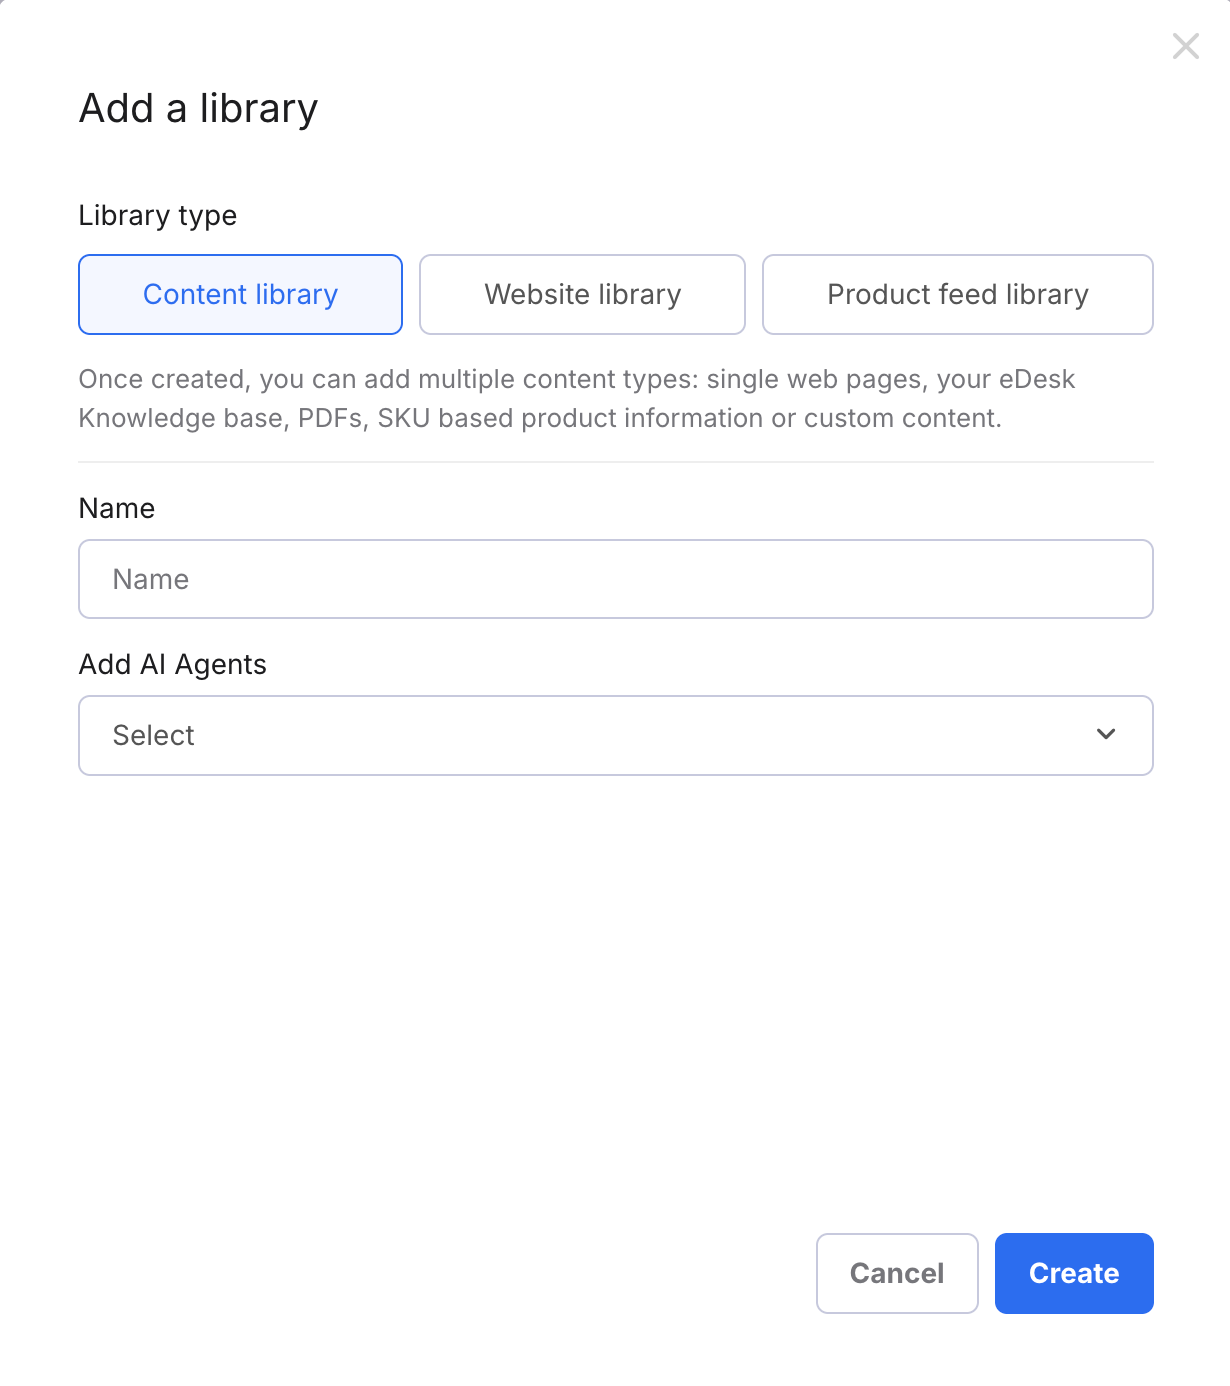
Select one of the following buttons:
- Content library
This creates an empty library to which you will then add content from individual web pages, your eDesk customer Knowledge Base, SKU file uploads, PDFs, or content you have written. - Website library
Provide a URL and the library's content will be automatically created by eDesk's AI using the entire website as source. - Product Feed library
This is available for Shopify, Magento, Big Commerce, and Shopware channels only. Choose one of your existing Shopify, Magento, Big Commerce, or Shopware channels and the library's content will be automatically created by eDesk's AI using the Product Feed as source.
- Name
The name of the Library, e.g., Company information - Add AI Agents
Select the AI Agents that will be able to use this Library when answering customer questions. Alternatively, you can select them later in the process.
- Name
The name of the Library, e.g., Joes Bikes Website Info - URL
The main domain URL of the website, e.g., https://www.edesk.com (not https://www.edesk.com/pricing).
You must include the http prefix e.g. https:// - Add AI Agents
Select the AI Agents that will be able to use this Library when answering customer questions. Alternatively, you can select them later in the process.

- Name
The name of the Library, e.g., Bikes Product Feed - Channel
Choose a channel from which eDesk will request the Product Feed.
A channel can be linked to only one Product Feed library, so any channels that have already been linked to existing libraries will be grayed out. - Add AI Agents
Select the AI Agents that will be able to use this Library when answering customer questions. Alternatively, you can select them later in the process.
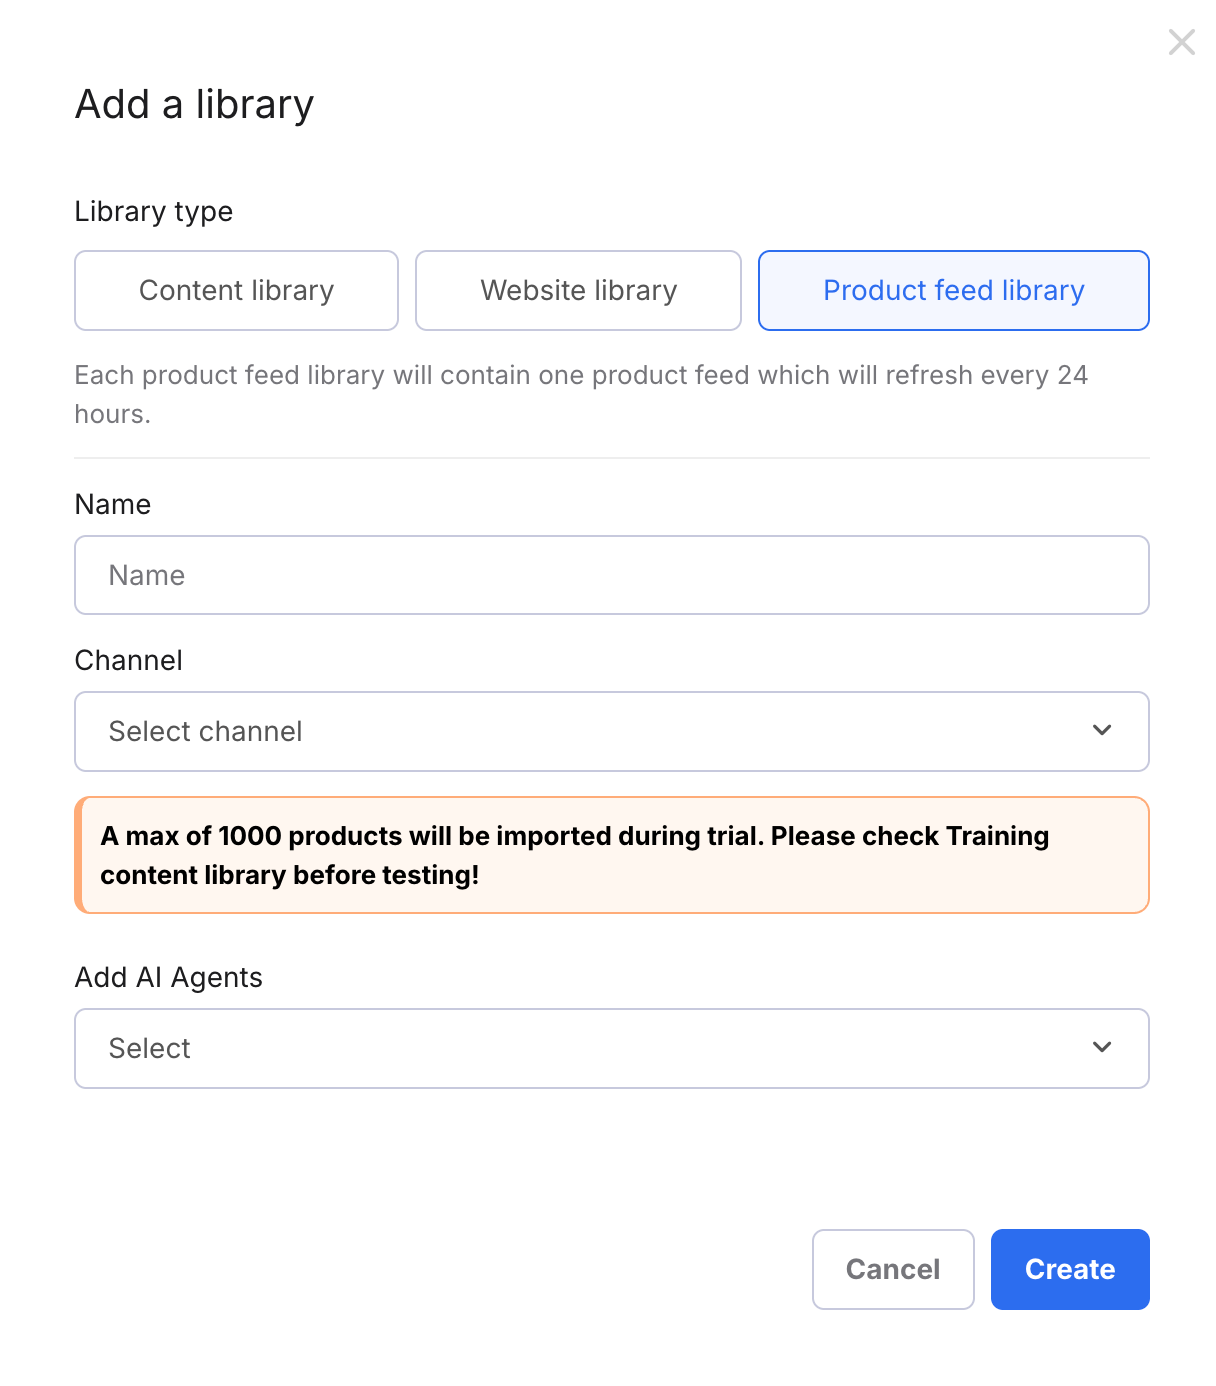
Note: If you are trialling eDesk, the product sync is restricted to 1000 products, which you should factor in while testing your AI Agents.
- If you have created a Website library, eDesk will now start importing all web pages belonging to the domain into the Training Content. There is a limit of 10,000 pages. If the website contains a high volume of pages, this will take time - even a few hours.You'll see each imported page appear as an article inside the library.
- If you have created a Product Feed library, eDesk will now start importing the product information from the Channel. You'll see each imported product appear as an article inside the library. All active products that are available in the store for this channel will be added to the library. The product feed will then be synced with the Training Content once every 24 hours to ensure it's kept up to date.
Important information: Only 1000 products will be synced during a trial. Please check the list of products before testing to ensure you are asking about products that have been imported. Once you have moved to a paid account, all products will be automatically imported.
- If you have added a Content library, you must now add content manually. Follow the instructions in the next section of this help file.
02 Adding content to your new Content library
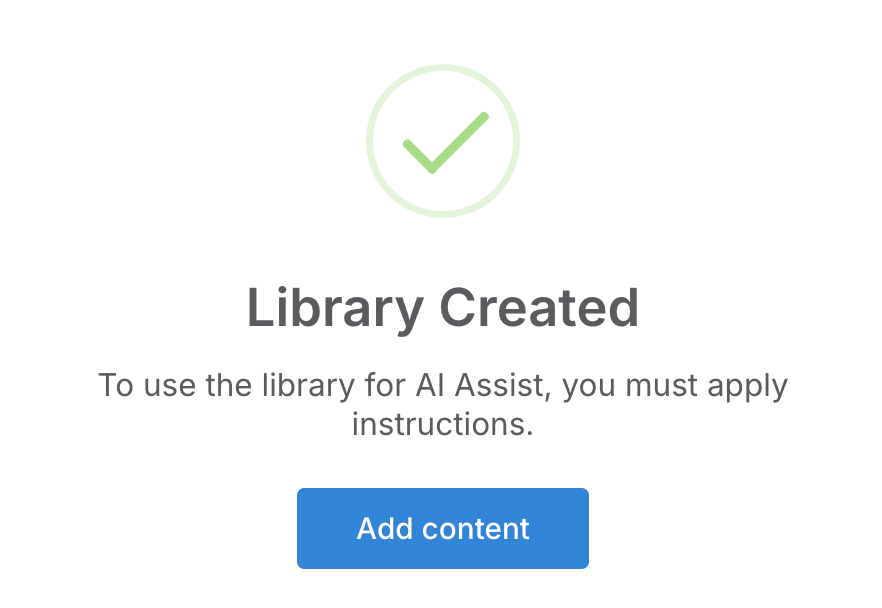
These instructions continue those in the previous section of this help file and apply to new Content libraries only.1. The Library Created dialog box opens.
Select Add Content.
2. The Add Content page is displayed.
Select Get started.
3. An Add Content dialog box opens that allows you to select the type of content to add. You can add a mixture of any of the following:
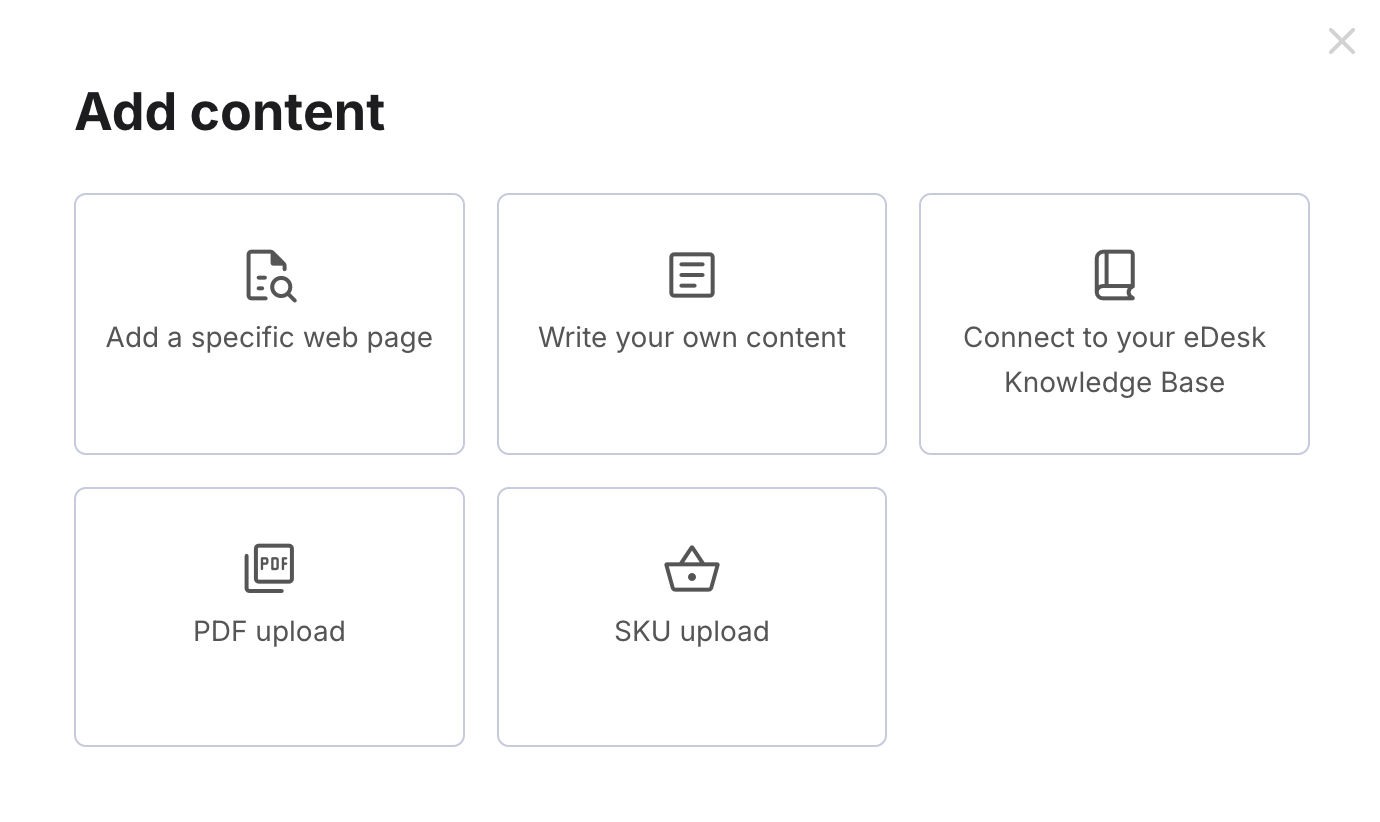
Choose one of the tiles in the dialog box:
- Add specific web page
Import content from an individual web page into a new article. - Write your own content
Type or paste plain text into a new article. - Connect to your eDesk Knowledge Base
If you already have a Knowledge Base set up in eDesk, you can connect the whole Knowledge Base to your Training Content to make it available for your AI to use. To learn about eDesk's Knowledge Base feature, see here. - PDF Upload
Upload a PDF. eDesk will copy the content into a new article. - SKU Upload
Upload a SKU file. eDesk will copy the content into a new article.
Add a specific web page
The Add a specific web page window opens: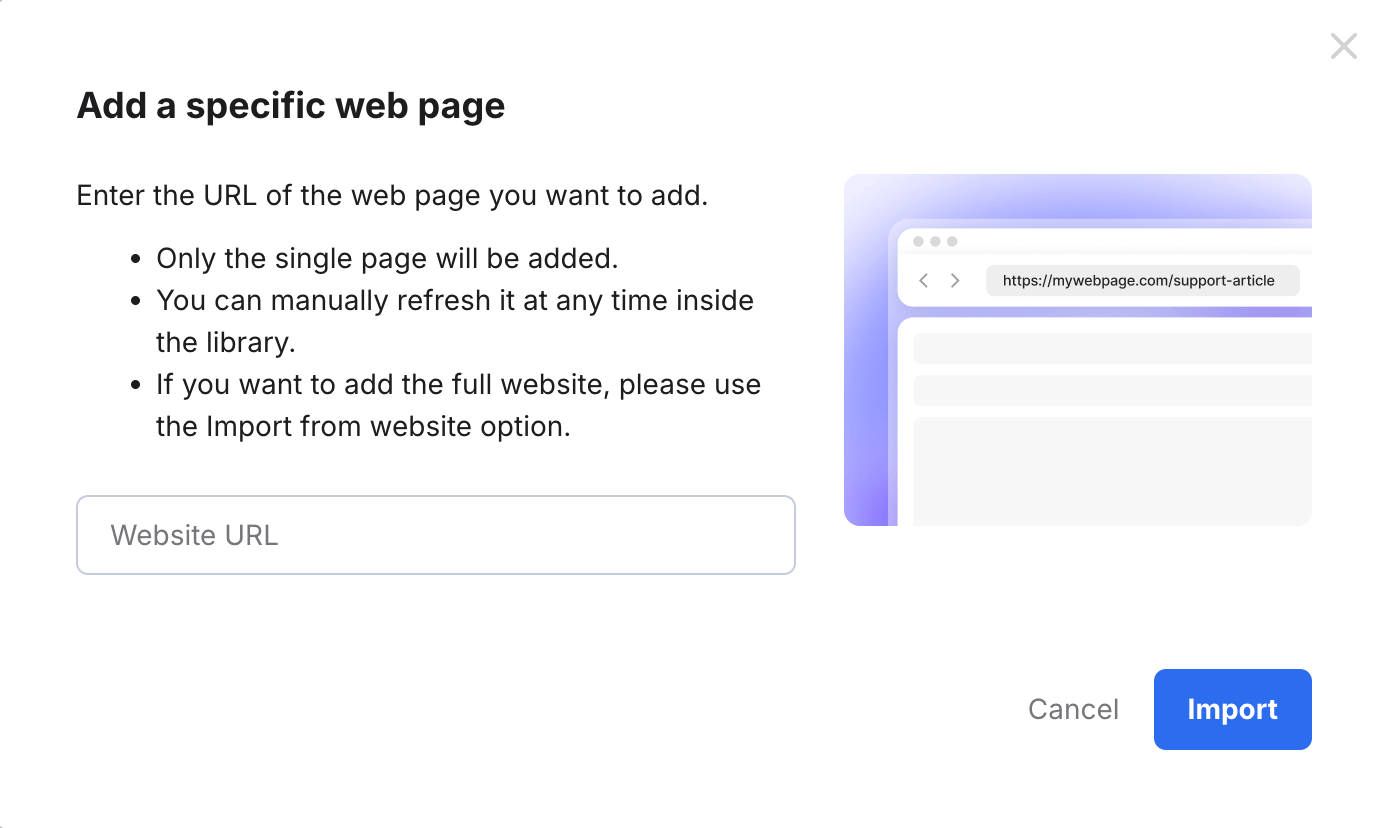
1. In the Website URL field, enter the URL of the web page, e.g., http://www.edesk.com/pricing
Note: You must include the https:// or http:// prefix, which you can copy in from the URL field in your browser.
2. Select Import .
The window closes and a confirmation message is displayed.
The import will begin immediately and once complete, the web page will be added to the Training Content.
The imported page will appear as an article inside the library.
Write your own content
The Write your own content window opens: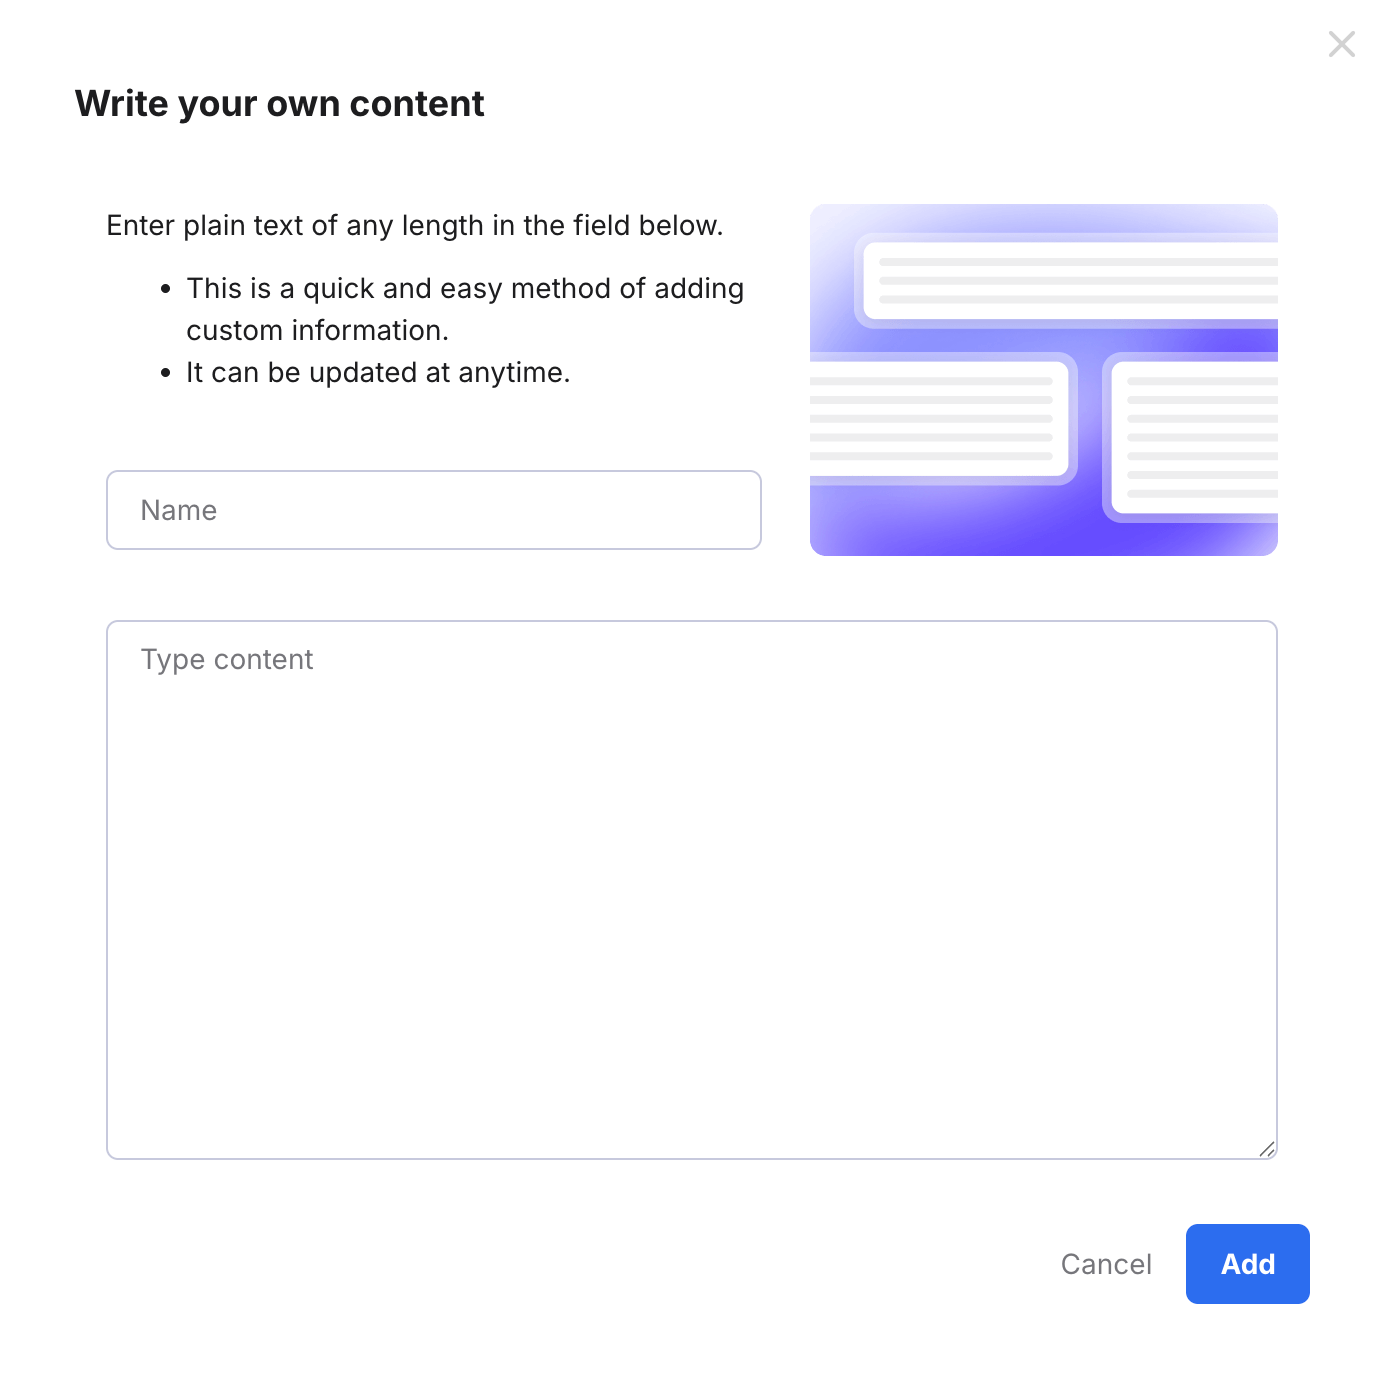
2. In the Name field, type in the name of the new article.
3. In the Type content field, enter the plain text.
4. Select Add.
The window closes and the list of content in your library is displayed, which now includes the new article.
Connect your eDesk Knowledge Base
The Connect to your eDesk Knowledge Base window opens: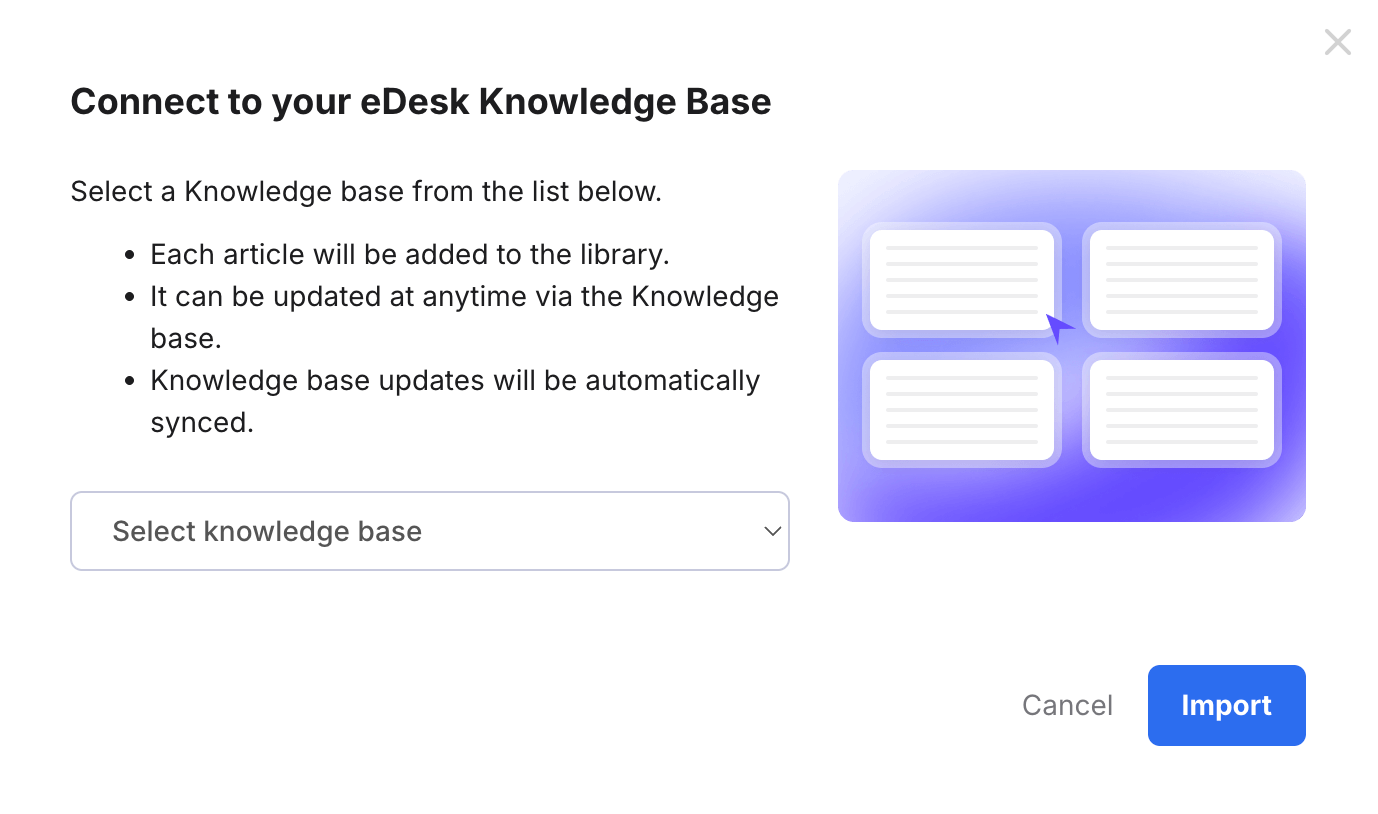
1. In the Select Knowledge Base field, choose the Knowledge Base you want to connect.
2. Select Import.
The window closes and the list of content in your library is displayed. Each knowledge base article will now be copied into the library. To update an article in the library, update it in the Knowledge Base and int will be synced immediately to the library.
PDF Upload
The PDF Upload window opens.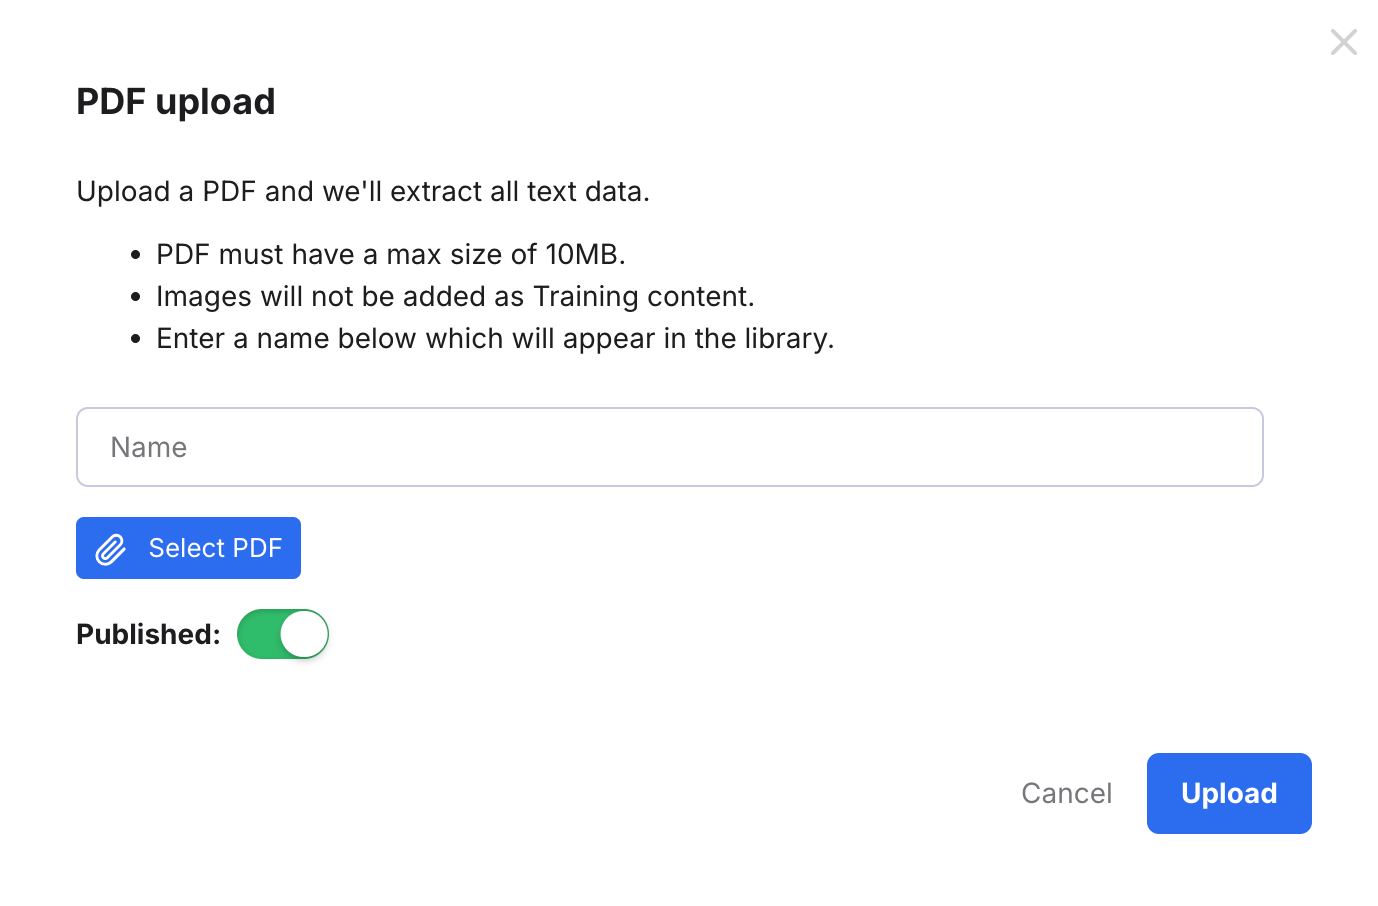
1. Into the Name field, enter the name of the article.
2. Select Select PDF to display a window of your filesystem, and choose the PDF you want to import.
3. Enable the Published toggle to publish this article automatically so that it's available for AI to use immediately. Disable it if you prefer to publish it at a later time, at which point it will become available to the AI.
4. Select Upload.
The window closes and a confirmation message is displayed.
The upload will begin immediately and once complete, the PDF content will be added in a new article.
Images in the PDF are not imported and the AI tools will be unaware of them.
Note: The PDF must be 10MB or less.
SKU Upload
The SKU Upload window opens.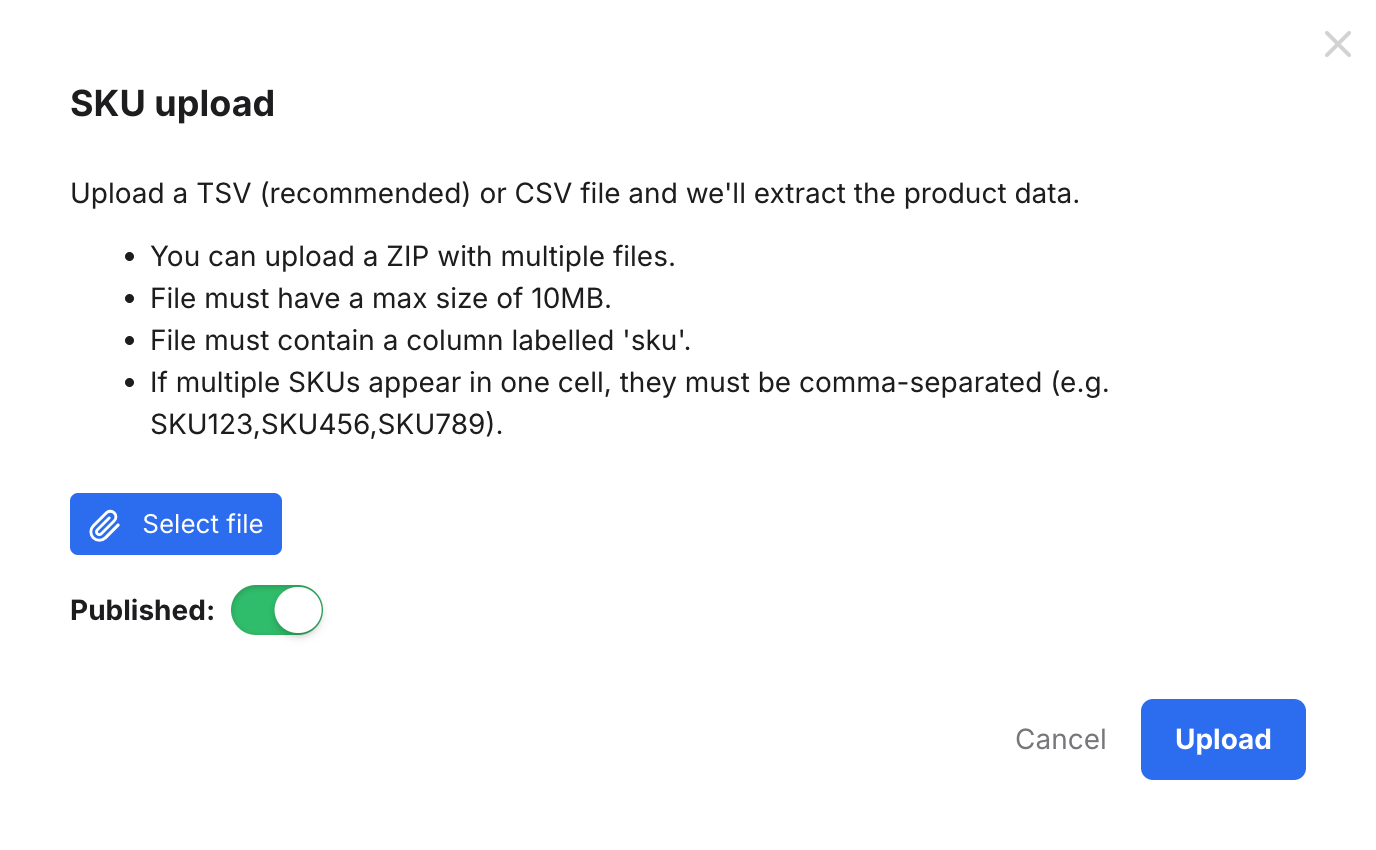
1. Select Select file to display a window of your filesystem, and choose the file you want to import. The file type must be TSV or CSV, and you can upload multiple such files in a zip if preferred. Files must be no bigger than 10MB and must contain a column entitled sku. If multiple SKUs appear in one sell, they must be comma-seperated.
3. Enable the Published toggle to publish this article automatically so that it's available for AI to use immediately. Disable it if you prefer to publish it at a later time, at which point it will become available to the AI.
4. Select Upload.
The window closes and a confirmation message is displayed.
The upload will begin immediately and once complete, the SKU content will be added in a new article.
03 Updating, publishing, and previewing existing articles
In Product Feed libraries and Website libraries, you can:- unpublish/publish, and prompt sync of the articles in the library.
You can't manually edit articles in Product Feed and Website libraries but you can hide individual articles from eDesk's AI by unpublishing the article. Unpublished articles are not used by AI.
In a Content Library, you can:
- manually edit, delete, unpublish/publish articles for which you wrote your own content or from SKU Upload.
- delete, manually refresh (i.e., sync), unpublish/publish articles that are derived from a specific web page.
- delete, unpublish/publish articles that are derived from a PDF Upload.
- unpublish/publish and manually refresh (i.e., sync) articles derived from an eDesk Knowledge Base and you can also edit the source from the Content Library also.
Update/preview an individual article in a library
1. Go to Settings > AI > Training Content and select the library from the list.The list of articles in that library is displayed.
2. Select the name of the article.
The preview pane is displayed with buttons that allow you to perform appropriate actions for that type of content, such as Edit or Publish.
Bulk update articles in a library
1. Go to Settings > AI > Training Content and select the library from the list.The list of articles in that library is displayed.
2. Select the checkbox in the row for the article you want to update. You can select more than one article to perform the same action against,
A toolbar is displayed at the bottom of the page:
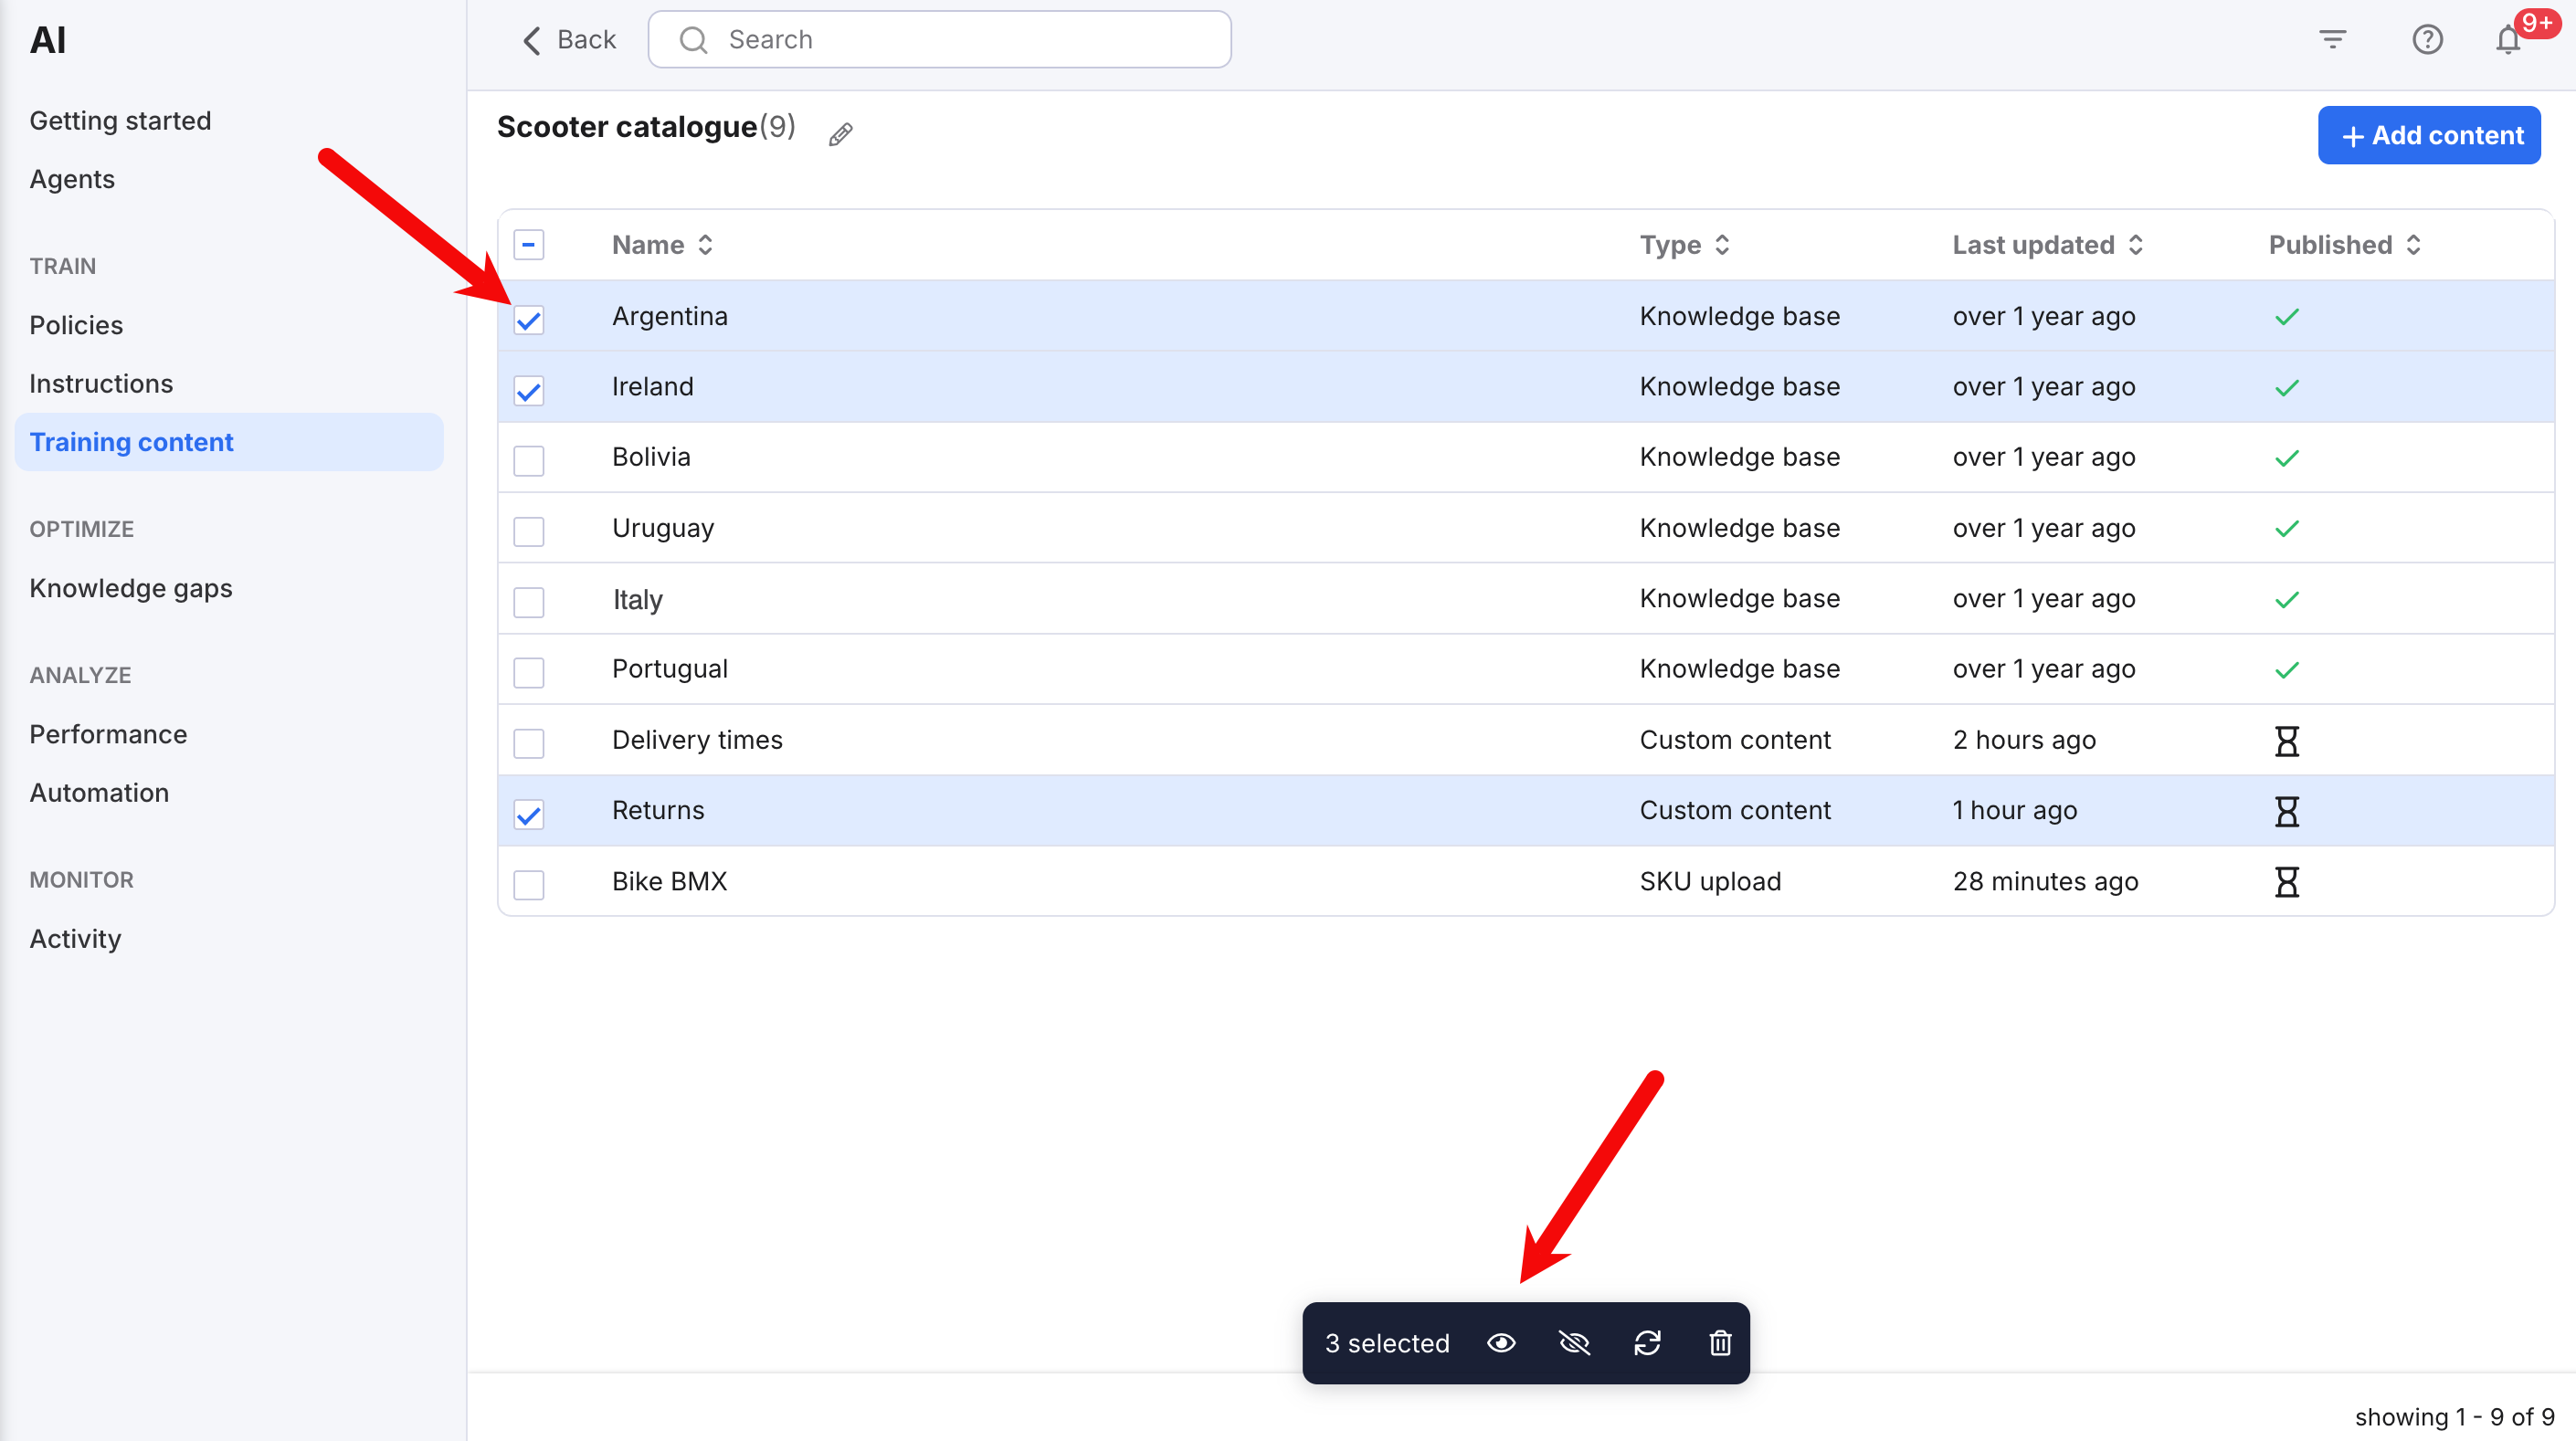
In the toolbar:
Select the Eye icon to publish the selected articles, which makes it available for use by the AI.
Select the Hide icon to unpublish the selected articles, which makes it unavailable for use by the AI.
Select the Refresh icon to sync or refresh the selected articles from the source, to update them with changes in the source.
Select the Trash icon to delete the selected articles from the library.
Pro tip: If the article is in a Product Feed or Website library and still exists in the source, the article will be restored during sync, so if you want to remove an article from a Product Feed or Website library, we recommend you unpublish it, which will prevent the AI from seeing it.
Pro tip: You can refresh an entire library by following the instructions in section 05 Deleting/refreshing a library.
04 Adding/removing AI Agent access to the library
To allow an AI Agent to use the published articles in your library to help customers, you must assign the library to them. One library can be assigned to multiple AI Agents. You may have already assigned the library to AI Agents when you created the library (see section 01 Creating a library) but you can add or remove AI Agents whenever you like.
1. Go to Settings > AI > Training Content and select the library from the list.The list of articles in that library is displayed.
2. Select the Pencil icon by the name of the library.

3. The Edit Library window opens.
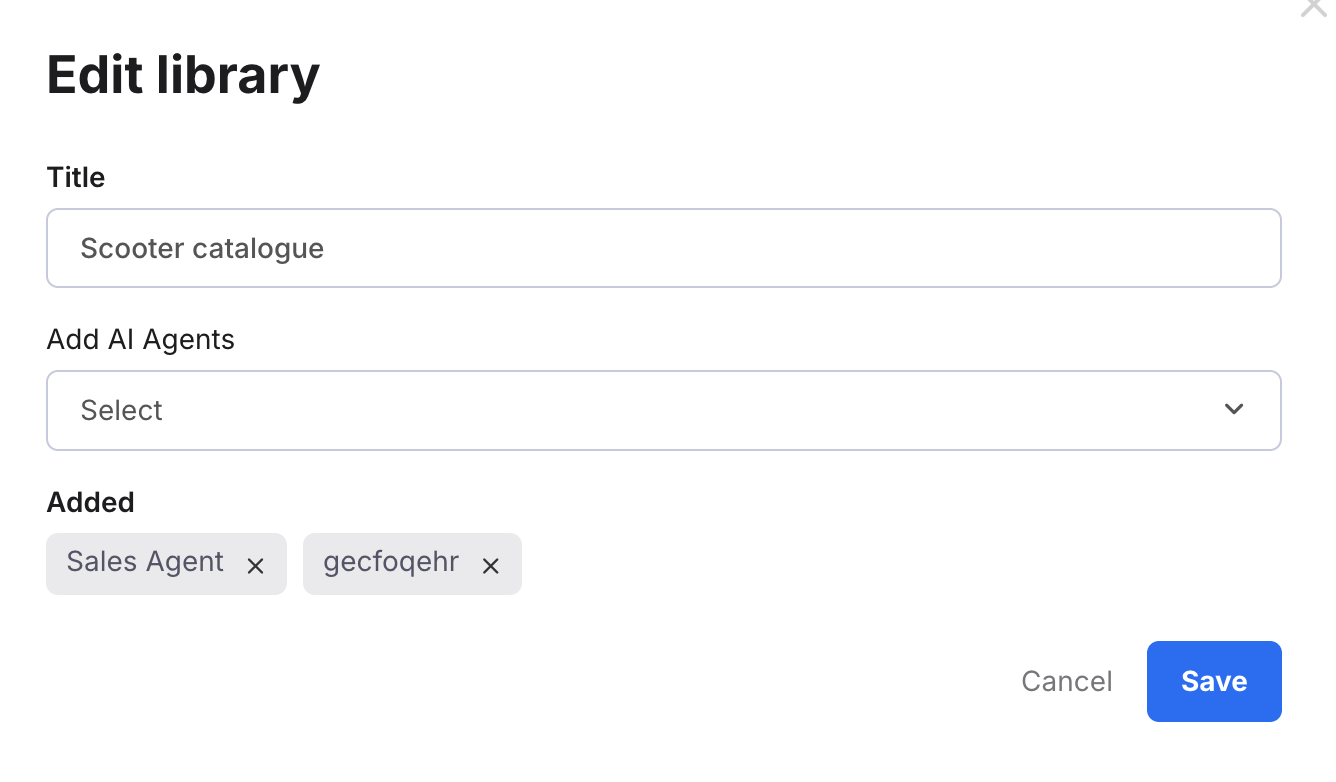
To add AI Agents, select the Add AI Agents field and choose the Agents that can use the library.
To remove AI Agents, select the X in the grey box for that Agent.
4. Select Save.
05 Deleting/refreshing a library
Note: You must remove all AI Agents from a library before you will be allowed to delete it.1. Go to Settings > AI > Training Content to view a list of the existing libraries.
2. In the row for the library you want to delete, select the More Actions (three dots) button, to display a menu.
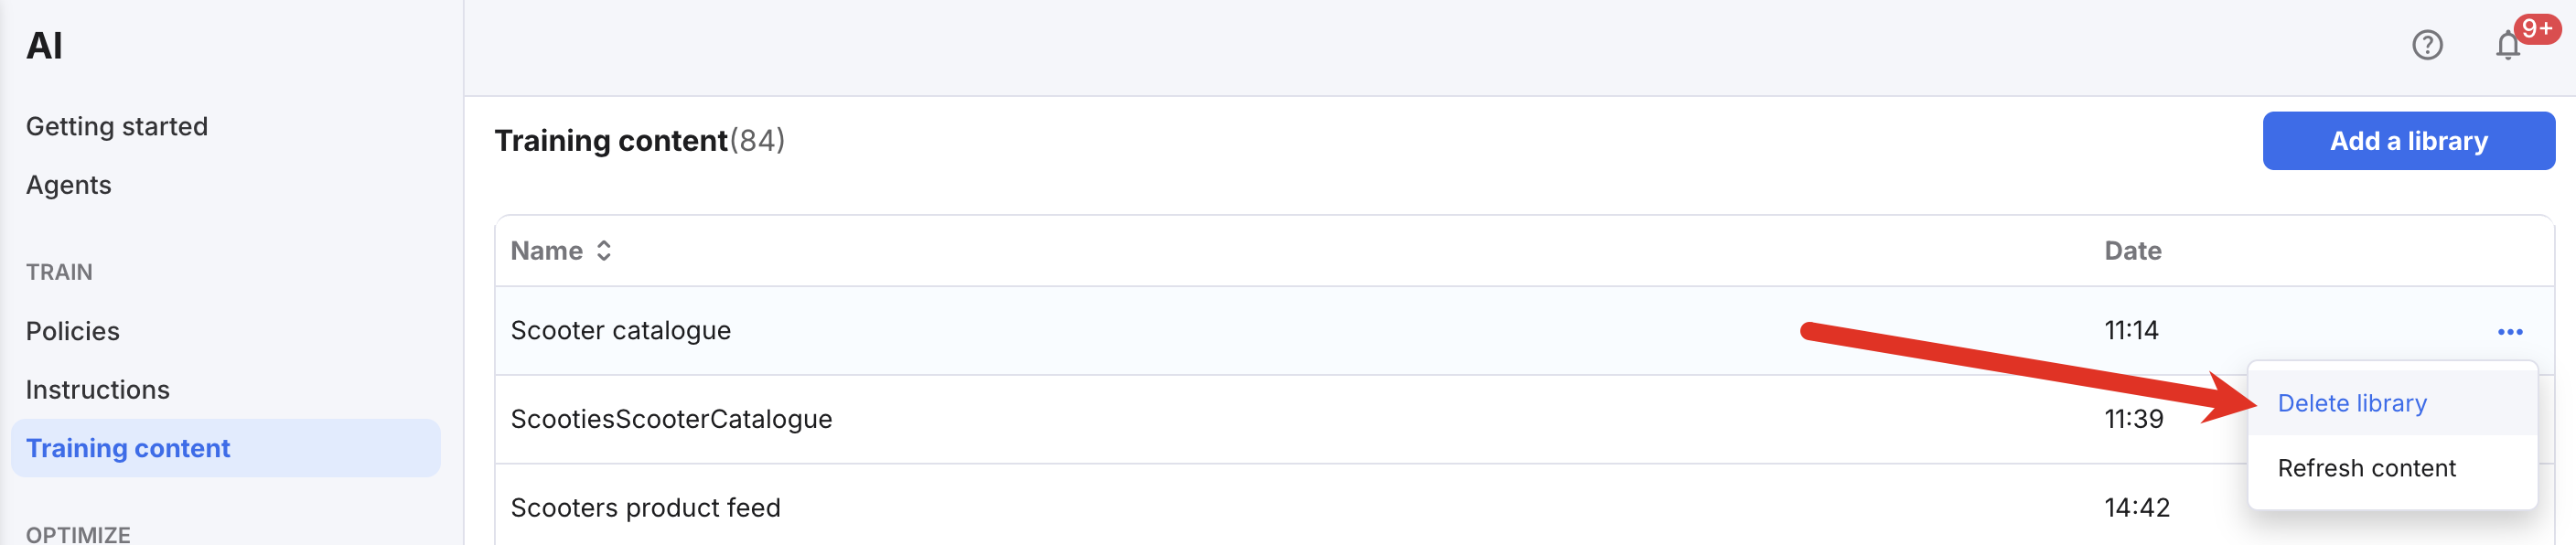
3. To delete the library, select Delete.
4. A confirmation modal window is displayed. Select Ok to confirm that you want to delete the library.
5. The library is deleted from the list and a success message is displayed.
If the library is derived from a Product Feed, Website, or webpage, you can also refresh the entire library by selecting Refresh content.
Further reading
Learn about Instructions.Learn about AI Agents.